
1. Gwybodaeth Bwysig am Ddiogelwch
Please read and understand all safety instructions before installing or operating this solar battery charger maintainer. Failure to follow these instructions may result in electric shock, fire, or serious injury.
- Do not attempt to disassemble, modify, or repair the solar panel or controller. Refer all servicing to qualified personnel.
- Ensure all connections are secure and correct before applying power. Loose connections can cause sparks and damage.
- Avoid touching the exposed ends of wires or terminals when the panel is exposed to sunlight, as it can generate voltage.
- Gwisgwch offer amddiffynnol personol (PPE) priodol, gan gynnwys sbectol ddiogelwch a menig, yn ystod y gosodiad.
- Keep the solar panel and controller away from flammable materials and explosive gases.
- The controller is not waterproof. Protect it from rain, snow, and excessive moisture.
- Sicrhewch awyru digonol o amgylch y rheolydd i atal gorboethi.
- This product is designed for 12V battery systems only. Do not connect to other voltage systemau.
2. Cynnyrch Drosview
The VEVOR 50W 12V Solar Battery Charger Maintainer is designed to efficiently charge and maintain 12V batteries using solar energy. It features high-efficiency monocrystalline cells and an intelligent MPPT controller to prevent overcharge and over-discharge, extending battery lifespan. The panel is IP65 waterproof for outdoor use.
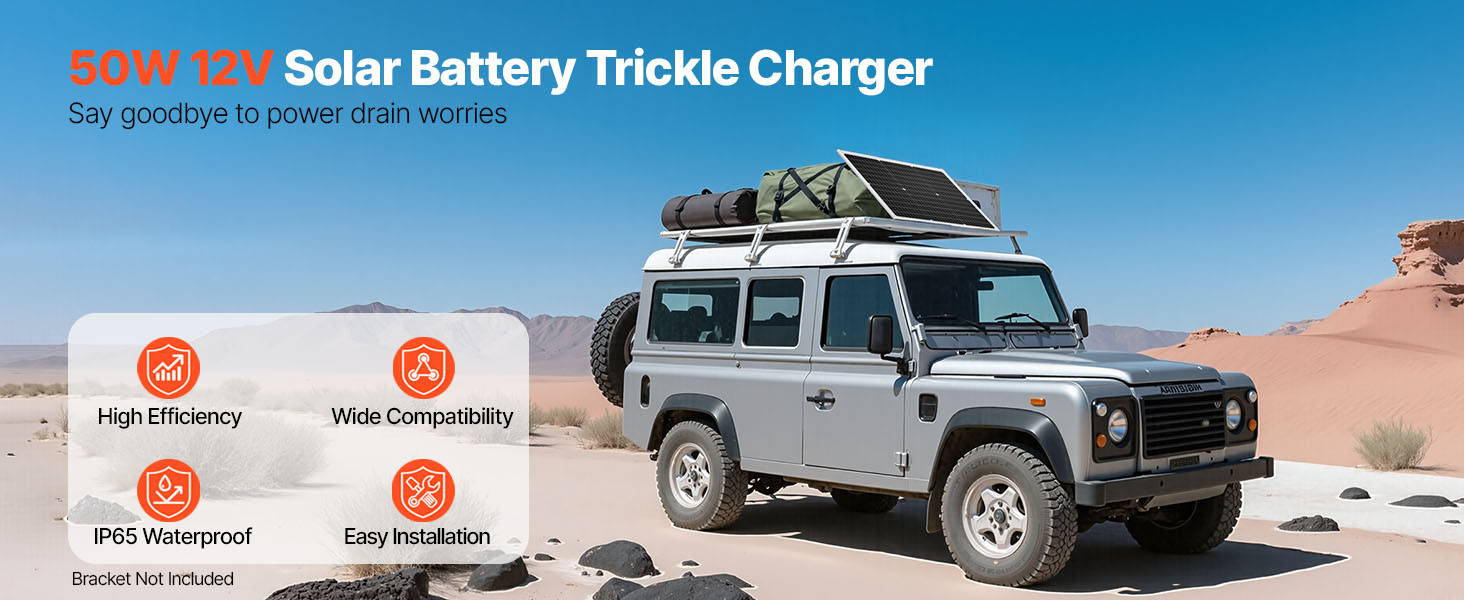
Figure 2.1: High-Efficiency Monocrystalline Solar Panel Construction
3. Beth sydd yn y Bocs
Gwiriwch fod yr holl gydrannau yn bresennol ac yn ddi-ddifrod wrth ddadbacio:
- 1 x 50W Monocrystalline Solar Panel
- 1 x MPPT Solar Charge Controller
- 1 x Alligator Clip Cable (43.3 inch / 1100 mm)
- 1 x O-Ring Terminal Cable (43.3 inch / 1100 mm)
- 1 x Extension Cable (122 inch / 3100 mm)
- Llawlyfr Defnyddiwr
4. manylebau
| Nodwedd | Manyleb |
|---|---|
| Rhif Model yr Eitem | 50W |
| Uchafswm Pwer | 50 wat |
| Allbwn Voltage | 12V DC |
| Max Power Voltage | 20V |
| Batri Cydnaws Voltage | 12V |
| Math Cell Solar | Silicon Monocrystalline |
| Deunydd Arwyneb | High-Transparency Tempered Glass |
| Math o Reolwr | External MPPT Controller |
| Waterproof Rating (Panel) | IP65 |
| Tymheredd Gweithredu | -40 ℉ i 185 ℉ (-40 ℃ i 85 ℃) |
| Dimensiynau Cynnyrch (L x W x H) | 23" x 29.5" x 0.98" (585 x 495 x 25 mm) |
| Pwysau Eitem | 6.4 pwys (2.9 kg) |
| Math o Gysylltydd | MC4 |
5. Gosod a Gosod
5.1 Lleoliad
Select a location for the solar panel that receives maximum direct sunlight throughout the day, unobstructed by shadows from trees, buildings, or other objects. The panel is designed for flat placement on surfaces such as rooftops, RVs, boats, or in open yards.

Figure 5.1: Recommended Placement Scenarios
Nodyn: A mounting bracket is not included. If placing on a roof or in an area prone to strong winds, ensure the panel is securely fastened and reinforced to prevent it from being blown away.
5.2 Cysylltu'r Panel Solar
The solar panel kit includes an MPPT controller and various connection cables for versatile use. Follow these steps for proper connection:
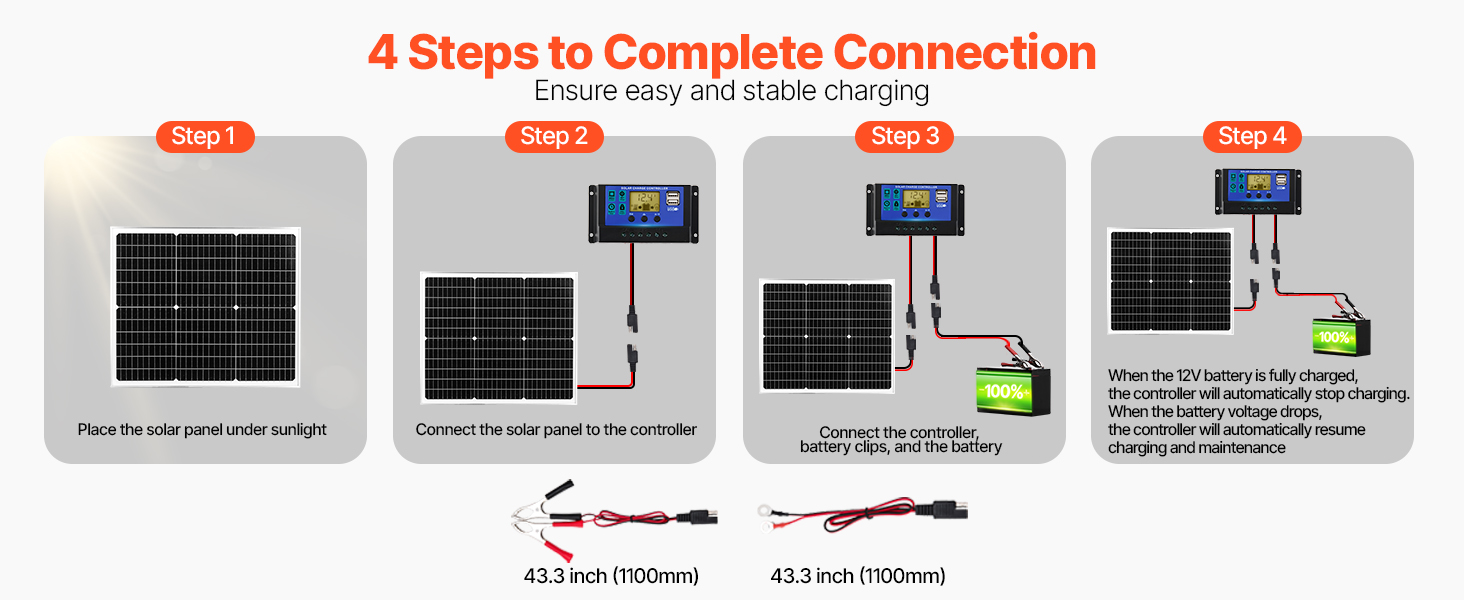
Figure 5.2: Connection Methods and Cables
- Gosodwch y Panel Solar: Position the solar panel in direct sunlight.
- Cysylltu â'r Rheolwr: Connect the solar panel's MC4 connectors to the corresponding input terminals on the MPPT solar charge controller. Ensure polarity is correct (positive to positive, negative to negative).
- Connect Controller to Battery: Choose the appropriate connection cable (alligator clips or O-ring terminals) based on your battery type. Connect the cable to the battery output terminals on the MPPT controller. Then, connect the other end of the cable to your 12V battery. Ensure correct polarity: red to positive (+), black to negative (-).
- Gwirio Cysylltiad: Once all connections are made, the controller display should activate, indicating the battery voltage a statws codi tâl.
Pwysig: Always connect the controller to the battery first, then to the solar panel. When disconnecting, disconnect the solar panel first, then the battery.
6. Cyfarwyddiadau Gweithredu
6.1 Proses Codi Tâl
The intelligent MPPT controller manages the charging process automatically. When the solar panel is exposed to sunlight and connected to a 12V battery via the controller, it will begin charging. The controller features 6-stage protection to optimize battery health.
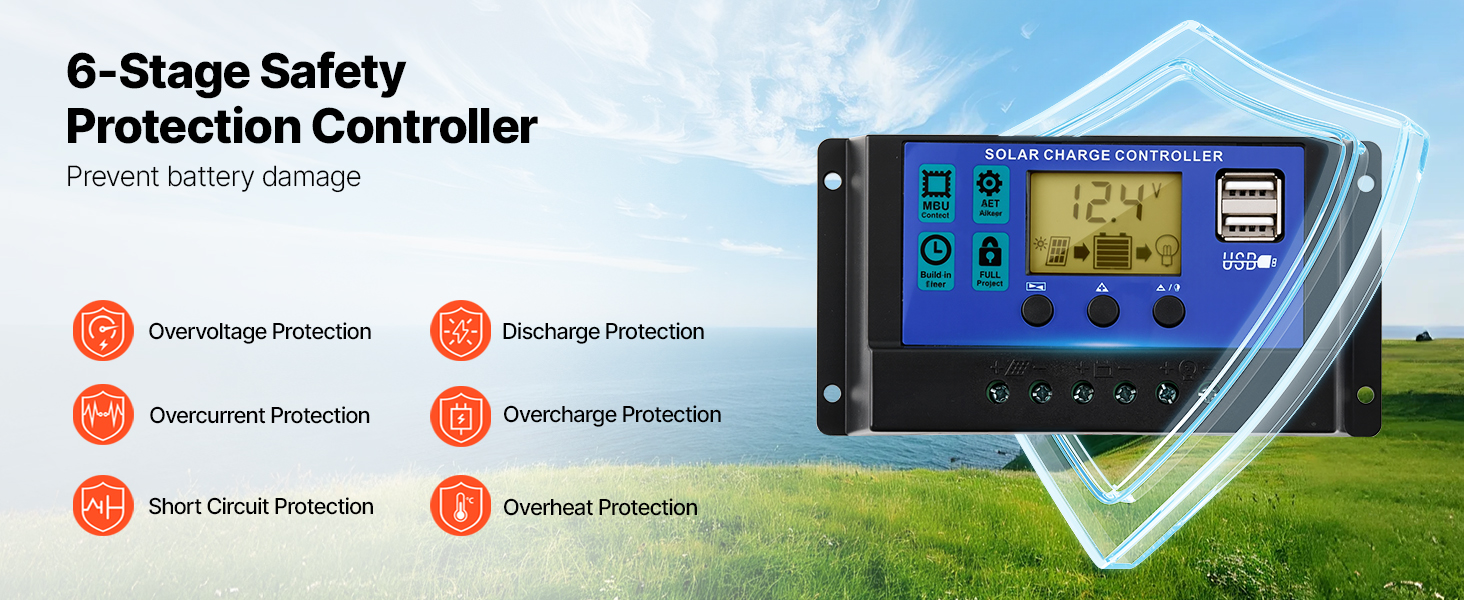
Figure 6.1: MPPT Intelligent Controller with Safety Features
- The controller automatically stops charging when the battery voltage reaches 12V to prevent overcharging.
- It automatically resumes charging when the battery voltage drops below 12V, ensuring continuous maintenance.
- The display on the controller provides real-time information on battery voltage a statws codi tâl.
6.2 Cydnawsedd Batri
This solar charger maintainer is compatible with multiple 12V battery types:
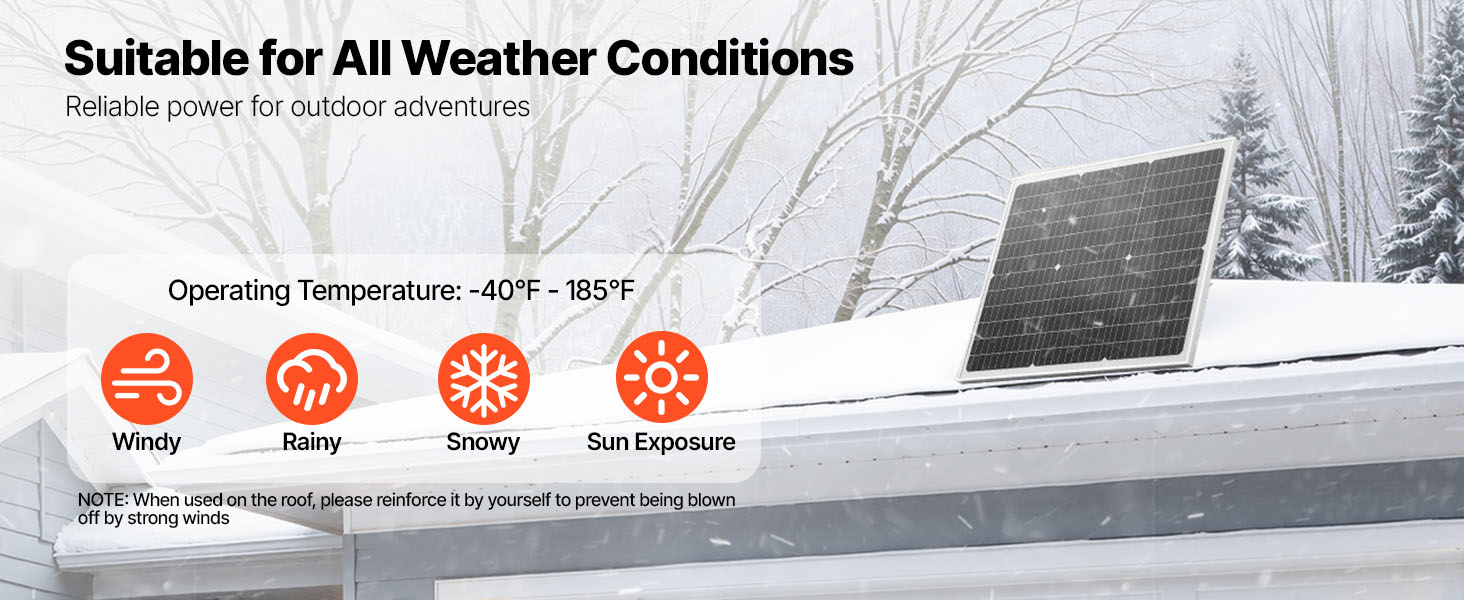
Figure 6.2: Compatible 12V Battery Types
- LiFePO4 (Ffosffad Haearn Lithiwm)
- Li-ion (Lithiwm-ion)
- Cyfarfod Cyffredinol Blynyddol (Mat Gwydr Amsugnol)
- Gel
- SLA (Sealed Lead-Acid)
- EFB (Batri Gorlifedig Gwell)
7. cynnal
Regular maintenance ensures optimal performance and longevity of your solar battery charger maintainer.
- Glanhau: Glanhewch wyneb y panel solar o bryd i'w gilydd gyda lliain meddal, damp cloth to remove dust, dirt, and debris. A clean panel ensures maximum sunlight absorption. Do not use abrasive cleaners or harsh chemicals.
- Arolygiad: Regularly inspect all cables and connections for signs of wear, corrosion, or damage. Ensure connections remain tight.
- Gofal Rheolydd: Keep the MPPT controller dry and free from dust. Ensure it has adequate ventilation.
- Diogelu'r Amgylchedd: While the panel is IP65 waterproof, the controller is not. Protect the controller from direct exposure to rain, snow, and extreme moisture.
8. Datrys Problemau
If you encounter issues with your VEVOR solar battery charger maintainer, refer to the following table for common problems and solutions.
| Problem | Achos Posibl | Ateb |
|---|---|---|
| No charging indication on controller | No sunlight or insufficient sunlight Loose or incorrect connections Faulty solar panel or controller | Move panel to direct sunlight; clean panel surface Check all cable connections for tightness and correct polarity Test components individually if possible; contact support |
| Batri ddim yn gwefru'n llawn | Amlygiad solar annigonol Diraddio batri Controller settings (if applicable) | Sicrhewch yr amlygiad mwyaf o olau'r haul Have battery tested by a professional Ensure controller is set for 12V battery type (automatic for this model) |
| Mae arddangosfa'r rheolydd i ffwrdd | No battery connection Batri cyftage rhy isel Nam ar y rheolwr | Connect controller to a 12V battery Charge battery with an alternative charger if critically low Cysylltwch â chefnogaeth |
| Overcharging/Over-discharging (despite controller) | Camweithio rheolwr Incorrect battery type selection (if applicable) | Immediately disconnect and contact support. This model automatically detects 12V. |
9. Gwarant a Chefnogaeth
VEVOR products are designed for reliability and performance. For warranty information, technical support, or service inquiries, please refer to the warranty card included with your product or visit the official VEVOR website. Please have your product model number (50W) and purchase details ready when contacting support.