
Singer 323L
Singer Serenade Sewing Machine 323L User Manual
This manual provides comprehensive instructions for the setup, operation, maintenance, and troubleshooting of your Singer Serenade 323L Sewing Machine.
1. Cynnyrch Drosview
The Singer Serenade 323L is a versatile sewing machine designed for ease of use, offering a wide range of stitch applications for various sewing projects. Its robust construction ensures durability and reliable performance.
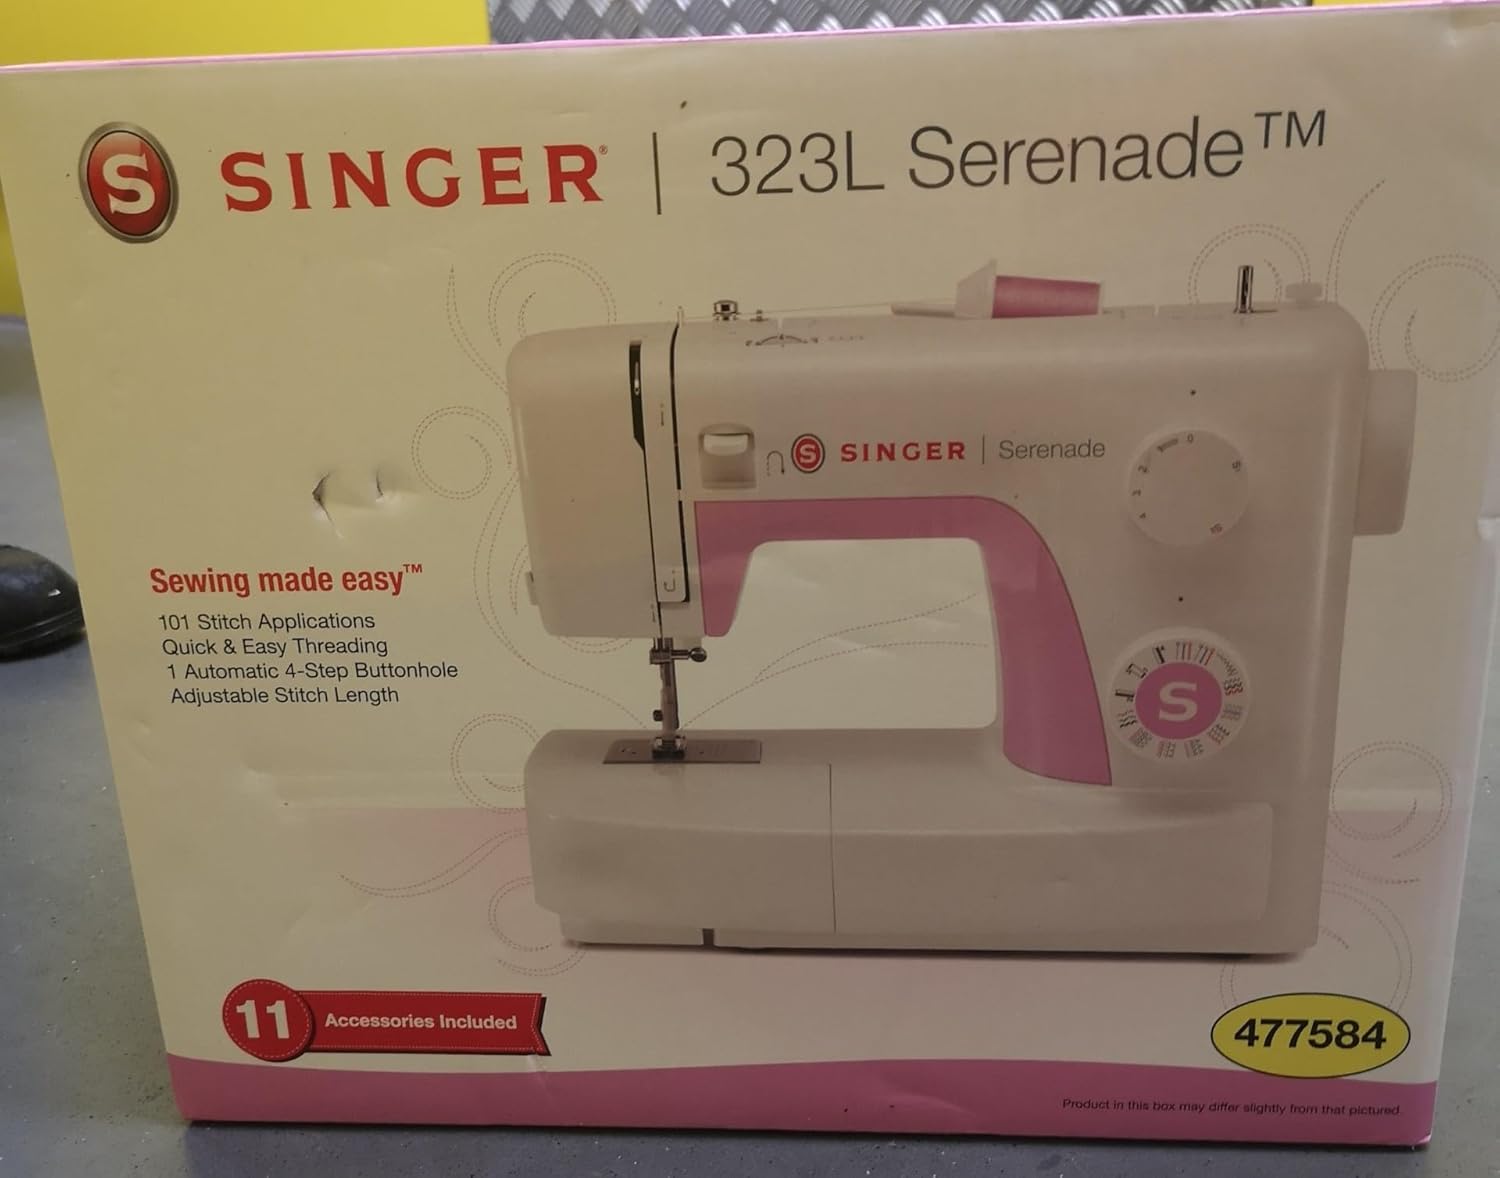
This image displays the Singer Serenade 323L Sewing Machine still in its original packaging. The box highlights key features such as 'Sewing made easy™', '101 Stitch Applications', 'Quick & Easy Threading', '1 Automatic 4-Step Buttonhole', and 'Adjustable Stitch Length'. It also indicates '11 Accessories Included'.
2. Gosod
2.1 Dadbacio
Tynnwch y peiriant gwnïo a'r holl ategolion o'r pecynnu yn ofalus. Cadwch y pecynnu gwreiddiol ar gyfer storio neu gludo yn y dyfodol. Gwnewch yn siŵr bod yr holl gydrannau a restrir yn y rhestr bacio yn bresennol.
2.2 Cysylltiad Pwer
Place the machine on a stable, flat surface. Connect the power cord to the machine and then to a suitable electrical outlet. Ensure the power switch is in the OFF position before connecting.
2.3 Initial Threading
Before first use, familiarize yourself with the threading path. The machine features quick and easy threading. Follow the numbered guides on the machine for correct upper thread tension and needle threading. Refer to the included quick start guide for detailed visual instructions on bobbin winding and insertion.
3. Cyfarwyddiadau Gweithredu
3.1 Dewis Pwyth
The Singer Serenade 323L offers 101 stitch applications, including stretch stitches and decorative stitches. Use the stitch selector dial to choose the desired stitch pattern. Ensure the needle is in its highest position before rotating the dial.
3.2 Stitch Length and Width Adjustment
Adjust the stitch length up to 4mm and stitch width up to 4.5mm using the dedicated dials. Experiment with different settings on scrap fabric to achieve the desired stitch appearance for your project.
3.3 Buttonhole Function
This machine features an automatic 4-step buttonhole function. Attach the buttonhole foot and follow the markings on the foot and machine to create perfectly sized buttonholes. Refer to the detailed instructions in the full manual for precise steps.
3.4 Presser Foot Lift
The extra high presser foot lift provides ample clearance for working with multiple layers of fabric or bulky materials. Raise the presser foot lever to its highest position to utilize this feature.
4. cynnal
4.1 Glanhau
Regular cleaning is essential for optimal performance. Disconnect the machine from power before cleaning. Use a small brush to remove lint and dust from the bobbin case area and feed dogs. Do not use liquid cleaners or solvents.
4.2 Amnewid Nodwydd
Replace the needle frequently, especially when starting a new project or if the needle becomes bent or dull. Always use the correct type and size of needle for your fabric. Loosen the needle clamp screw, remove the old needle, insert the new needle with the flat side facing the back, and tighten the screw securely.
4.3 Iro
Refer to the comprehensive manual for specific lubrication points and frequency. Use only high-quality sewing machine oil. Over-oiling can attract lint and dust.
5. Datrys Problemau
This section addresses common issues you might encounter. For more complex problems, consult the full instruction manual or contact customer support.
- Pwythau wedi'u Hepgor: Ensure the needle is inserted correctly and is not bent or dull. Use the appropriate needle for your fabric type. Re-thread the machine completely, both upper thread and bobbin.
- Torri Edau: Check for correct threading, proper tension settings, and ensure the needle is not damaged. Make sure the thread is not tangled or caught anywhere.
- Uneven Stitches / Tension Problems: Verify that the upper thread and bobbin thread are correctly threaded and seated. Adjust the tension dial incrementally. Clean any lint from the bobbin case area.
- Peiriant Ddim yn Cychwyn: Check if the power cord is securely plugged in and the power switch is ON. Ensure the foot pedal is connected properly.
6. manylebau
| Nodwedd | Manylyn |
|---|---|
| Brand | Canwr |
| Model | 323L Serenade |
| Rhaglenni Gwnïo | 23 |
| Stitch Applications | 101 |
| Buttonhole Type | 1 Automatic 4-Step |
| Max. Stitch Length | 4mm |
| Max. Stitch Width | 4.5mm |
| Presser Foot Lift | Uchel Ychwanegol |
| Ffrâm | Heavy Duty Metal |
| Dimensiynau Cynnyrch | 16 x 24 x 24 cm |
| Pwysau Eitem | 6 kg |
7. Gwarant a Chefnogaeth
Your Singer Serenade 323L Sewing Machine is covered by a manufacturer's warranty. Please refer to the warranty card included with your product for specific terms and conditions, including the warranty period and coverage details.
For technical assistance, spare parts, or warranty claims, please contact Singer customer support. Contact information can typically be found on the manufacturer's websafle neu yn y ddogfennaeth a ddarparwyd gyda'ch peiriant.
For further information and detailed guides, visit the official Singer websafle: www.singer.com
Ask a question about this manual
Ask about setup, troubleshooting, compatibility, parts, safety, or missing instructions. Manuals+ will review the question and use this page’s manual context to help answer it.