
KOOSMILE KT-M9
KOOSMILE Mini PC KT-M9 User Manual
Model: KT-M9
1. Rhagymadrodd
Thank you for choosing the KOOSMILE Mini PC KT-M9. This compact yet powerful desktop computer is designed for a wide range of applications, from demanding professional tasks to immersive home entertainment. Equipped with an Intel Core i9-12900HK processor, ample memory, and high-speed storage, it delivers exceptional performance in a small form factor. This manual provides essential information for setting up, operating, maintaining, and troubleshooting your Mini PC.
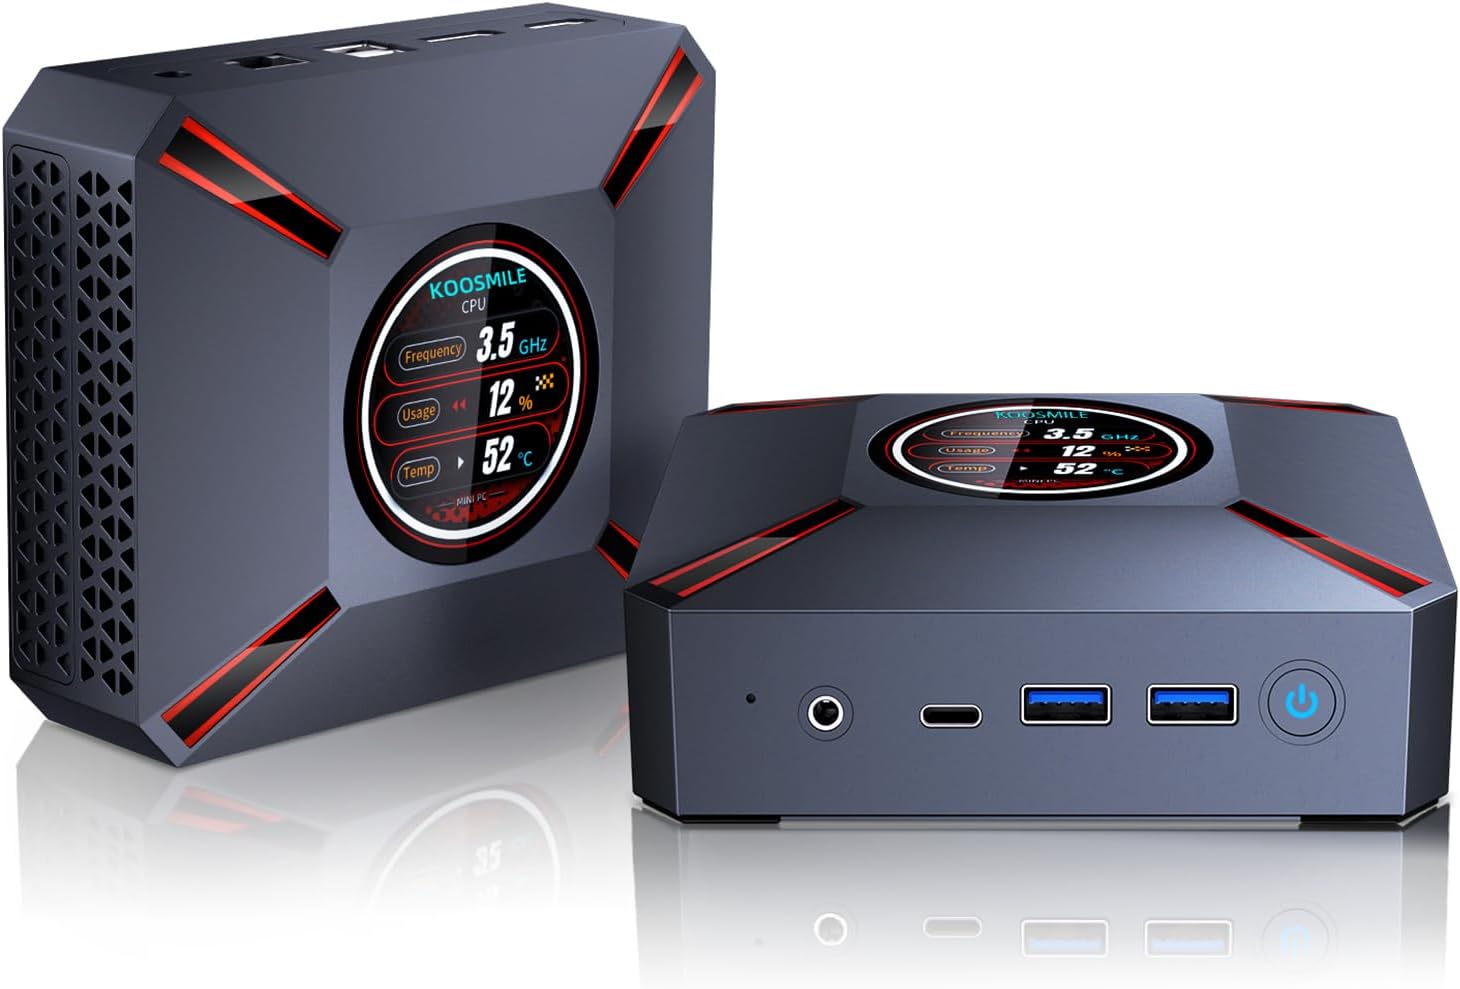
Figure 1.1: The KOOSMILE Mini PC KT-M9, showcasing its compact design and smart display.

Ffigur 1.2: Drosoddview of the Mini PC's core features, including its powerful processor, memory, storage, and connectivity options.
2. Cynnwys Pecyn
Please verify that all items are present and in good condition upon opening the package. If any items are missing or damaged, please contact customer support.
- 1 x KOOSMILE Mini PC KT-M9
- 1 x cebl HDMI
- 1 x Addasydd Pŵer
- 1 x DisplayPort (DP) Cable
- 1 x Hwb USB
- 1 x Metal Sheet Bracket (for mounting)
- 1 x Llawlyfr Defnyddiwr (y ddogfen hon)
3. Cynnyrch Drosview
The KOOSMILE Mini PC KT-M9 is designed for efficiency and versatility. Its compact chassis houses high-performance components and a variety of ports for extensive connectivity.
3.1. Dimensiynau Corfforol
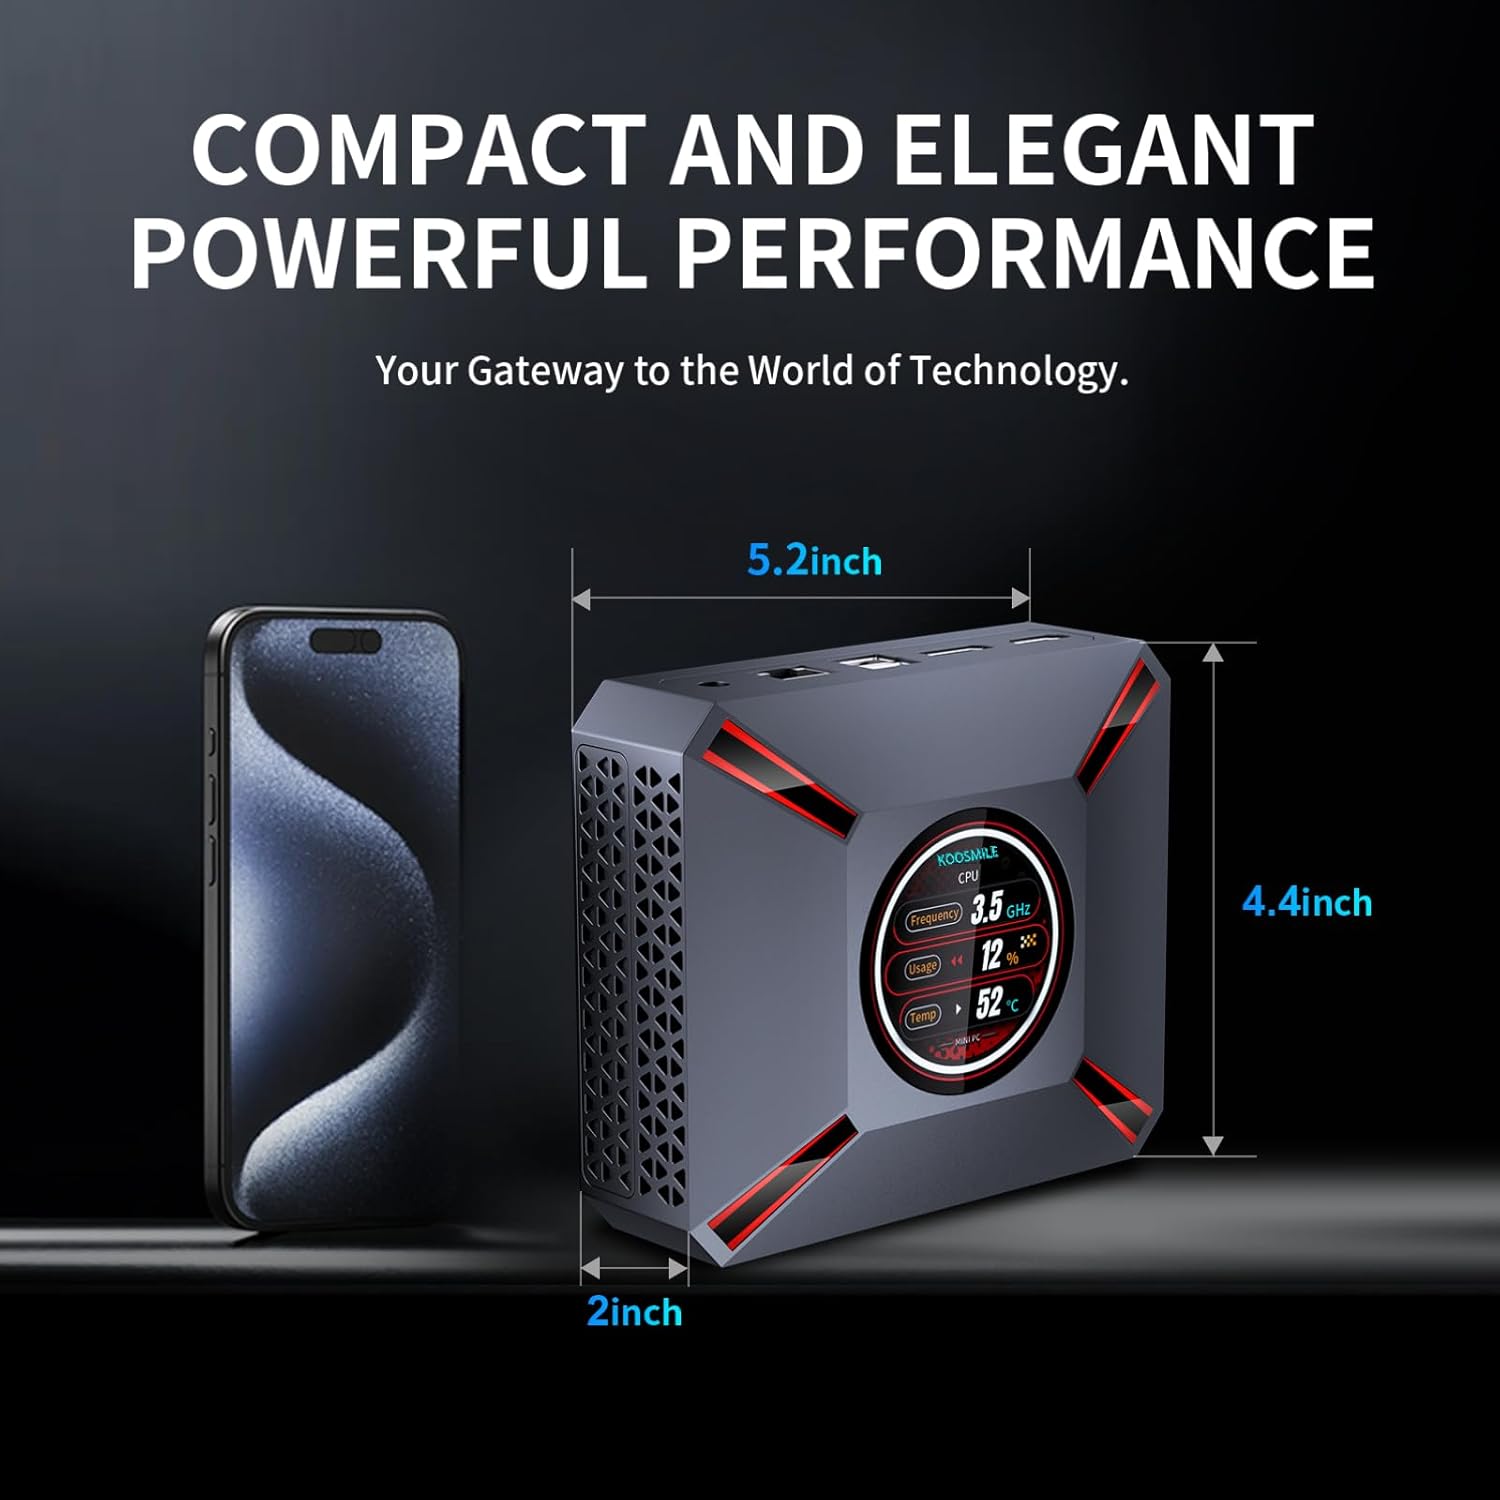
Figure 3.1: The compact size of the Mini PC, approximately 5.2 inches in length, 4.4 inches in width, and 2 inches in height, shown next to a smartphone for scale.
3.2. Porthladdoedd a Chysylltwyr
Familiarize yourself with the various input/output ports on your Mini PC:

Figure 3.2: Detailed diagram of the Mini PC's front and rear ports, including power, video outputs, USB, and audio connections.
- Panel blaen:
- Jac Sain/Meic 3.5mm
- USB Type-C Port (Full-feature)
- 2 x Porthladd USB 3.0
- Botwm Pŵer
- CMOS Reset Pinhole
- Panel cefn:
- DC-IN Jack (Mewnbwn Pŵer)
- Ethernet (RJ-45) Port
- 2 x Porthladd USB 2.0
- DisplayPort (DP 1.4a)
- HDMI 2.1 Allbwn
3.3. Smart Display Monitoring
The Mini PC features a built-in smart display on the lid that provides real-time system information. This display allows you to quickly monitor key performance metrics without needing additional software.

Figure 3.3: The smart display interface, showing real-time data such as CPU frequency, usage, temperature, network upload/download speeds, and disk usage.
Mae'r wybodaeth a ddangosir yn cynnwys:
- Amlder CPU
- CPU Usage Percentage
- CPU Temperature (°C)
- Network Upload/Download Speeds
- Defnydd Cof
4. Canllaw Gosod
Follow these steps to set up your KOOSMILE Mini PC for the first time.
4.1. Initial Hardware Connection
- Cysylltu Perifferolion: Plug in your USB keyboard and mouse to the available USB ports (USB 3.0 ports are recommended for faster response).
- Cysylltu Arddangosfa(au): Connect your monitor(s) to the Mini PC using the provided HDMI cable, DisplayPort cable, or a USB-C to display cable. Important: Ensure the display device is connected before turning on the computer. Use the included HDMI cable and avoid other adapter cables for the HDMI interface to prevent compatibility issues.
- Pwer Cysylltu: Insert the power adapter cable into the DC-IN jack on the rear panel of the Mini PC, then plug the power adapter into a wall outlet.
- Cysylltiad Rhwydwaith (Dewisol): For a wired connection, connect an Ethernet cable from your router or modem to the RJ-45 port on the Mini PC. For wireless connection, Wi-Fi 6 is enabled by default.
4.2. First Boot and Windows 11 Pro Setup
- Pŵer Ymlaen: Press the Power Button on the front panel of the Mini PC. The smart display will illuminate, and the system will begin to boot.
- Gosod Windows 11 Pro: The Mini PC comes pre-installed with Windows 11 Pro. On the first boot, you will be guided through the Windows Out-Of-Box Experience (OOBE) to configure language, region, network, and user accounts. Follow the on-screen prompts to complete the setup.
- Gosod Gyrrwr: All necessary drivers are pre-installed. Please avoid installing third-party drivers unless specifically instructed by KOOSMILE support to prevent compatibility issues.
4.3. Triple Display Configuration
The Mini PC supports up to three displays simultaneously via HDMI 2.1, DisplayPort 1.4a, and the full-feature USB Type-C port. This allows for an extended workspace or multi-monitor setups for productivity or entertainment.
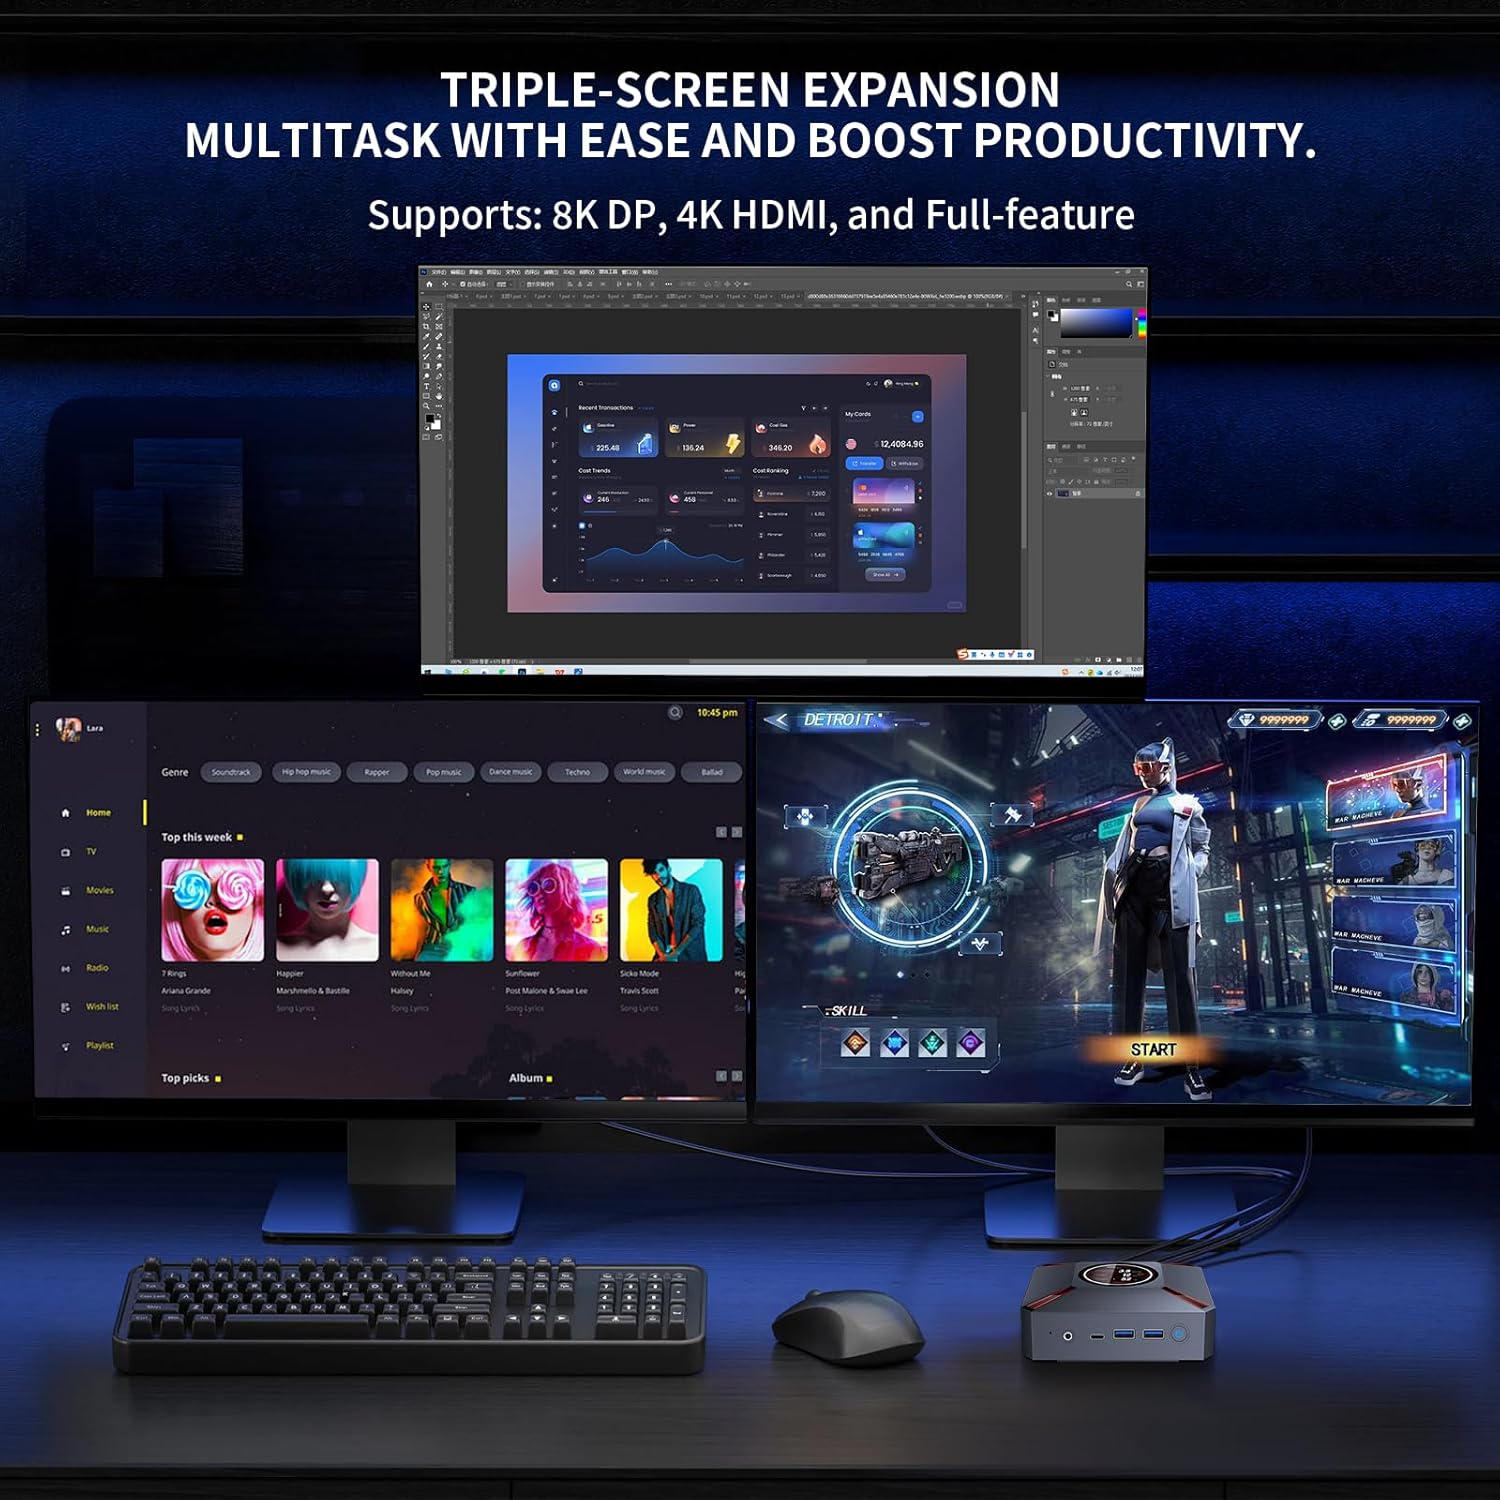
Ffigur 4.1: Example of a triple-monitor setup connected to the Mini PC, demonstrating its multi-display capability.
I ffurfweddu arddangosfeydd lluosog yn Windows 11:
- Ensure all monitors are physically connected to the Mini PC and powered on.
- Right-click on an empty area of your desktop and select "Display settings."
- In the Display settings window, Windows should detect all connected displays. You can arrange them by dragging and dropping the display icons.
- O dan "Arddangosfeydd lluosog," dewiswch sut rydych chi am ddefnyddio'ch arddangosfeydd (e.e., "Estynnu'r arddangosfeydd hyn," "Dyblygu'r arddangosfeydd hyn").
- Adjust resolution, orientation, and scaling for each display as needed.
5. Cyfarwyddiadau Gweithredu
This section covers basic operation and utilization of your Mini PC.
5.1. Pŵer Ymlaen/Diffodd ac Ailgychwyn
- Pŵer Ymlaen: Press the Power Button on the front of the Mini PC.
- Cau i Lawr: Cliciwch y botwm Cychwyn yn Windows, yna dewiswch Pŵer > Cau i Lawr.
- Ailgychwyn: Cliciwch y botwm Cychwyn yn Windows, yna dewiswch Pŵer > Ailgychwyn.
- Cwsg: Cliciwch y botwm Cychwyn yn Windows, yna dewiswch Pŵer > Cysgu.
5.2. Defnyddio'r Arddangosfa Glyfar
The smart display on the lid provides real-time system metrics. It operates automatically and requires no user input. Monitor these values to understand your system's current load and health.
5.3. Cysylltedd Rhwydwaith
- Wi-Fi 6: To connect to a wireless network, click the Wi-Fi icon in the Windows taskbar, select your desired network, enter the password, and click Connect.
- Ethernet: If an Ethernet cable is connected, the Mini PC will automatically establish a wired network connection.
5.4. Rheoli Storio
Your Mini PC comes with a 1TB NVMe SSD. You can manage disk partitions through Windows Disk Management. If you wish to adjust the hard disk partition structure, please refer to online resources or contact KOOSMILE customer support for guidance.
6. cynnal
Proper maintenance ensures the longevity and optimal performance of your Mini PC.
6.1. Glanhau
- Tu allan: Use a soft, dry, lint-free cloth to wipe the exterior of the Mini PC. For stubborn marks, slightly dampgolchwch y lliain gyda dŵr. Osgowch gemegau llym neu lanhawyr sgraffiniol.
- fentiau: Periodically use compressed air to clear dust from the ventilation grilles to ensure proper airflow.
6.2. System Oeri
The Mini PC features an advanced copper cooling fan and multiple vents for efficient heat dissipation. This system is designed to keep your PC running smoothly even under intense tasks.

Ffigur 6.1: Mewnol view highlighting the efficient cooling system with its copper fan, designed to maintain optimal operating temperatures.
Ensure the Mini PC is placed in a well-ventilated area and that the vents are not obstructed. A slight heating of the metal housing during operation is normal and indicates effective heat dissipation.
6.3. Diweddariadau Meddalwedd
Chwiliwch am ddiweddariadau Windows a'u gosod yn rheolaidd i sicrhau sefydlogrwydd, diogelwch a pherfformiad y system. Ewch i Gosodiadau > Diweddariad Windows i wirio am ddiweddariadau.
7. Datrys Problemau
Mae'r adran hon yn mynd i'r afael â phroblemau cyffredin y gallech ddod ar eu traws gyda'ch Mini PC.
7.1. Dim Allbwn Arddangos
- Ensure the monitor is powered on and correctly connected to the Mini PC's HDMI, DisplayPort, or USB-C video output.
- Gwiriwch fod y ffynhonnell fewnbwn gywir wedi'i dewis ar eich monitor.
- Pwysig: Always connect the display device before powering on the Mini PC.
- Try using a different video cable or monitor to rule out faulty peripherals.
7.2. System Ddim yn Troi Ymlaen
- Check that the power adapter is securely connected to both the Mini PC and a working power outlet.
- Sicrhewch fod yr allfa bŵer yn weithredol trwy ei brofi â dyfais arall.
7.3. Buzzing Sound
- A slight buzzing sound might occur. Try restarting the computer. If the sound persists or is unusually loud, contact customer support.
7.4. Problemau Cysylltedd (Wi-Fi/Bluetooth)
- Wi-Fi: Ensure Wi-Fi is enabled in Windows settings. Restart your router/modem. Check for interference from other devices.
- Bluetooth: Ensure Bluetooth is enabled in Windows settings. Try re-pairing your Bluetooth device.
7.5. General Performance Issues
- Cau cymwysiadau diangen sy'n rhedeg yn y cefndir.
- Gwnewch yn siŵr bod Windows a gyrwyr yn gyfredol.
- Check the smart display for high CPU usage or temperature, which might indicate a heavy workload or cooling issue.
8. manylebau
Detailed technical specifications for the KOOSMILE Mini PC KT-M9.

Figure 8.1: Key specifications of the Intel Core i9-12900HK processor, highlighting its core count, threads, cache, and maximum turbo frequency.

Figure 8.2: Information on the high-speed DDR4 memory and PCIe 3.0 SSD, crucial for fast data processing and quick loading times.

Figure 8.3: Comparison of wireless and wired connectivity speeds, highlighting the advantages of Wi-Fi 6 and USB 3.0.
| Cydran | Manyleb |
|---|---|
| Prosesydd | Intel Core i9-12900HK (14 Cores, 20 Threads, up to 5.0GHz, 24MB Cache) |
| System Weithredu | Windows 11 Pro |
| HWRDD | 32GB DDR4 3200MHz |
| Storio | 1TB PCIe 3.0 NVMe SSD |
| Graffeg | Graffeg Intel Iris Xe (Integredig) |
| Allbwn Fideo | HDMI 2.1 (4K @ 60Hz), DisplayPort 1.4a (8K @ 60Hz), USB Type-C (Full-feature) |
| Cysylltedd Di-wifr | Wi-Fi 6 (802.11ax), Bluetooth 5.2 |
| Cysylltedd Wired | 1000M RJ45 Ethernet |
| Porthladdoedd USB | 2 x USB 3.0, 2 x USB 2.0, 1 x USB Type-C (Full-feature) |
| Sain | Jac Sain/Meic 3.5mm |
| System Oeri | Advanced Copper Cooling Fan with Multiple Vents |
| Arddangosfa Smart | Real-time CPU Frequency, Usage, Temperature, Network, Memory |
| Dimensiynau | Tua. 5.2 x 4.4 x 2 modfedd (13.2 x 11.2 x 5.1 cm) |
| Pwysau | Tua. 2.57 pwys (1.17 kg) |
9. Gwarant a Chefnogaeth
KOOSMILE is committed to providing high-quality products and excellent customer service.
9.1. Gwybodaeth Gwarant
Your KOOSMILE Mini PC KT-M9 comes with a Gwarant 1 flwyddyn am ddim from the date of purchase. This warranty covers manufacturing defects and hardware malfunctions under normal use. It does not cover damage caused by misuse, accidents, unauthorized modifications, or natural disasters.
9.2. Cymorth Technegol
For any technical assistance, troubleshooting, or warranty claims, please contact our customer service team via email. Provide your product model (KT-M9), purchase date, and a detailed description of the issue to receive prompt support.
E-bost: [Insert Customer Support Email Here - e.g., support@koosmile.com]
Our team is dedicated to helping you resolve any issues and ensure your satisfaction with your KOOSMILE Mini PC.
Ask a question about this manual
Ask about setup, troubleshooting, compatibility, parts, safety, or missing instructions. Manuals+ will review the question and use this page’s manual context to help answer it.