1. Rhagymadrodd
This manual provides comprehensive instructions for the installation, operation, and maintenance of your VEVOR Time Clock (Model: TM1000). This device is designed to efficiently manage employee attendance using multiple verification methods, including fingerprint, RFID card, and PIN. It is a standalone biometric system suitable for small businesses, offering easy data export and no recurring monthly fees.
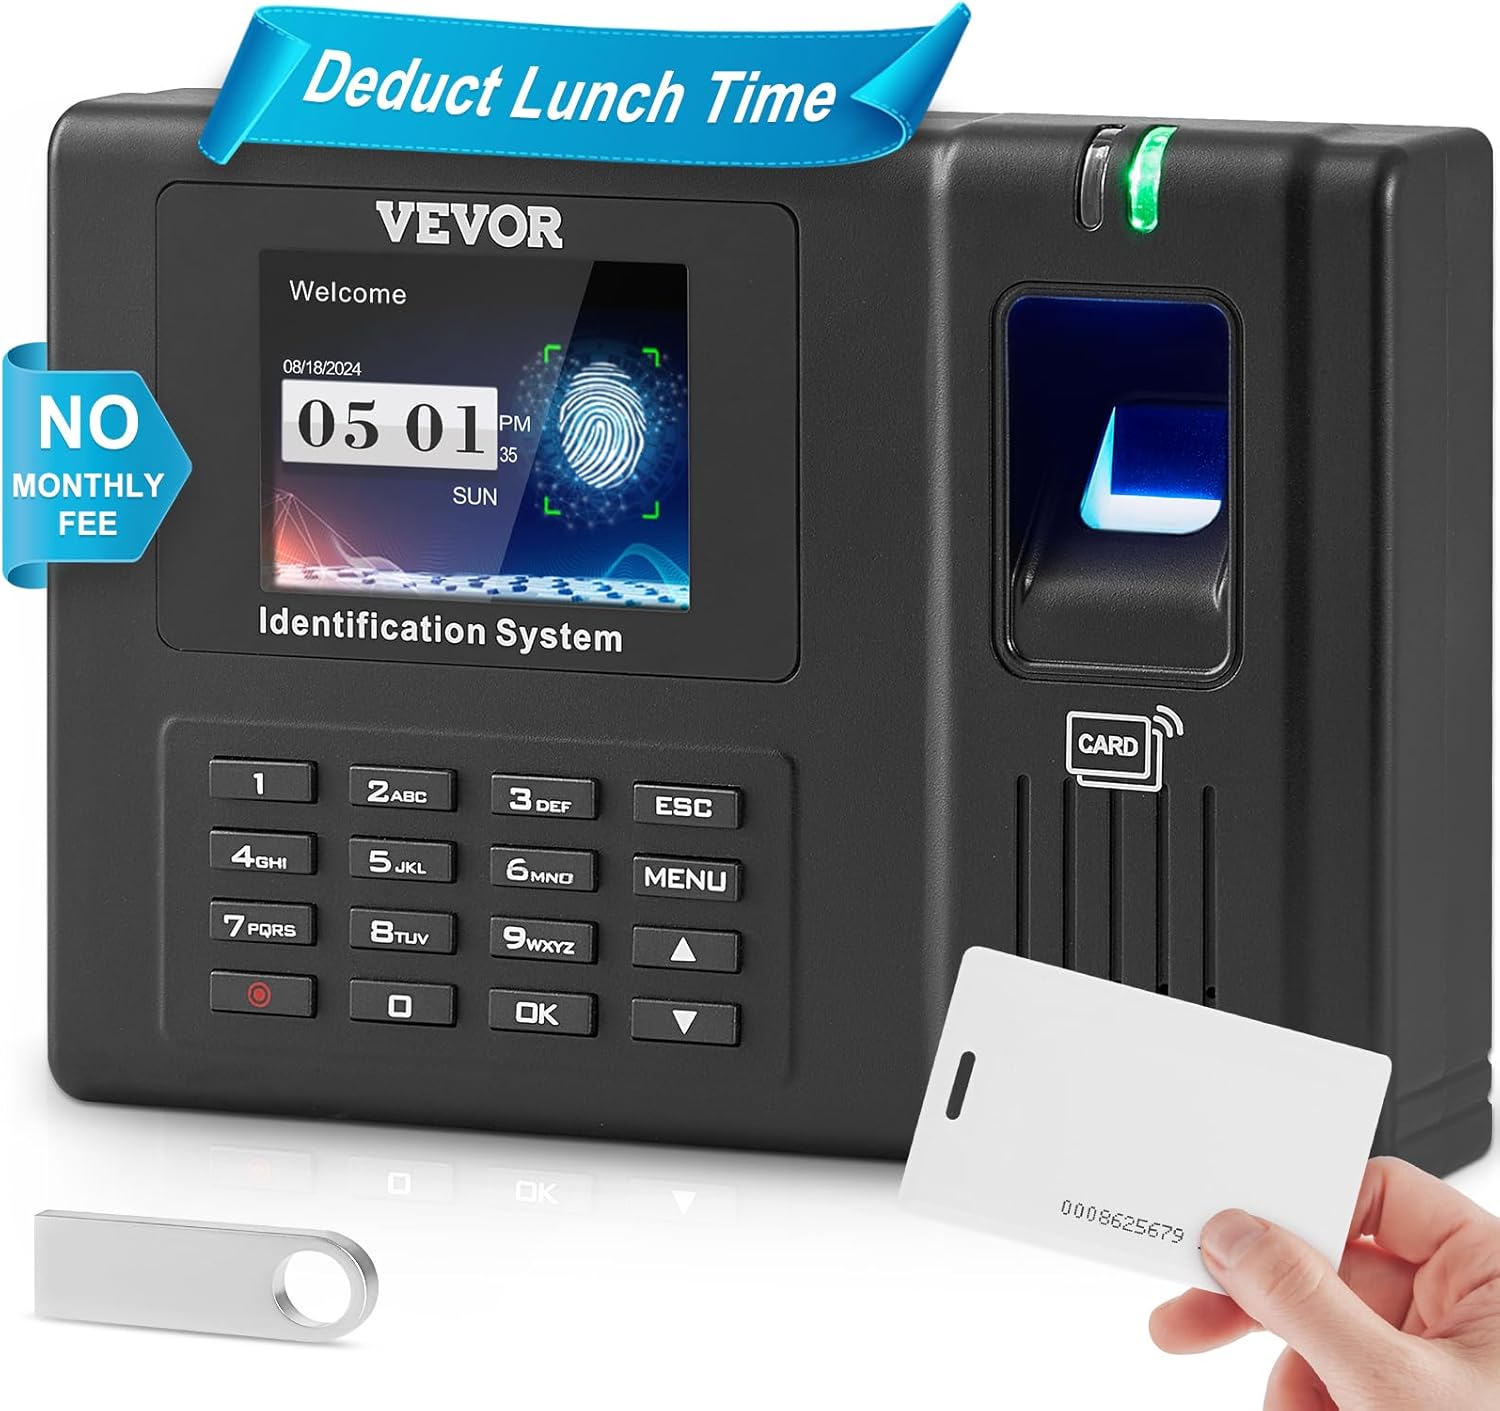
Figure 1.1: VEVOR Time Clock (Model: TM1000) with included accessories.
2. Nodweddion Cynnyrch
- Three-Mode Verification: Supports fingerprint, password, and RFID card authentication for flexible employee clock-in.
- Cynhwysedd Uchel: Stores up to 3,000 fingerprints, 3,000 passwords, 3,000 RFID cards, and 193,877 attendance records, minimizing the need for frequent data cleanup.
- Instant Attendance Reports: Effortlessly exports detailed attendance logs (including actual work time, total hours, overtime, and lunch breaks) to a USB drive in Excel format for easy payroll processing.
- Gosodiad Defnyddiwr-gyfeillgar: Features a simplified 5-step initial setup process for shift configuration, department setup, employee registration, and attendance rules. Customizable work hours, lunch breaks, and overtime.
- Advanced Verification Technology: Utilizes optical fingerprint technology for less than one-second response times. Equipped with a 2.8-inch HD color screen for enhanced user experience.
- Cefnogaeth Amlieithog: Available in 11 languages: English, German, French, Spanish, Italian, Russian, Dutch, Swedish, Polish, Portuguese, and Arabic.
- Broad Applicability & Cost-Effective: A standalone system requiring no monthly fees, complex network setup, or software installation, making it ideal for various indoor environments like home offices, schools, factories, and supermarkets.

Figure 2.1: The time clock supports multiple verification methods.

Ffigur 2.2: Drosoddview of the device's impressive storage capabilities.
3. manylebau
| Priodoledd | Manylyn |
|---|---|
| Rhif Model yr Eitem | TM1000 |
| Brand | VEVOR |
| Lliw | Du |
| Math Arddangos | Digidol |
| Nodwedd Arbennig | Multilingual (11 languages) |
| Dimensiynau Cynnyrch | 5.12"W x 1.57"H (approx. 130mm x 40mm) |
| Pwysau Eitem | 1.2 pwys / 0.55 kg |
| Ffynhonnell Pwer | Electrical (Battery Powered for internal clock, 1 CR2032 included) |
| Math o Ystafell | Swyddfa Gartref |
| Defnydd Dan Do / Awyr Agored | Dan do |
| Deunydd Ffrâm | Styren Biwtadïen Acrylonitrile (ABS) |
| Math Mowntio | Wal Mount |
| Clock-in Methods | Fingerprint, Password, RFID Card |
| Cynhwysedd Data | 3000 Fingerprints, 3000 Passwords, 3000 RFID Cards, 193,877 Records |
| Dull Lawrlwytho | USB (FAT32 format) |
| Gallu USB | 4GB (included USB drive) |
| Mynediad o Bell | No WiFi & Internet (Standalone) |
| Automatic Report Generation | Oes |

Figure 3.1: Comprehensive specifications of the VEVOR Time Clock.
4. Canllaw Gosod
4.1 Dadbacio ac Archwiliad Cychwynnol
Carefully unpack all components from the box. Verify that all items listed below are present and undamaged:
- VEVOR Time Clock Unit (Model: TM1000)
- Addasydd Pŵer
- USB Cable (Type-A)
- Wal Mount Braced
- Sgriwiau Mowntio ac Angorau Wal
- RFID Cards (5 included)
- USB Drive (4GB)
- Llawlyfr Defnyddiwr (y ddogfen hon)
4.2 Troi’r Dyfais Ymlaen
- Connect the power adapter to the DC IN port on the time clock unit.
- Plygiwch yr addasydd pŵer i mewn i allfa drydanol safonol.
- The device will power on automatically and display the welcome screen.
4.3 Initial System Configuration (5-Step Setup)
The device features a user-friendly 5-step initial setup process. Access the main menu by pressing the BWYDLEN botwm.
- Shift Configuration: Define your work shifts, including start and end times, and any break periods.
- Department Setup: Create and name different departments within your organization.
- Cofrestru Gweithwyr: Register each employee by assigning a unique ID and enrolling their preferred verification method(s) (fingerprint, RFID card, or PIN).
- Attendance Rules: Set up rules for attendance, such as grace periods, overtime calculation, and late/early departure policies.
- Gosodiadau System: Adjust date, time, language (choose from 11 options), and other general system parameters.

Figure 4.1: Simplified setup process for the time clock.
4.4 Gosod ar y Wal (Dewisol)
For optimal placement and security, the time clock can be wall-mounted.
- Choose a suitable location on a wall, ensuring it is at an accessible height for all users and near a power outlet.
- Defnyddiwch y braced mowntio wal fel templed i farcio'r pwyntiau drilio ar y wal.
- Drill holes at the marked positions and insert the wall anchors (if necessary for your wall type).
- Sicrhewch y braced mowntio wal i'r wal gan ddefnyddio'r sgriwiau a ddarperir.
- Carefully align the time clock unit with the bracket and slide it into place until it locks securely.

Figure 4.2: The time clock unit can be securely mounted on a wall.
5. Cyfarwyddiadau Gweithredu
5.1 Cofrestru Defnyddwyr
I gofrestru defnyddiwr newydd:
- Gwasgwch y BWYDLEN botwm i fynd i mewn i'r brif ddewislen.
- Navigate to "User Management" or "Add User" (exact wording may vary based on firmware version).
- Select "New User" and assign a unique User ID.
- Choose the desired verification method(s) for the user:
- Olion Bysedd: Place the user's finger on the optical sensor. The device will prompt you to lift and place the finger multiple times (typically 3 times) to ensure accurate enrollment.
- Cerdyn RFID: Swipe the RFID card across the designated card reader area. The device will register the card's unique ID.
- PIN/Password: Enter a numerical password using the keypad and confirm it.
- Save the user's information.
5.2 Clocking In/Out
Employees can clock in or out using their registered method:
- Olion Bysedd: Place the registered finger on the optical sensor. A successful scan will be confirmed by a voice prompt and screen message.
- Cerdyn RFID: Swipe the registered RFID card across the card reader. A successful scan will be confirmed by a voice prompt and screen message.
- PIN/Password: Enter the assigned User ID, press OK, then enter the PIN/Password and press OK again. A successful entry will be confirmed by a voice prompt and screen message.
The device automatically records the time and date of each successful clock-in/out event.
5.3 Generating Attendance Reports
To export attendance data:
- Insert the provided 4GB USB drive (FAT32 format) into the USB port on the side of the time clock unit.
- Gwasgwch y BWYDLEN botwm i fynd i mewn i'r brif ddewislen.
- Navigate to "Report" or "Data Management" and select "Download Report" or "Export Data".
- Choose the desired date range for the report.
- Confirm the export. The device will generate an Excel (.xls) file on the USB drive containing detailed attendance records.
- Safely remove the USB drive once the export is complete.
The Excel report will include information such as employee ID, name, clock-in/out times, total work hours, overtime, and lunch breaks, simplifying payroll and data processing.
6. cynnal
6.1 Glanhau
To ensure optimal performance and longevity of your time clock:
- Regularly wipe the optical fingerprint sensor and the screen with a soft, dry, lint-free cloth.
- Ar gyfer smwtshis ystyfnig, ychydig yn dampen the cloth with water or a mild, non-abrasive cleaner. Avoid harsh chemicals or abrasive materials.
- Keep the device free from dust and debris, especially around the card reader slot and USB port.
6.2 Rheoli Data
- Periodically export attendance data to the USB drive and back it up to a computer or cloud storage. This ensures data security and frees up device memory.
- If the device's record capacity is nearing its limit, consider exporting and clearing older records to maintain smooth operation.
7. Datrys Problemau
- Dyfais ddim yn pweru ar:
- Gwnewch yn siŵr bod yr addasydd pŵer wedi'i gysylltu'n ddiogel â'r ddyfais ac â soced drydanol sy'n gweithio.
- Gwiriwch a yw'r soced pŵer yn gweithio trwy blygio dyfais arall i mewn.
- Ôl bysedd heb ei adnabod:
- Ensure the finger is clean and dry.
- Place the entire pad of the finger firmly on the sensor.
- Try re-enrolling the fingerprint if issues persist, ensuring proper placement during enrollment.
- Cerdyn RFID heb ei adnabod:
- Ensure the card is swiped correctly across the reader.
- Verify that the card was properly registered to the user.
- Try re-registering the card if problems continue.
- Cannot export data to USB drive:
- Gwnewch yn siŵr bod y gyriant USB wedi'i fformatio i FAT32.
- Gwiriwch a oes digon o le gwag ar y gyriant USB.
- Try using a different USB drive.
- Ensure the USB drive is fully inserted into the port.
- Incorrect time/date displayed:
- Access the system settings via the BWYDLEN button and manually adjust the date and time.
- The internal CR2032 battery maintains the clock; if it's consistently losing time, the battery may need replacement (consult VEVOR support).
8. Gwarant a Chefnogaeth
The VEVOR Time Clock (Model: TM1000) is manufactured by VEVOR. For specific warranty information, technical support, or service inquiries, please refer to the warranty card included with your product or visit the official VEVOR website. Please have your product model number (TM1000) and purchase details ready when contacting support.
For further assistance, you may also refer to the VEVOR store on Amazon: Siop Amazon VEVOR.