
1. Rhagymadrodd
This manual provides essential information for the safe and effective use of your Snapmaker 1064nm Infrared Laser Module. This module is designed for engraving various plastics and metals, expanding the capabilities of your Snapmaker 2.0, Artisan, or Ray series machine. Please read this manual thoroughly before installation and operation.
2. Gwybodaeth Diogelwch
Operating laser equipment requires strict adherence to safety protocols to prevent injury. The 1064nm Infrared Laser Module incorporates a built-in tilt detection and protection mechanism that automatically halts operation if incorrect installation or tilting of the laser head is detected.
- Amddiffyn Llygaid: Always wear appropriate laser safety goggles specifically designed for 1064nm infrared lasers during operation. These must be purchased separately.
- Amgaead: Use a protective enclosure (must be purchased separately) to contain laser emissions and debris, ensuring a safe working environment.
- Awyru: Ensure adequate ventilation to remove fumes and particles generated during engraving.
- Diogelwch Deunydd: Only engrave materials specified as safe for infrared lasers. Certain materials can produce hazardous fumes or catch fire.
- Goruchwyliaeth: Never leave the laser module operating unattended.
Ffigur 2.1: Laser module tilt detection. The left side shows correct installation (green check), while the right side shows incorrect installation (red X) triggering a safety halt. Laser safety goggles and an enclosure are shown as separate safety accessories.
3. Cynnyrch Drosview a Chynnwys
The Snapmaker 1064nm Infrared Laser Module is a precision tool for detailed engraving on a variety of materials. It features an easy-to-focus mechanism and AB position functionality for precise graphic placement.
3.1 Beth sydd yn y Bocs
Wrth ddadbacio, gwnewch yn siŵr bod yr holl gydrannau canlynol yn bresennol:
- Modiwl Laser Is-goch 1064nm
- Cerdyn Calibro
- Swabiau Cotwm
- Sgriwiau Mowntio

Ffigur 3.1: Unpacked contents of the Snapmaker 1064nm Infrared Laser Module.
4. Gosod
To set up your 1064nm Infrared Laser Module, follow these general steps. Refer to your Snapmaker machine's main user manual for specific instructions on module installation.
- Pwer i ffwrdd: Ensure your Snapmaker machine is powered off and disconnected from the power source before beginning installation.
- Gosodwch y Modiwl: Carefully attach the 1064nm Infrared Laser Module to the tool head carriage of your Snapmaker machine using the provided mounting screws. Ensure it is securely fastened and correctly oriented.
- Ceblau Cyswllt: Connect the module's data and power cables to the designated ports on the tool head carriage.
- Pŵer Ymlaen: Once the module is securely installed and connected, you may power on your Snapmaker machine.
- Adnabyddiaeth Meddalwedd: Your Snapmaker software (e.g., Luban) should automatically detect the new laser module. If not, restart the software or machine.
5. Cyfarwyddiadau Gweithredu
This section details the key operational aspects of the 1064nm Infrared Laser Module.
5.1 Engravable Materials
The 1064nm Infrared Laser Module is suitable for engraving a variety of plastics and metals. This includes:
- Metelau: Painted Metal, SPTE (Steel Plate), Anodized Aluminum, Tinplate, Gold, Silver, Copper, Titanium, Stainless steel, Aluminum.
- Plastigau: Opaque plastics (e.g., ABS, PLA, PETG 3D printing filament - dark opaque), Acrylic (white opaque & black opaque).
- Eraill: Leather, Silicone (dark opaque), PCB.

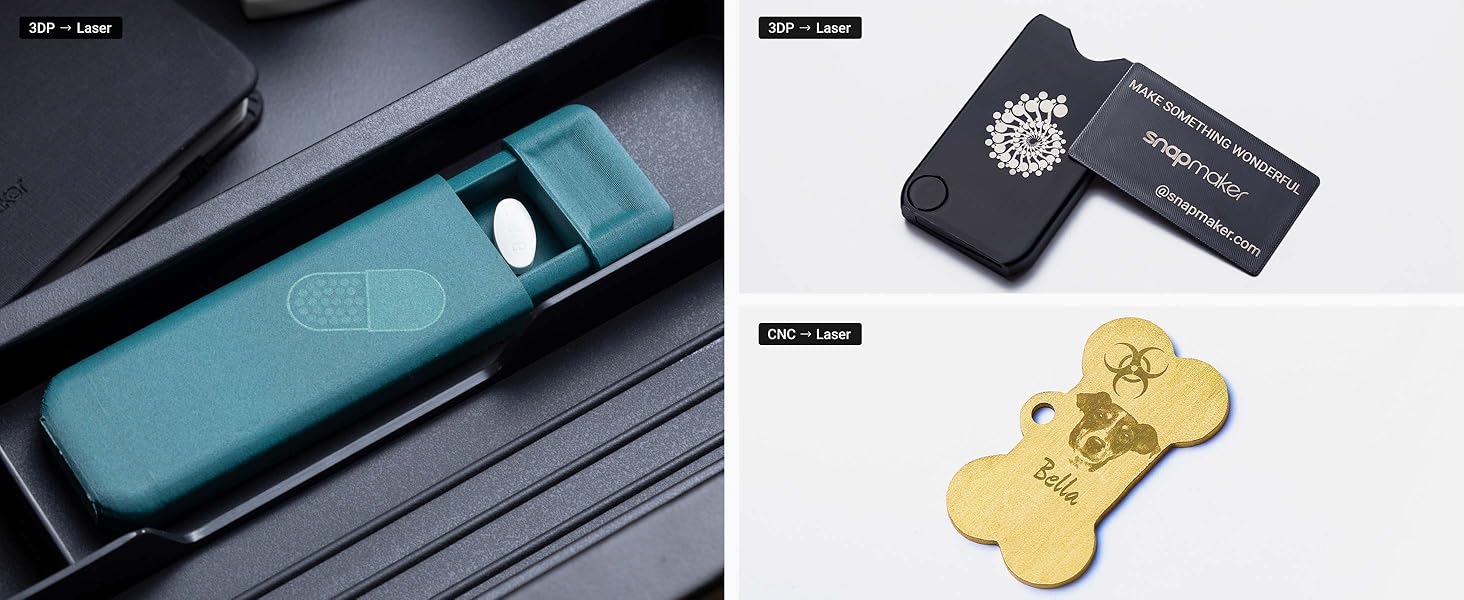
Ffigur 5.1: Examples of materials and objects successfully engraved with the 1064nm Infrared Laser Module.
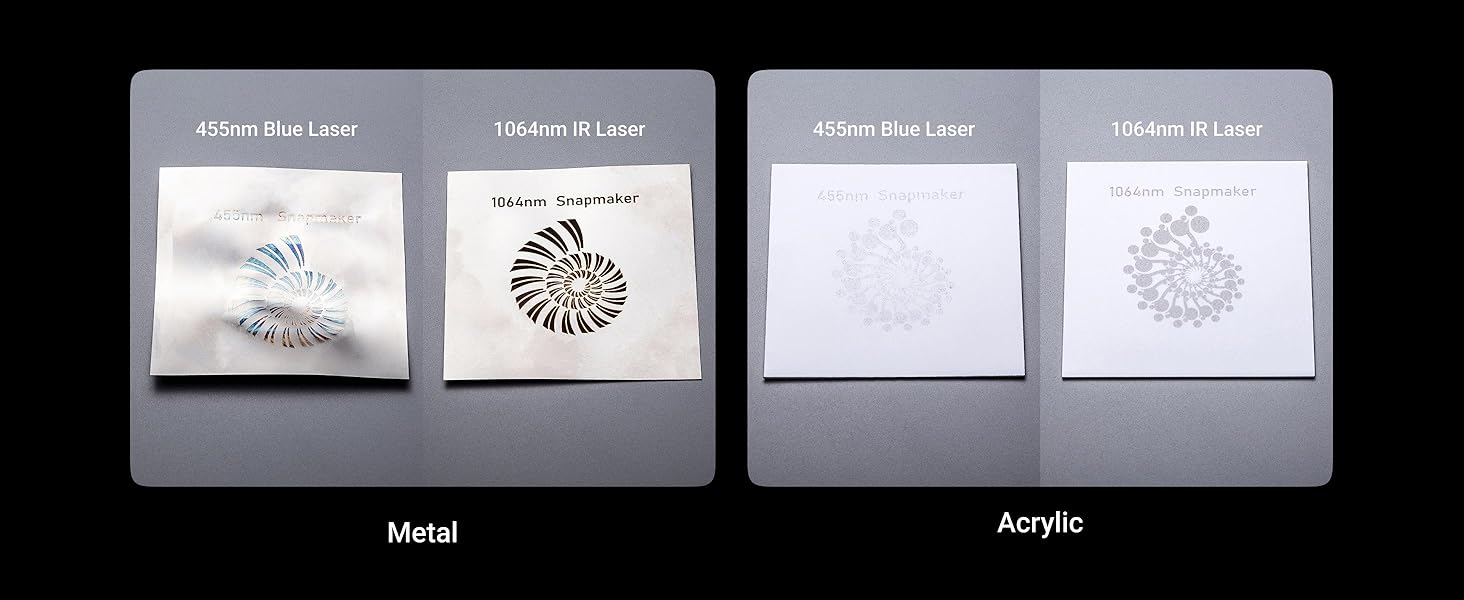
Ffigur 5.2: Comparison of 455nm Blue Laser vs. 1064nm IR Laser engraving on metal and acrylic.
5.2 AB Position for Precise Engraving
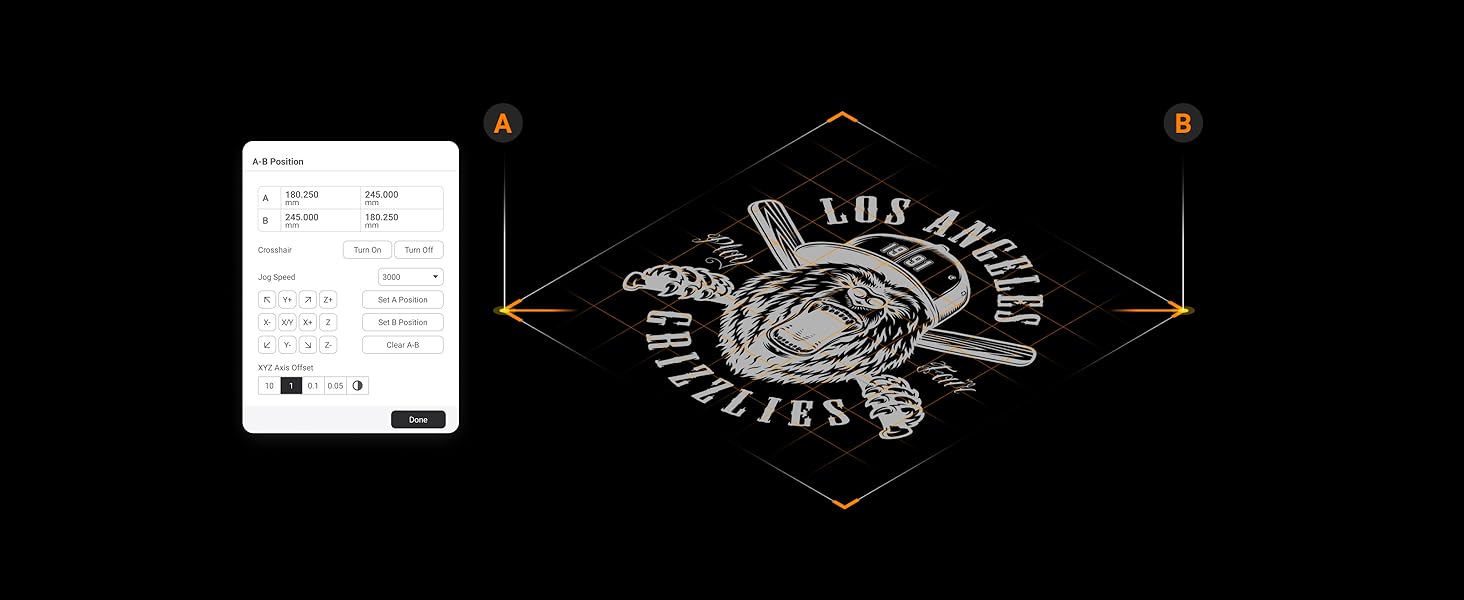
The AB Position feature in the Luban software streamlines your workflow by allowing you to define a rectangular engraving area using two points, A and B. This ensures precise graphic placement on your material.
- Select Points: In Luban, manually position the laser head to define point A, then set it. Repeat for point B.
- Define Area: The software will automatically define a rectangular engraving area based on these two points.
- Cynview and Engrave: Cynview the engraving path and proceed with the operation.
Ffigur 5.3: Using the AB Position feature in Snapmaker Luban software.
5.3 Easy-to-Focus Mechanism
Achieving optimal focus is crucial for high-quality engraving. The module offers two focus methods:
- Auto-Focus (Material Touch Measuring): Position the execution head in Luban to locate the material. Use the focus lever on the module to touch the material surface. The module will automatically adjust to the correct focal distance.
- Manual Measuring: Adjust focus by manually measuring the material thickness and inputting the value into the software.

Ffigur 5.4: The focus lever on the 1064nm Infrared Laser Module.
5.4 Supported Design Files
The Snapmaker software supports various design file formats for engraving:
- STL
- SVG
- JPEG
- PNG
- JPG
- BMP
- DXF
- SNAPLZR
6. cynnal
Regular maintenance ensures the longevity and optimal performance of your laser module.
- Glanhau Lens: Periodically inspect the laser lens for dust or debris. Use a soft, lint-free cloth and a small amount of isopropyl alcohol to gently clean the lens. Avoid abrasive materials.
- Module Exterior: Keep the exterior of the module clean by wiping it with a dry or slightly damp brethyn.
- Storio: When not in use, store the module in a clean, dry environment, away from direct sunlight and extreme temperatures.
7. Datrys Problemau
If you encounter issues with your 1064nm Infrared Laser Module, consider the following common solutions:
- Modiwl Heb ei Ganfod: Ensure the module is correctly installed and all cables are securely connected. Restart your Snapmaker machine and the Luban software.
- Ansawdd Ysgythru Gwael: Check the laser focus. Ensure the material is flat and properly secured. Verify that the correct material settings (power, speed) are selected in Luban. Clean the laser lens if necessary.
- Laser Ddim yn Tanio: Confirm that safety features (e.g., enclosure door, tilt sensor) are not triggered. Check software settings for laser power and ensure the job is properly initiated.
- Machine Errors: Refer to your Snapmaker machine's main user manual or the Snapmaker support website for specific error codes and solutions.
For further assistance, visit the official Snapmaker support websafle neu cysylltwch â gwasanaeth cwsmeriaid.
8. manylebau
| Nodwedd | Manylyn |
|---|---|
| Tonfedd Laser | 1064nm (Isgoch) |
| Deunyddiau Engrafadwy | Various plastics and metals (Painted Metal, SPTE, Anodized Aluminum, Tinplate, Gold, Silver, Copper, Titanium, Stainless steel, Aluminum, Opaque Plastic, 3D Printing Filament (Dark Opaque), Acrylic (White Opaque & Black Opaque), Leather, Silicone (Dark Opaque), PCB) |
| Dull Ffocws | Auto-focus through Manual Measuring or Material Touch Measuring (Using Focus Lever) |
| Nodweddion Diogelwch | Module tilt detection and protection |
| Supported Design Files | STL, SVG, JPEG, PNG, JPG, BMP, DXF, SNAPLZR |
| Dimensiynau Pecyn | 7.28 x 6.06 x 4.61 modfedd |
| Pwysau Eitem | 2.14 pwys |
| Gwneuthurwr | Snapmaker |
9. Cydweddoldeb
The Snapmaker 1064nm Infrared Laser Module is compatible with the following Snapmaker machines:
- Snapmaker 2.0 A350T
- Snapmaker 2.0 A350
- Snapmaker 2.0 A250T
- Snapmaker 2.0 A250
- Snapmaker 2.0 A150
- Snapmaker F350
- Snapmaker F250
- Snapmaker Ray
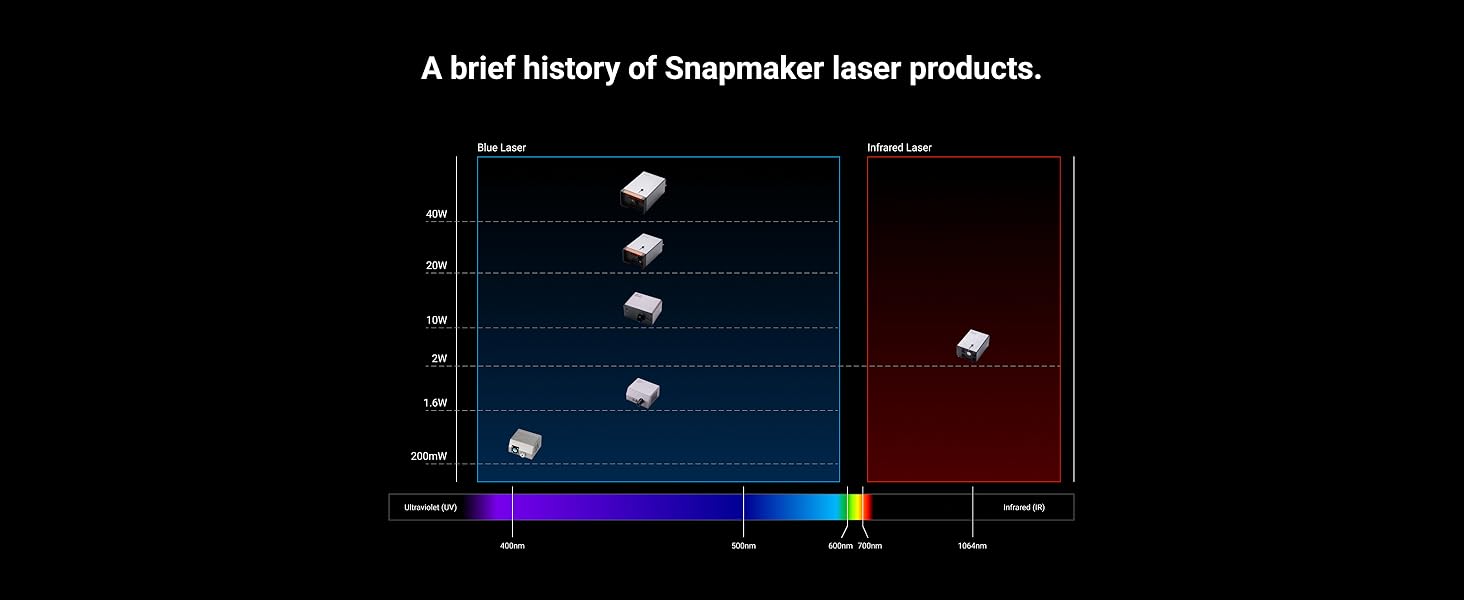
Ffigur 9.1: The 1064nm Infrared Laser Module is compatible with Snapmaker 2.0, Artisan, and Ray series machines.
10. Gwarant a Chefnogaeth
For detailed warranty information and technical support, please refer to the official Snapmaker websafle neu cysylltwch â'u gwasanaeth cwsmeriaid yn uniongyrchol. Cadwch eich derbynneb prynu ar gyfer hawliadau gwarant.
- Adnoddau Ar-lein: Ymwelwch â'r Snapmaker Official Websafle for FAQs, tutorials, and software updates.
- Gwasanaeth Cwsmer: Contact Snapmaker support for assistance with product issues or inquiries.