
1. Rhagymadrodd
The PeriPage P90 Thermal Tattoo Stencil Printer is a compact and wireless device designed for creating clear and precise tattoo stencils. Utilizing advanced thermal printing technology, it eliminates the need for ink, offering a clean and efficient solution for tattoo artists and enthusiasts. Its portable design and broad compatibility with various devices make it a versatile tool for on-the-go use.
This manual provides essential information for the safe and effective operation of your PeriPage P90 printer, covering setup, usage, maintenance, and troubleshooting.
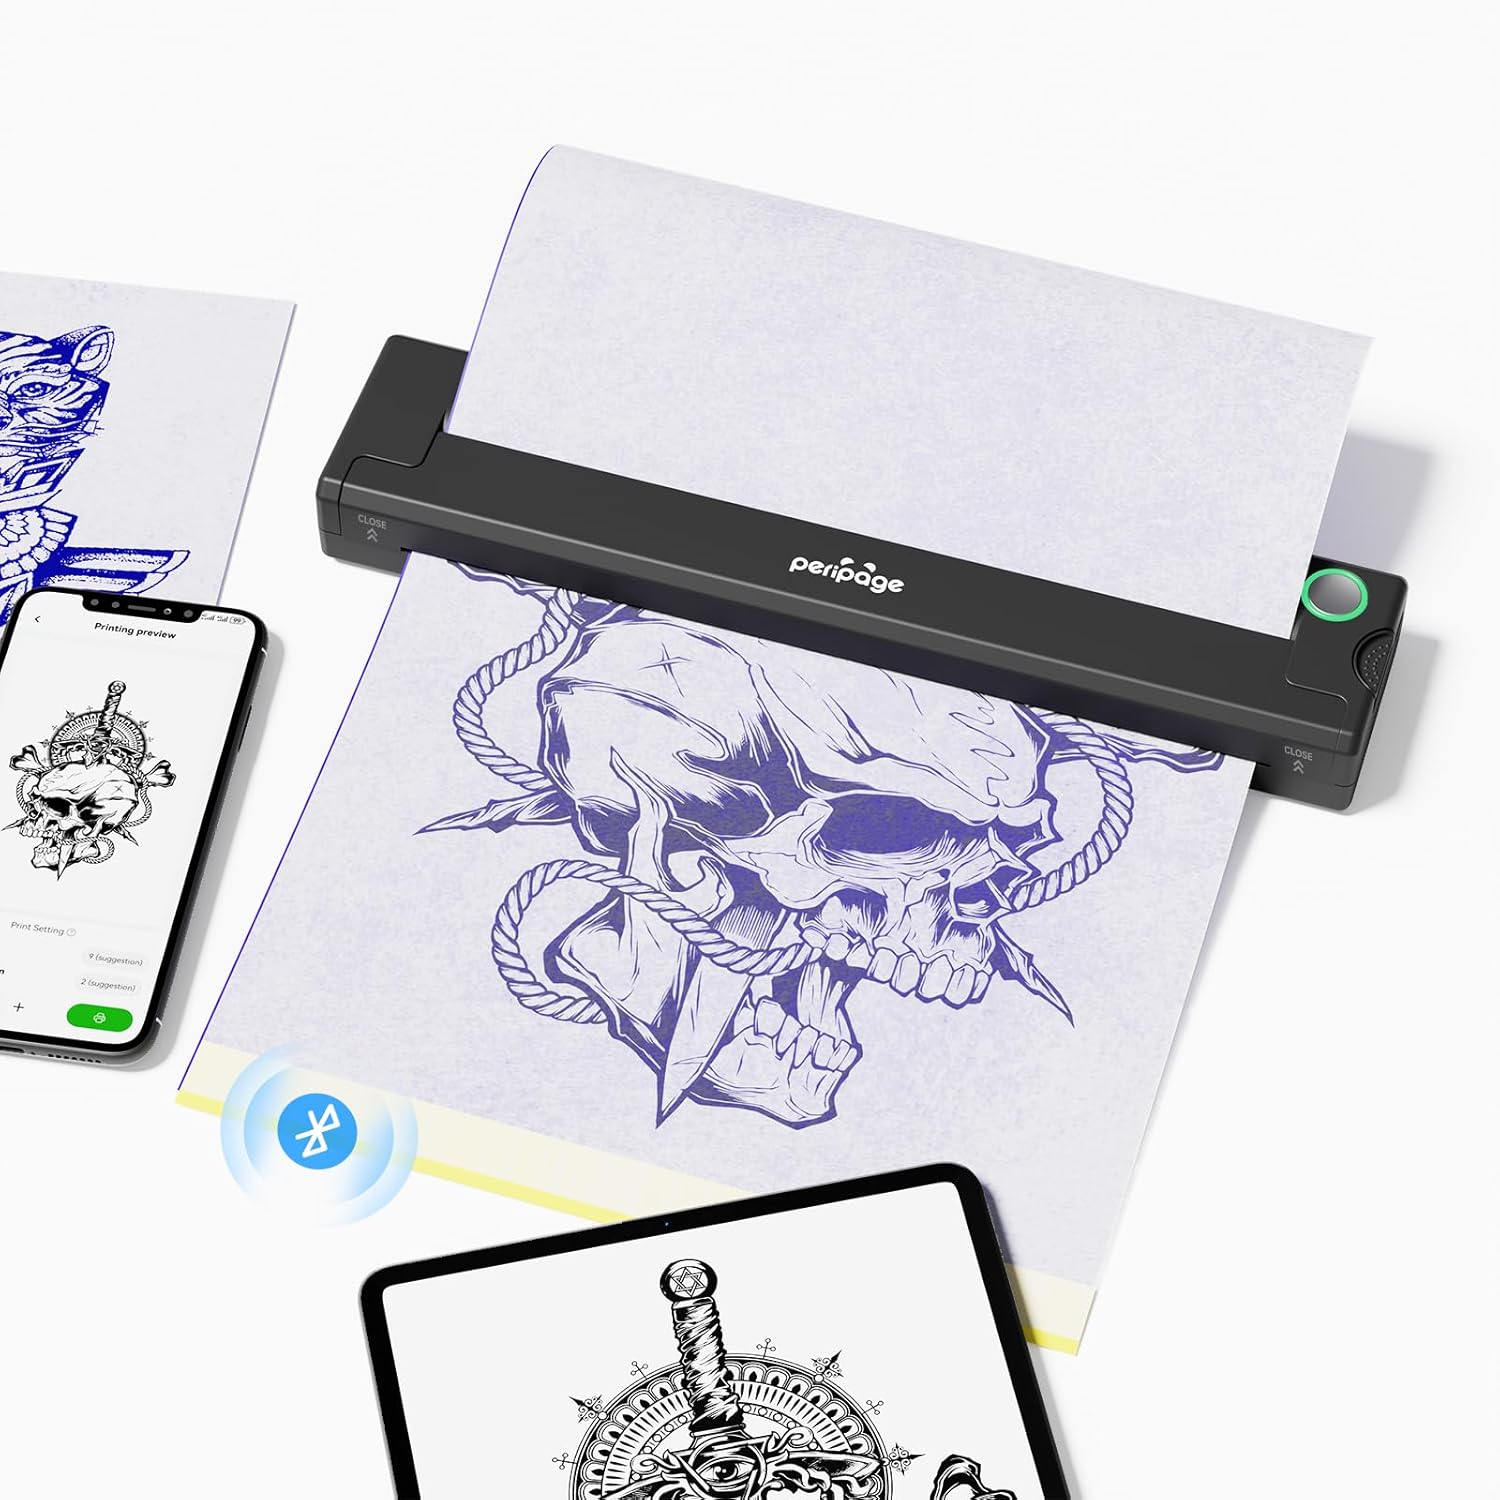
Image: The PeriPage P90 printer actively printing a tattoo stencil, with a smartphone and tablet displaying tattoo designs nearby.
2. Gwybodaeth Diogelwch
To ensure safe operation and prevent damage to the device or injury, please observe the following:
- Keep the device away from naked flames or direct heat sources.
- Do not expose the printer to water or excessive moisture.
- Avoid disassembling or attempting to repair the device yourself. Contact customer support for assistance.
- Use only approved power adapters and cables.
- Cadwch allan o gyrraedd plant.
3. Beth sydd yn y Bocs
Upon unboxing your PeriPage P90, verify that all the following components are included:
- P90 Wireless Tattoo Transfer Stencil Printer x 1
- Tattoo Transfer Paper x 5 Sheets
- Mac Port x 1 (for Mac connectivity)
- Cebl gwefru USB-A i USB-C x 1
- Llawlyfr Defnyddiwr x 1
4. manylebau
| Nodwedd | Manylyn |
|---|---|
| Enw Model | PeriPage P90 |
| Technoleg Argraffu | Thermol (Di-inc) |
| Cysylltedd | Bluetooth, USB |
| Dyfeisiau Cydnaws | Smartphones, Tablets, Laptops, PC (Android, iOS, Windows, MacOS) |
| Datrysiad Argraffu Du a Gwyn Uchaf | 400 dpi |
| Max Copy Resolution (B&W) | 300 dpi |
| Maint Cyfryngau Uchaf | A4 |
| Dimensiynau Cynnyrch | 1.2 x 10.4 x 1.2 modfedd (30.5 x 264.2 x 30.5 mm) |
| Pwysau Eitem | 1.53 pwys (0.69 kg) |
| Batri | Lithiwm Ion 2000mAh (ailwefradwy) |
| Dull Rheoli | Ap |
5. Gosod
5.1 Gwefru'r Argraffydd
Before first use, fully charge the PeriPage P90 printer using the provided USB-A to USB-C charging cable. Connect the USB-C end to the printer and the USB-A end to a compatible power source (e.g., computer USB port, wall adapter). The indicator light will show charging status.
5.2 Gosod Apiau
The PeriPage P90 operates via a dedicated mobile application. Download the 'PeriPage' app from your device's app store (available for Android and iOS). For PC users, drivers may be required, typically available on the manufacturer's websafle.
5.3 Cysylltu'r Argraffydd
Mae'r argraffydd yn cefnogi cysylltiadau Bluetooth ac USB.
Bluetooth Connection (for Smartphones/Tablets):
- Press and hold the power button on the printer for 2 seconds to turn it on. The indicator light will illuminate.
- Open the PeriPage app on your smartphone or tablet.
- Navigate to the connection settings within the app and search for available Bluetooth devices.
- Select 'PeriPage P90' from the list to pair. Once connected, the app will confirm.

Image: Visual representation of the PeriPage P90 connecting to various devices via Bluetooth and USB.
USB Connection (for PC/Laptops):
- Sicrhewch fod yr argraffydd wedi'i bweru ymlaen.
- Connect the printer to your PC or laptop using the USB-A to USB-C cable.
- Install the necessary drivers for Windows or MacOS, if prompted. These can typically be found on the PeriPage official websafle.
- Once drivers are installed, the printer should be recognized by your computer.
5.4 Loading Tattoo Transfer Paper
- Prepare the tattoo transfer paper by tearing off the yellow backing paper.
- Remove the protective sheet from the transfer paper.
- Carefully insert the prepared transfer paper into the printer's paper slot, ensuring it is straight and aligned. The printer will automatically feed the paper into position.

Image: A visual guide demonstrating the steps for preparing and loading tattoo transfer paper into the PeriPage P90 printer.
6. Cyfarwyddiadau Gweithredu
6.1 Printing a Stencil
- Ensure the printer is connected to your device (smartphone, tablet, or PC) and transfer paper is loaded.
- Open the PeriPage app (or printing software on PC).
- Select the 'Tattoo' function within the app.
- Choose the desired tattoo design from your gallery or the app's template library.
- Adjust the size, position, and other print settings of the pattern as needed. The app offers features for beautification and precise adjustments.
- Cynview the design to ensure it meets your requirements.
- Click 'Print' to send the design to the printer. The printer will feed the paper and produce the stencil.

Image: The PeriPage app interface showing options for template selection, image adjustment, and printing settings for tattoo designs.
6.2 Applying the Stencil
After printing, the stencil is ready for application to the skin:
- Clean and prepare the skin area where the tattoo will be applied.
- Apply a thin, even layer of tattoo transfer gel or stencil solution to the prepared skin.
- Carefully place the printed stencil onto the gel-covered skin, pressing firmly and evenly. Avoid shifting the stencil.
- Gently peel off the transfer paper to reveal the transferred tattoo pattern on the skin. Allow it to dry completely before proceeding with tattooing.

Image: A visual guide illustrating the steps for applying tattoo gel, placing the stencil, and revealing the transferred pattern on the skin.
6.3 Official Product Video: How to Use PeriPage P90 Wireless Tattoo Transfer Printer
Video: A comprehensive guide demonstrating the unboxing, setup, and printing process of the PeriPage P90 Wireless Tattoo Transfer Printer. This video covers turning on the device, loading paper, connecting via Bluetooth, using the app to select and print designs, and applying the stencil to the skin.
7. cynnal
Proper maintenance ensures the longevity and optimal performance of your PeriPage P90 printer:
- Glanhau'r Pen Argraffu: Regularly clean the thermal print head with a soft, lint-free cloth lightly dampened with isopropyl alcohol. Ensure the printer is off and cooled down before cleaning.
- Glanhau Allanol: Wipe the exterior of the printer with a soft, dry cloth. Avoid abrasive cleaners or solvents.
- Storio Papur: Store tattoo transfer paper in a cool, dry place away from direct sunlight and heat to prevent degradation.
- Gofal Batri: For long-term storage, charge the printer to about 50% and store it in a cool, dry environment. Recharge periodically if not used for extended periods.
8. Datrys Problemau
If you encounter issues with your PeriPage P90 printer, refer to the following common problems and solutions:
| Problem | Achos Posibl | Ateb |
|---|---|---|
| Nid yw'r argraffydd yn troi ymlaen | Batri isel; Botwm pŵer heb ei wasgu'n gywir | Gwefrwch yr argraffydd; Pwyswch a daliwch y botwm pŵer am 2 eiliad. |
| Methu cysylltu trwy Bluetooth | Bluetooth off; Printer not in pairing mode; App issue | Ensure Bluetooth is enabled on your device; Restart printer and app; Try pairing again. |
| Poor print quality (faint, blurry, inconsistent) | Low battery; Incorrect paper loading; Dirty print head; App print settings | Charge printer; Re-load paper correctly; Clean print head; Adjust print concentration/speed in app. |
| Jam papur | Llwyth papur amhriodol; Papur wedi'i ddifrodi | Turn off printer, gently pull out jammed paper; Ensure paper is flat and correctly aligned when loading. |
| Nid yw'r cyfrifiadur personol yn adnabod yr argraffydd | Missing/incorrect drivers; Loose USB connection | Install correct drivers from PeriPage website; Check USB cable connection. |
9. Gwarant a Chefnogaeth
The PeriPage P90 Thermal Tattoo Stencil Printer comes with a standard manufacturer's warranty. Please refer to the warranty card included in your packaging for specific terms and conditions, including warranty duration and coverage details.
For technical support, service, or inquiries regarding your product, please contact PeriPage customer service through their official website or the contact information provided in your product documentation. When contacting support, please have your product model (P90) and purchase details ready.