
1. Rhagymadrodd
This manual provides instructions for the proper setup, operation, and maintenance of your Andoer Mini Ball Head Tripod Head. Please read this manual thoroughly before use to ensure optimal performance and longevity of the product.
2. Cynnyrch Drosview
2.1 Nodweddion
- Top 1/4 inch screw for attaching cameras, video lights, flashes, microphones, or video monitors.
- Bottom 1/4 inch screw hole for installation on tripods, selfie sticks, or other mounts.
- Side locking button for 90° tilt adjustment and 360° rotation.
- Non-slip rubber ring on the top surface to protect attached devices from scratches and ensure stability.
- Constructed from aluminum alloy with anti-oxidation treatment for durability and portability.
2.2 Cydrannau
The Andoer Mini Ball Head consists of the following main components:
- Top 1/4 Inch Screw: For mounting your device.
- Non-slip Rubber Ring: Located on the top plate, beneath the 1/4 inch screw.
- Ball Joint: Allows for flexible angle adjustments.
- Knob Cloi: Secures the ball joint in position for tilt and rotation.
- Prif Gorff: The central aluminum alloy housing.
- Bottom 1/4 Inch Screw Hole: For attaching the ball head to a support.

Figure 1: Key connection points of the Andoer Mini Ball Head, illustrating the top 1/4 inch screw and the bottom 1/4 inch screw hole.
3. Gosod
3.1 Attaching to a Support
To attach the ball head to a tripod, monopod, or other compatible mount:
- Locate the 1/4 inch screw on your support device.
- Align the bottom 1/4 inch screw hole of the Andoer Mini Ball Head with the screw on your support.
- Rotate the ball head clockwise onto the support's screw until it is securely fastened. Do not overtighten.

Figure 2: The Andoer Mini Ball Head ready for attachment to a support device.
3.2 Attaching a Device
To attach your camera, video light, or other device to the ball head:
- Ensure the locking knob on the ball head is tightened to prevent accidental movement during attachment.
- Locate the 1/4 inch screw hole on the bottom of your device.
- Align your device's screw hole with the top 1/4 inch screw of the ball head.
- Rotate your device clockwise onto the ball head's screw until it is securely fastened. The non-slip rubber ring will help protect your device and provide a stable connection.
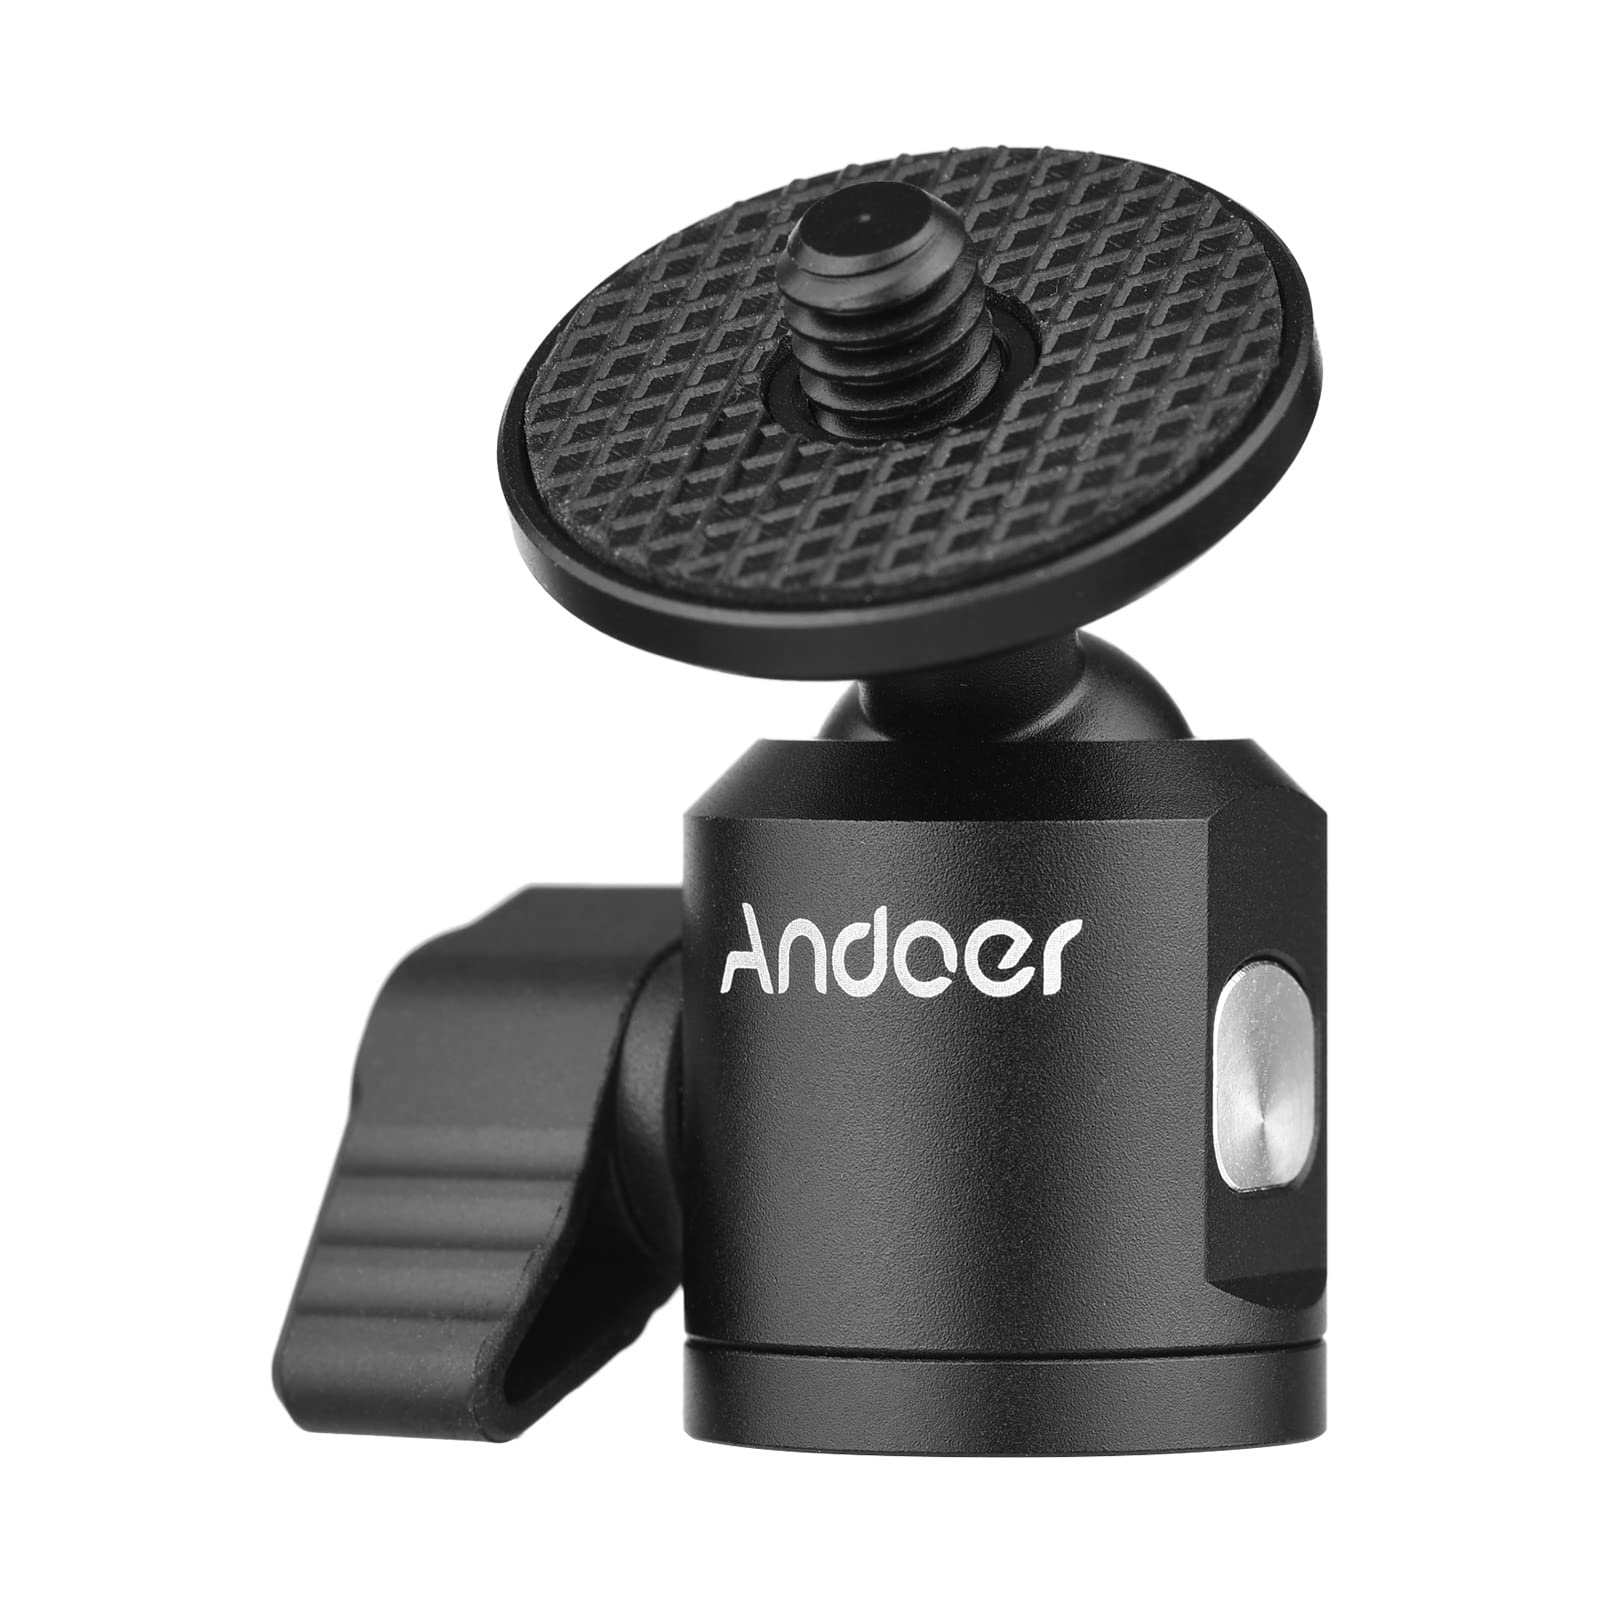
Figure 3: The top 1/4 inch screw for mounting a device.
4. Cyfarwyddiadau Gweithredu
4.1 Adjusting Tilt and Rotation
The ball head allows for flexible positioning of your attached device:
- Loosen the Locking Knob: Gently turn the side locking knob counter-clockwise to loosen the ball joint.
- Addasu Ongl: Position your device to the desired tilt (up to 90°) or rotate it horizontally (360°).
- Safle Diogel: Once the desired angle is achieved, turn the locking knob clockwise to tighten and secure the ball joint. Ensure it is firm enough to hold your device's weight without slipping.

Figure 4: The locking knob for angle adjustment.
5. cynnal
- Glanhau: Wipe the ball head with a soft, dry cloth. For stubborn dirt, a slightly damp gellir defnyddio lliain, ac yna ei sychu ar unwaith. Osgowch lanhawyr sgraffiniol neu doddyddion.
- Storio: Store the ball head in a dry, cool place away from direct sunlight and extreme temperatures.
- Arolygiad: Gwiriwch yr holl sgriwiau a chysylltiadau o bryd i'w gilydd am dynnwch.
6. Datrys Problemau
- Device Slipping: If your device is slipping after tightening the locking knob, ensure the knob is fully tightened. Verify that the combined weight of your device and any accessories does not exceed the ball head's maximum weight recommendation.
- Difficulty Adjusting Angle: If the ball joint is stiff, ensure the locking knob is sufficiently loosened. Do not force adjustments.
- Cysylltiadau Rhydd: Always ensure both the top 1/4 inch screw connection to your device and the bottom 1/4 inch screw hole connection to your support are securely tightened before use. Avoid excessive force when tightening, as this can damage threads.
7. manylebau
| Priodoledd | Gwerth |
|---|---|
| Lliw | Du |
| Deunydd | Aloi Alwminiwm |
| Cysylltiad Uchaf | Sgriw 1/4 modfedd |
| Cysylltiad Gwaelod | Twll sgriw 1/4 modfedd |
| Pwysau Eitem | 22 Gram (0.7 owns) |
| Argymhelliad Pwysau Uchaf | 22 gram |
| Addasiad Tilt | Hyd at 90° |
| Cylchdro | Panoramig 360 ° |