
1. Cyfarwyddiadau Diogelwch Pwysig
Please read these instructions carefully before using the appliance to prevent damage, fire, or injury. Keep this manual for future reference.
- Gwnewch yn siŵr bob amser bod yr offer wedi'i osod ar arwyneb sefydlog sy'n gwrthsefyll gwres.
- Peidiwch â throchi'r teclyn, y llinyn, na'r plygio i mewn dŵr neu hylifau eraill.
- Tynnwch y plwg o'r teclyn o'r allfa pan nad yw'n cael ei ddefnyddio, cyn cydosod neu ddadosod rhannau, a chyn glanhau.
- Peidiwch â gweithredu unrhyw offer gyda chortyn neu blwg wedi'i ddifrodi, neu ar ôl i'r offer gamweithio neu gael ei ddifrodi mewn unrhyw fodd.
- Keep children away from the appliance during operation. The surface can become hot.
- Peidiwch â defnyddio ategolion nad ydynt yn cael eu hargymell gan y gwneuthurwr.
- Mae'r teclyn hwn ar gyfer defnydd cartref yn unig.
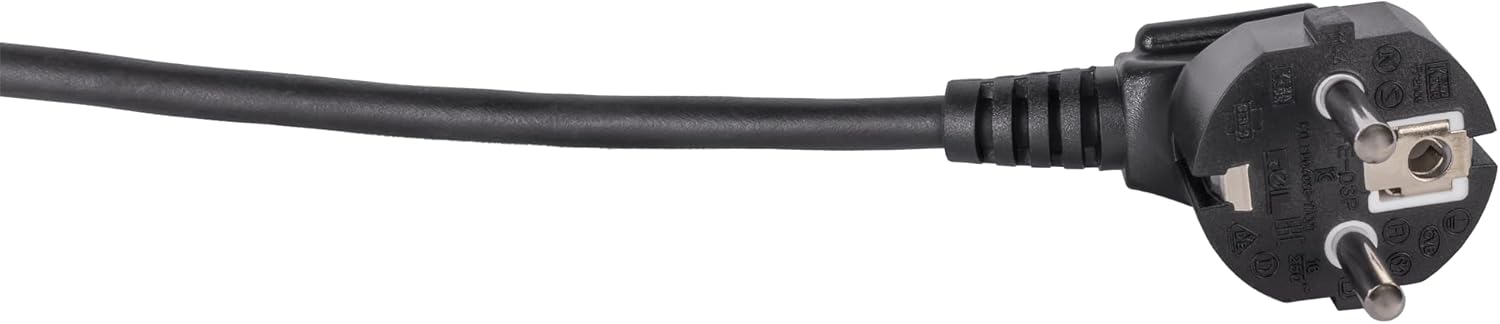
Image: Standard European power plug. Ensure the plug is fully inserted into a grounded outlet.
2. Cynnyrch Drosview
2.1 Cydrannau
The Steba BM 3 Bread Maker includes the following main components:
- Main Unit with Control Panel and Display
- Removable Baking Pan with Non-stick Coating
- Padlo Penlinio
- Cwpan Mesur
- Llwy Fesur
- Bachyn ar gyfer tynnu'r padl tylino
- Caead gyda Viewing Ffenestr

Delwedd: Blaen view of the Steba BM 3 Bread Maker, showing its compact design.
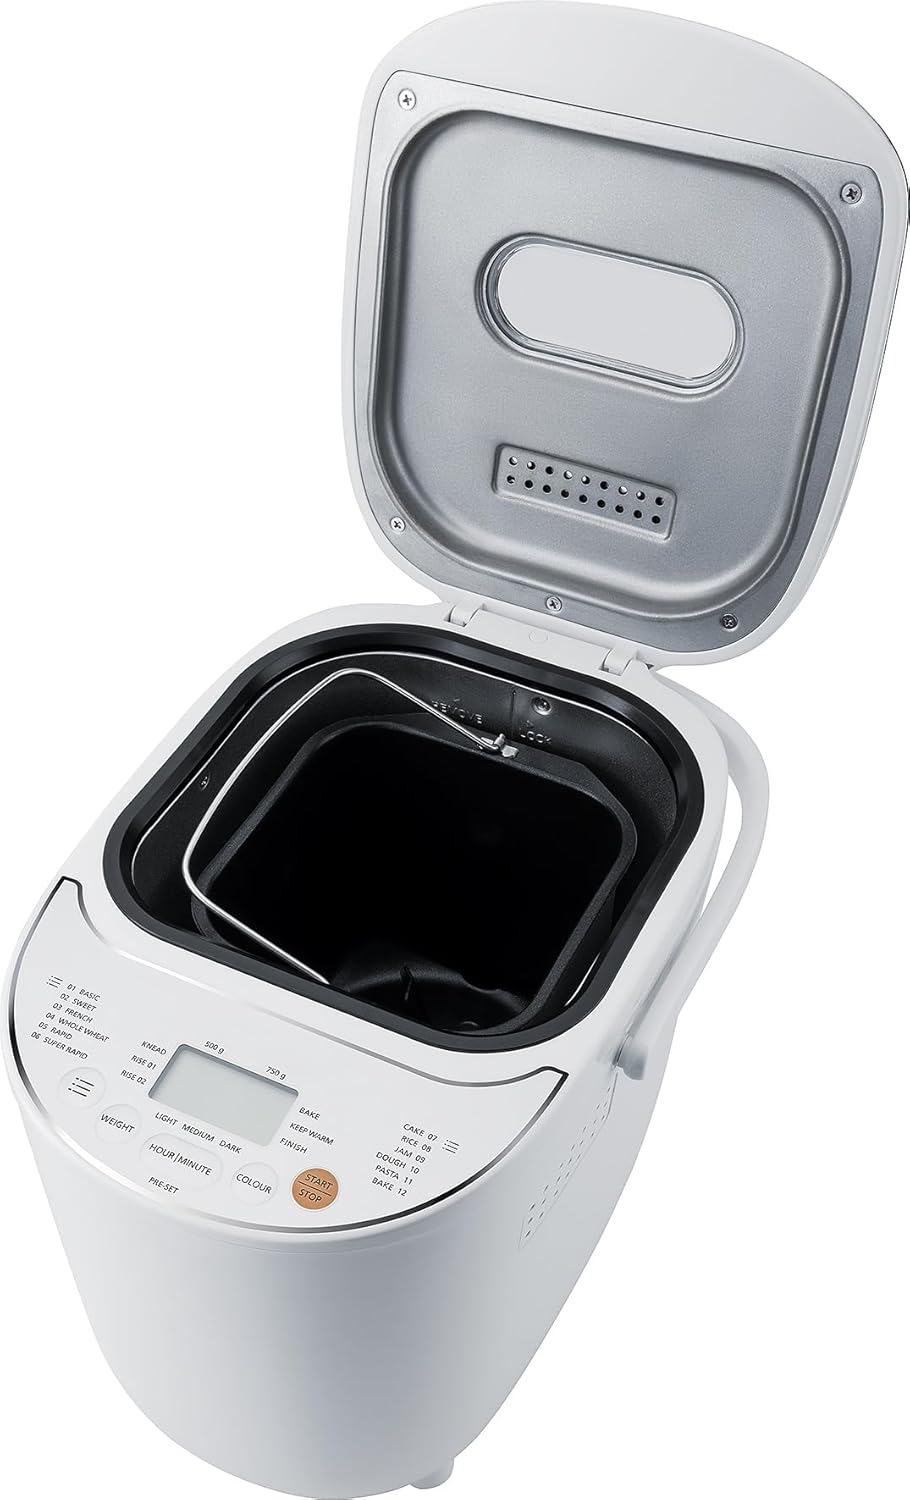
Image: The bread maker with its lid open, revealing the removable baking pan inside.
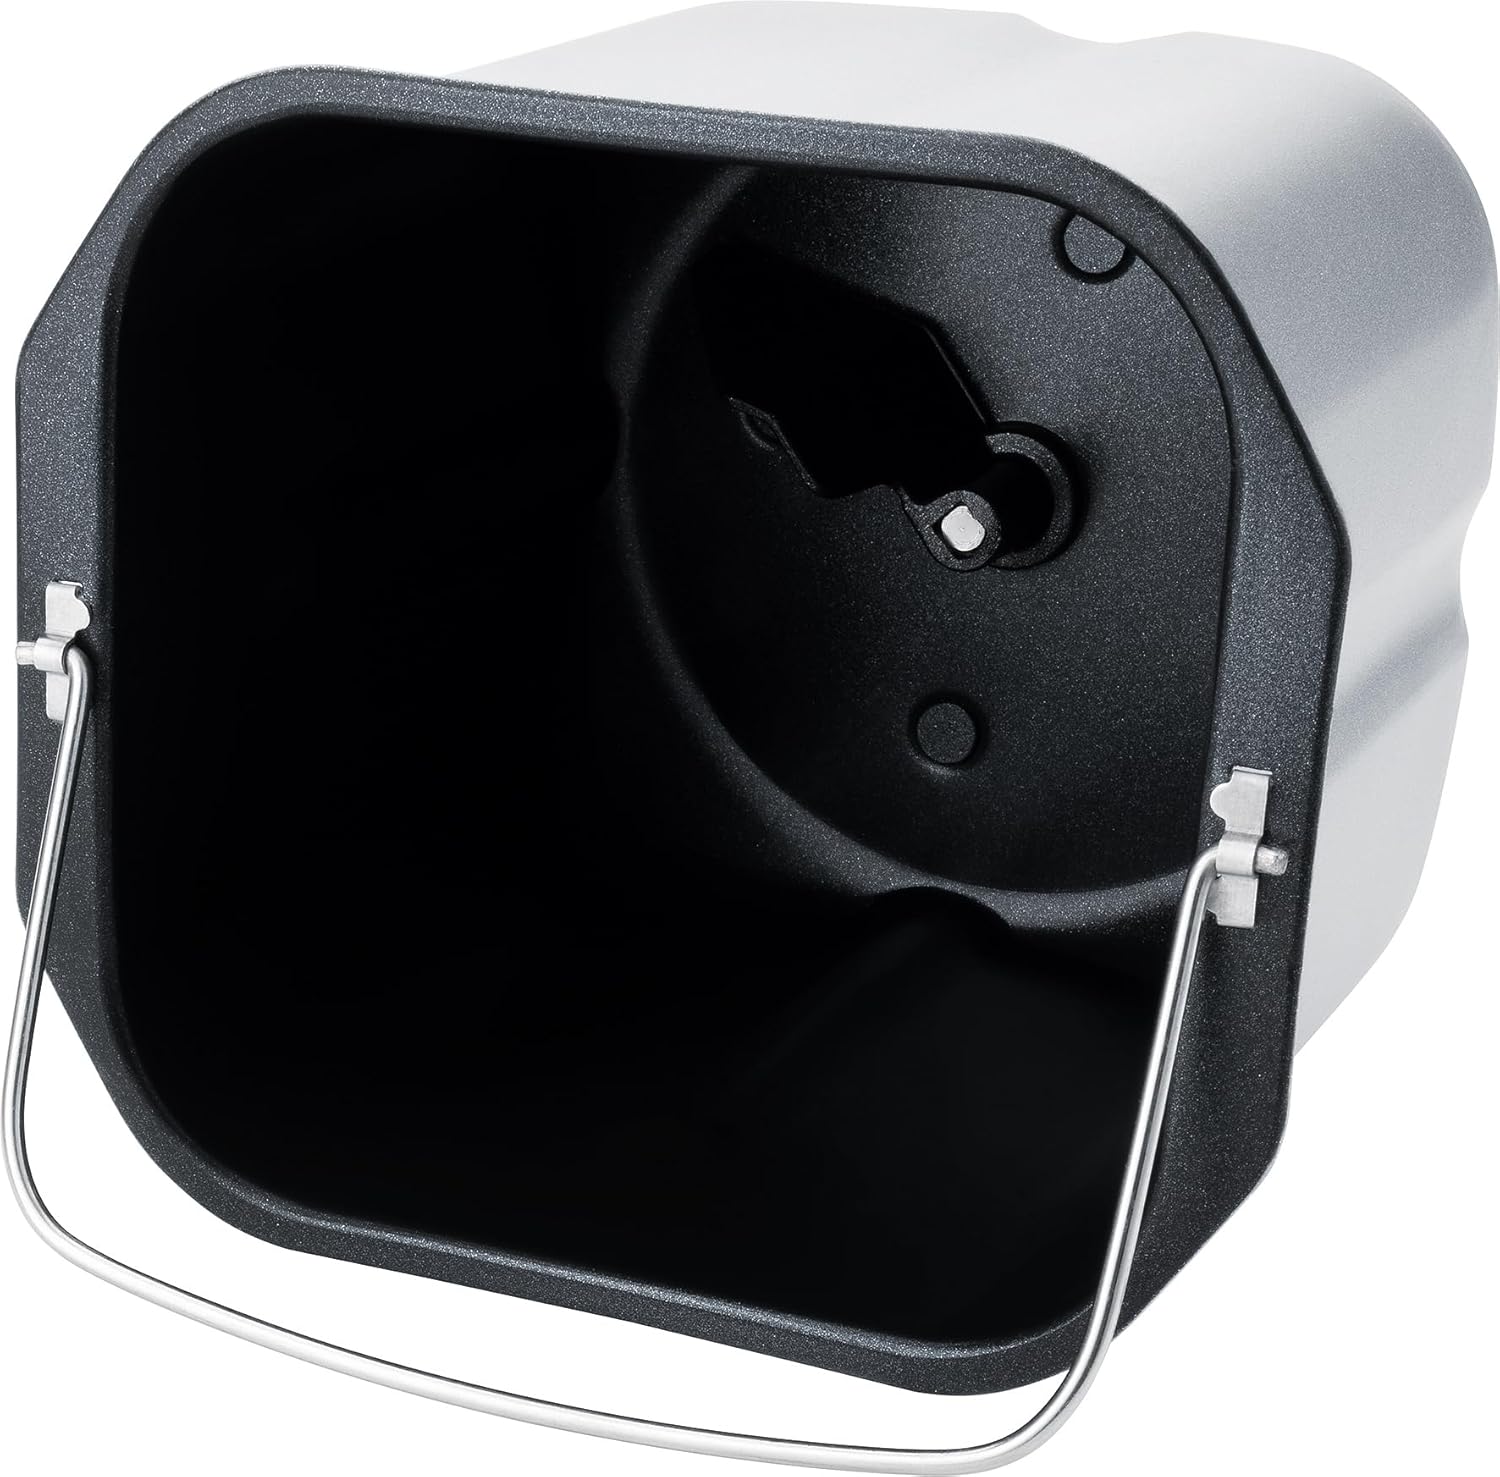
Delwedd: Manwl view of the non-stick baking pan with the kneading paddle shaft.

Image: Included accessories: a measuring cup, a double-sided measuring spoon, and a hook for removing the kneading paddle.
2.2 Panel Rheoli ac Arddangos
The intuitive Touch-Control panel allows for easy program selection and setting adjustments.

Image: Close-up of the control panel, showing the digital display, program list, and control buttons for weight, time, color, and start/stop.
Rheolyddion Allweddol:
- Arddangos: Shows selected program, time, and settings.
- Dewis Rhaglen: Choose from 12 automatic programs (Basic, Sweet, French, Whole Wheat, Rapid, Super Rapid, Cake, Rice, Jam, Dough, Pasta, Bake).
- Weight Button: Adjust bread weight (500g or 750g).
- Colour Button: Select crust browning level (Light, Medium, Dark).
- Hour/Minute (Pre-set) Buttons: Set delay timer for up to 13 hours.
- Botwm Cychwyn / Stopio: Initiate or cancel a program.
3. Gosod a Defnydd Cyntaf
3.1 Dadbacio
- Carefully remove the bread maker and all accessories from the packaging.
- Tynnwch unrhyw ffilmiau neu sticeri amddiffynnol o'r offer.
- Wash the baking pan, kneading paddle, measuring cup, and spoon in warm, soapy water. Rinse thoroughly and dry completely. The main unit should only be wiped with a damp brethyn.
3.2 Defnydd Cychwynnol
- Place the bread maker on a clean, dry, and stable surface.
- Insert the baking pan into the main unit and twist it clockwise until it locks into place.
- Attach the kneading paddle onto the shaft inside the baking pan.
- For the first use, it is recommended to run a short 'Bake' cycle (Program 12) without ingredients for about 10 minutes to burn off any manufacturing residues. Ensure good ventilation during this process.
- Allow the appliance to cool down completely before cleaning and proceeding with actual baking.
4. Gweithrediad
4.1 Basic Bread Making Steps
- Ychwanegu Cynhwysion: Follow a recipe and add liquid ingredients first, then dry ingredients, and finally yeast. Ensure yeast does not come into direct contact with liquids or salt.
- Dewis Rhaglen: Plug in the bread maker. The default program (usually 'Basic') will appear on the display. Press the 'Program' button repeatedly to cycle through the 12 available programs until your desired program is selected.
- Set Weight: Press the 'Weight' button to choose between 500g or 750g loaf size, if applicable for the selected program.
- Set Crust Colour: Press the 'Colour' button to select Light, Medium, or Dark crust.
- Dechrau Pobi: Press the 'Start/Stop' button. The bread maker will begin the selected program.
- Cwblhau: Once the program finishes, the bread maker will beep and automatically switch to a 1-hour 'Keep Warm' function.
- Tynnu Bara: Unplug the appliance. Using oven mitts, carefully remove the baking pan by twisting it counter-clockwise and lifting it out. Invert the pan to release the bread onto a wire rack to cool. If the kneading paddle remains in the bread, use the provided hook to remove it.
4.2 Swyddogaeth Amserydd Oedi
The delay timer allows you to set the bread maker to finish baking at a later time, up to 13 hours. This is ideal for fresh bread in the morning.
- Add all ingredients to the baking pan.
- Select your desired program, weight, and crust colour.
- Press the 'Hour' and 'Minute' buttons to set the desired delay time. The displayed time includes the baking cycle duration.
- Press 'Start/Stop'. The timer will count down, and the bread maker will start automatically when the delay time expires.
Nodyn: Do not use the delay timer with recipes containing highly perishable ingredients like milk, eggs, or fresh fruit, as they may spoil.

Image: An assortment of various types of freshly baked bread, illustrating the potential output of the bread maker.
5. Cynnal a Chadw a Glanhau
Proper cleaning and maintenance ensure the longevity and optimal performance of your bread maker.
5.1 Glanhau
- Tynnwch y plwg bob amser a gadewch iddo oeri'n llwyr cyn glanhau.
- Padell Pobi a Padl Tylino: These parts are non-stick and should be washed by hand with warm, soapy water. Avoid abrasive cleaners or scouring pads that could damage the non-stick coating. Rinse thoroughly and dry completely.
- Prif Uned: Sychwch du allan y peiriant bara gyda lliain meddal, damp cloth. Do not use harsh chemicals or immerse the unit in water.
- Caead: Gellir sychu'r caead yn lân gydag hysbysebamp brethyn. Mae'r viewing window can be cleaned with a mild glass cleaner if necessary.
5.2 Storio
Store the bread maker in a dry, clean place, away from direct sunlight and out of reach of children.
6. Datrys Problemau
Os byddwch chi'n dod ar draws problemau gyda'ch peiriant bara, cyfeiriwch at y problemau a'r atebion cyffredin canlynol:
| Problem | Achos Posibl | Ateb |
|---|---|---|
| Nid yw bara yn codi | Expired yeast, incorrect water temperature, too much salt/sugar, wrong program. | Check yeast expiry, use lukewarm water, ensure correct ingredient ratios, select appropriate program. |
| Mae'r bara yn rhy drwchus | Too much flour, not enough liquid, yeast issue. | Measure ingredients precisely, ensure proper liquid-to-flour ratio, check yeast activity. |
| Padl tylino yn sownd mewn bara | Digwyddiad arferol. | Defnyddiwch y bachyn a ddarperir i dynnu'r padl yn ofalus ar ôl i'r bara oeri ychydig. |
| Offer ddim yn cychwyn | Not plugged in, program not selected, 'Start/Stop' not pressed. | Ensure power connection, select a program, press 'Start/Stop'. |
7. manylebau
Technical details for the Steba BM 3 Bread Maker:
- Rhif Model: 188300
- Brand: Steba
- Cyftage: 230 Folt
- Wattage: 540 Wat
- Cynhwysedd: Hyd at 750 Gram
- Dimensiynau'r Cynnyrch (D x L x U): 34D x 27.5W x 24U cm
- Pwysau Eitem: 4 Cilogram
- Deunydd: Plastig
- Nifer y Rhaglenni: 12
- Cyfarwyddiadau Gofal: Golchi â llaw yn unig (ar gyfer rhannau symudadwy)
- EU Spare Parts Availability: 2 Mlynedd

Image: Diagram showing the dimensions of the Steba BM 3 Bread Maker: 34 cm depth, 27.5 cm width, and 24 cm height.
8. Gwarant a Chefnogaeth
For warranty claims, technical support, or service inquiries, please contact your retailer or the manufacturer directly. Keep your proof of purchase for warranty validation.