
Rhagymadrodd
This manual provides detailed instructions for the safe and efficient operation of your SINGER M1005 Electric Sewing Machine. The M1005 is designed for various sewing projects, offering 4 built-in stitches with 11 options, adjustable thread tension, and a reverse lever for securing seams. Please read this manual thoroughly before using the machine to ensure proper setup and function.
Cyfarwyddiadau Diogelwch Pwysig
Wrth ddefnyddio offer trydanol, dylid dilyn rhagofalon diogelwch sylfaenol bob amser, gan gynnwys y canlynol:
- Darllenwch yr holl gyfarwyddiadau cyn defnyddio'r peiriant gwnïo hwn.
- Keep these instructions in a convenient place near your machine.
- Always unplug the machine from the electrical outlet immediately after using and before cleaning, removing covers, lubricating, or making any other user servicing adjustments mentioned in the instruction manual.
- Peidiwch â gadael i gael ei ddefnyddio fel tegan. Mae angen sylw manwl pan fydd y teclyn hwn yn cael ei ddefnyddio gan blant neu'n agos atynt.
- Defnyddiwch y cynnyrch hwn at ei ddefnydd arfaethedig yn unig fel y disgrifir yn y llawlyfr hwn.
- Never operate this sewing machine if it has a damaged cord or plug, if it is not working properly, or if it has been dropped or damaged.
- Cadwch fysedd i ffwrdd o'r holl rannau symudol. Mae angen gofal arbennig o amgylch nodwydd y peiriant gwnïo.
- Defnyddiwch y plât nodwydd cywir bob amser. Gall y plât anghywir achosi i'r nodwydd dorri.
- Do not pull or push fabric while stitching. This may deflect the needle causing it to break.
- Turn the sewing machine off when making any adjustments in the needle area, such as threading the needle, changing the needle, threading the bobbin, or changing the presser foot.
Cynnyrch Drosview
The SINGER M1005 is a compact and user-friendly electric sewing machine designed for ease of use and portability.
Nodweddion Allweddol:
- 4 Stitches in 11 Options: Select from various straight stitches, zigzag stitches, blind hem stitch, and multi-stitch zigzag using the Stitch Selector Dial.
- Tensiwn Edau Addasadwy: Allows for fine-tuning stitch quality for different fabrics and threads.
- Top Drop-in Bobbin: Features a transparent bobbin cover for easy monitoring of thread supply and simple bobbin insertion.
- Free-Arm Design: Facilitates sewing of cylindrical items like trouser hems and sleeve cuffs.
- Reverse Lever: Conveniently located for securing the beginning and end of seams with reverse stitches.
- Extra High-Presser Foot Lifter: Provides additional clearance for sewing multiple layers or thicker fabrics.
- Dyluniad Symudol: Lightweight for easy transport and storage.
Cydrannau wedi'u Cynnwys:
Your SINGER M1005 sewing machine package includes the following items:
- 1 Peiriant Gwnïo
- All-purpose Foot
- Extra Needle
- Finger Guard (pre-installed, removable)
- Bobbins: Class 15 (Transparent)
- Threader Nodwyddau â Llaw
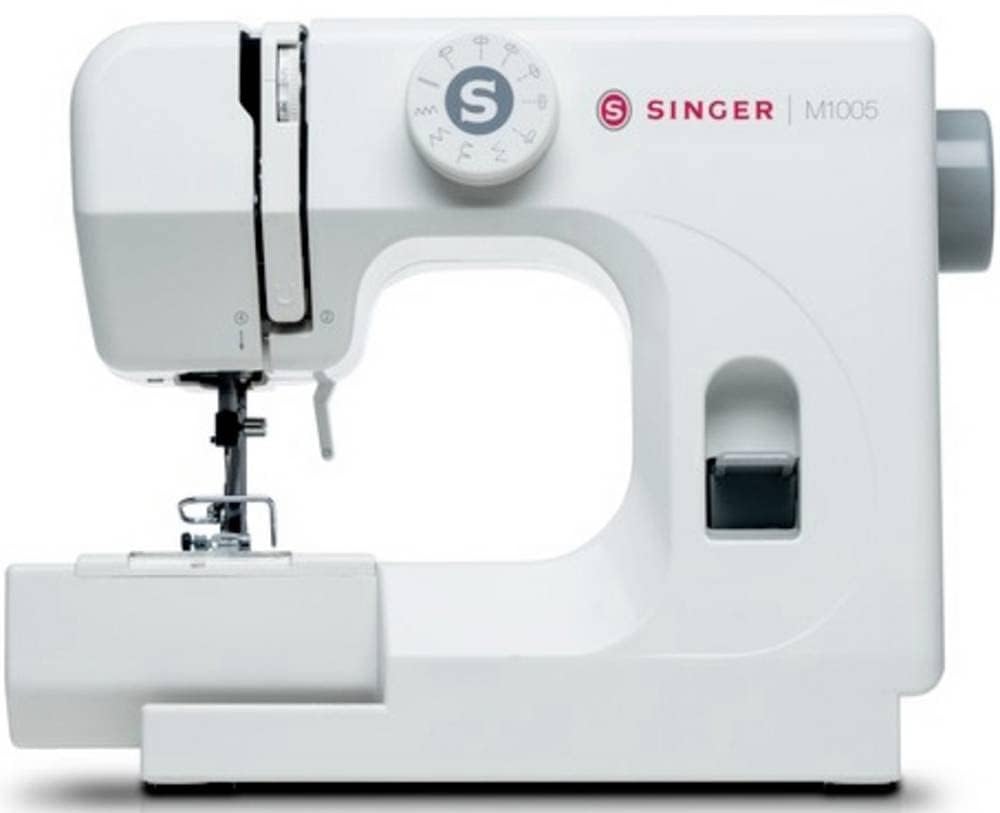
Ffigur 1: The SINGER M1005 Electric Sewing Machine, showcasing its compact design and ready-to-use setup.
Gosod
1. Cysylltiad Pwer
- Rhowch y peiriant ar arwyneb sefydlog, gwastad.
- Gwnewch yn siŵr bod y switsh pŵer yn y safle "OFF".
- Cysylltwch y llinyn pŵer â mewnbwn pŵer y peiriant ac yna ag allfa drydanol addas.
2. Winding the Bobbin
Proper bobbin winding ensures smooth stitching.
- Rhowch sbŵl o edau ar y pin sbŵl.
- Guide the thread through the upper thread guide and around the bobbin winding tension disc.
- Insert the thread through the small hole in the bobbin from the inside out.
- Place the bobbin onto the bobbin winder spindle.
- Gwthiwch werthyd y weindiwr bobbin i'r dde.
- Turn on the machine and gently press the foot controller (if applicable) or press the start button to begin winding.
- Once the bobbin is full, push the spindle back to the left and cut the thread.
3. Inserting the Top Drop-in Bobbin
The transparent bobbin cover allows for easy monitoring.
- Ensure the needle is in its highest position.
- Open the transparent bobbin cover plate.
- Place the wound bobbin into the bobbin case with the thread unwinding counter-clockwise.
- Guide the thread into the tension spring and then into the thread guide slot.
- Pull out approximately 10-15 cm (4-6 inches) of thread.
- Amnewid y plât clawr bobbin.
4. Threading the Upper Thread
Correct upper threading is crucial for proper stitch formation.
- Codwch godwr traed y gwasgwr.
- Rhowch sbŵl o edau ar y pin sbŵl.
- Arwain yr edau drwy'r canllaw edau uchaf.
- Follow the numbered threading path down the right channel, up the left channel, and through the take-up lever from right to left.
- Continue guiding the thread down to the needle bar thread guide.
- Gwthiwch y nodwydd o'r blaen i'r cefn.
- Pull approximately 15-20 cm (6-8 inches) of thread through the needle eye.
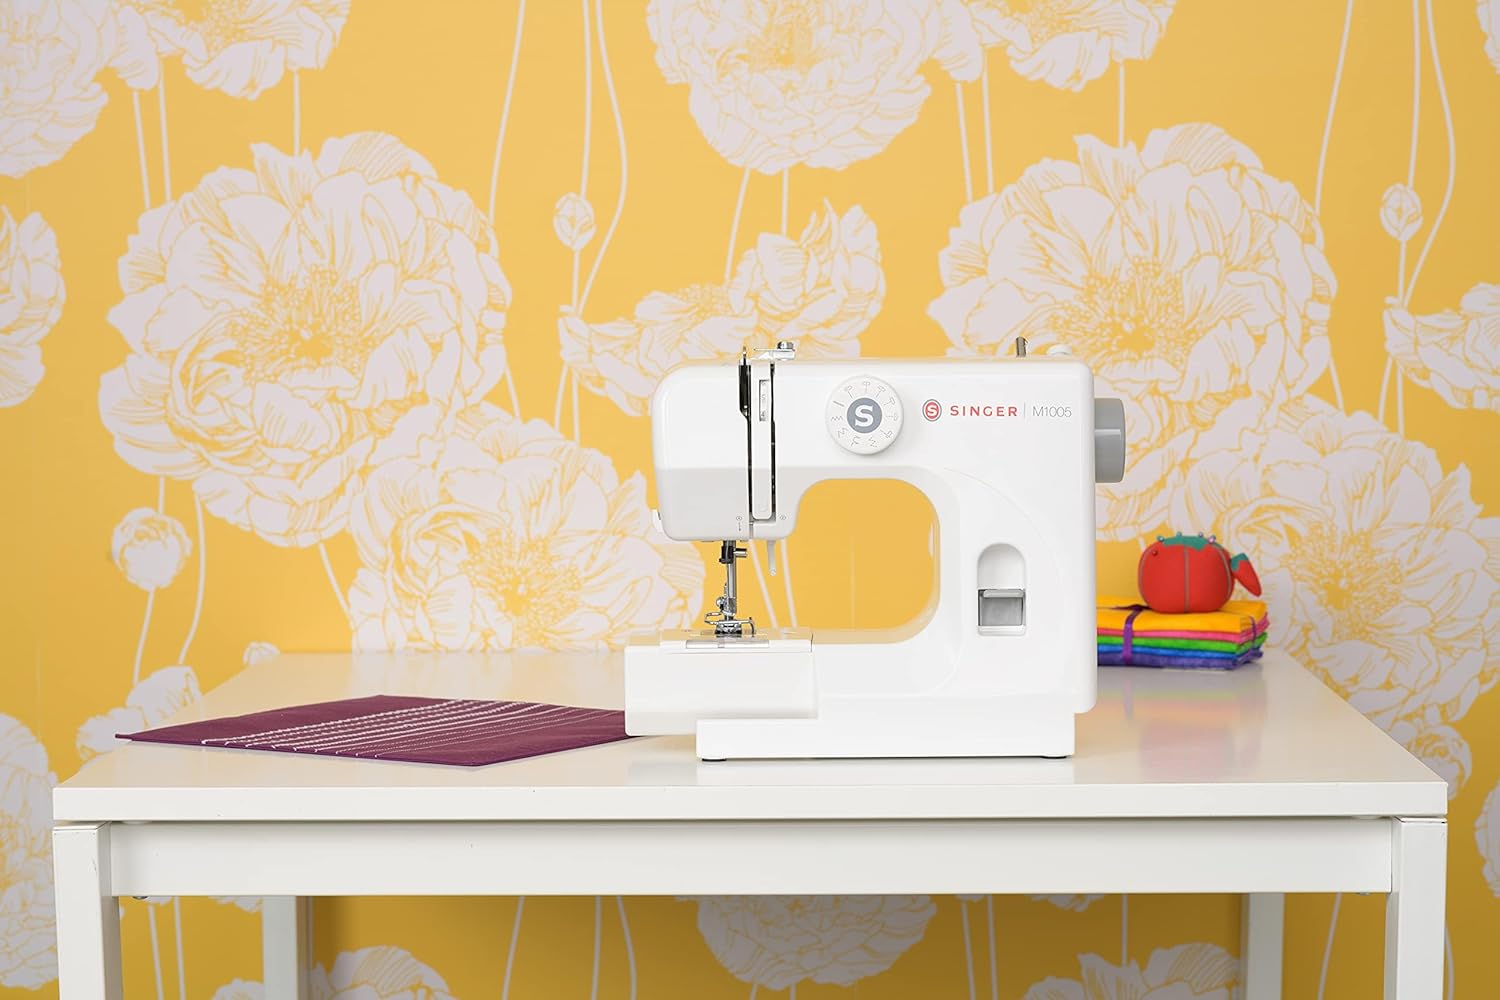
Ffigur 2: Blaen view of the SINGER M1005, highlighting the stitch selector dial and general threading area.
Cyfarwyddiadau Gweithredu
1. Selecting a Stitch
The SINGER M1005 offers 4 core stitch types with 11 different options.
- Trowch y Dial Dewisydd Pwyth to choose your desired stitch pattern.
- Available stitches include various straight stitches (different lengths/positions), three types of zigzag stitches (different lengths/widths), one blind hem stitch, and one multi-stitch zigzag.
- The optimum stitch width for this machine is 4 mm.
2. Adjusting Thread Tension
Adjust the needle thread tension to achieve balanced stitches.
- The tension dial is usually located on the front of the machine.
- Turn the dial to a higher number for tighter tension, and a lower number for looser tension.
- Test on a scrap piece of fabric to find the ideal setting for your fabric and thread combination.
3. Using the Reverse Lever
The reverse lever is used to secure the beginning and end of seams.
- To sew in reverse, press and hold the Lever Gwrthdroi located on the front of the machine.
- Release the lever to resume forward stitching.
4. Free-Arm Sewing
To utilize the free-arm feature for sewing cuffs, pant hems, or other small circular items:
- Remove the accessory storage compartment (if present) by sliding it off to the left.
- The narrow free arm is now exposed, allowing you to slide fabric around it.
5. Extra High-Presser Foot Lifter
For thicker fabrics or multiple layers, the presser foot can be raised higher than its standard position.
- Lift the presser foot lifter to its highest position.
- For extra clearance, push the lifter up further to engage the extra high position.
Cynnal a chadw
Regular maintenance ensures the longevity and optimal performance of your sewing machine. Always unplug the machine before performing any maintenance.
1. Glanhau'r Peiriant
- Tynnu Lint: Use a small brush to remove lint and dust from the bobbin area and feed dogs.
- Glanhau Allanol: Sychwch yr arwynebau allanol gyda meddal, damp brethyn. Peidiwch â defnyddio cemegau llym.
2. Amnewid Nodwyddau
Replace the needle regularly (after 8-10 hours of sewing) or if it becomes bent, dull, or broken.
- Diffoddwch y peiriant a thynnwch y plwg.
- Llaciwch y cl nodwyddamp sgriw.
- Tynnwch yr hen nodwydd.
- Mewnosodwch nodwydd newydd gyda'r ochr wastad yn wynebu cefn y peiriant, gan ei gwthio i fyny cyn belled ag y gall fynd.
- Tynhau'r nodwydd clamp sgriw yn ddiogel.
Datrys problemau
Cyfeiriwch at yr adran hon am atebion i broblemau cyffredin y gallech ddod ar eu traws.
| Problem | Achos Posibl | Ateb |
|---|---|---|
| Pwythau Sgipio | Nodwydd anghywir, nodwydd wedi'i phlygu, edafu amhriodol. | Replace needle with correct type/size, re-thread machine correctly. |
| Torri Edau | Incorrect threading, tension too tight, damaged needle, poor quality thread. | Re-thread machine, adjust tension, replace needle, use good quality thread. |
| Pwcio Ffabrig | Tension too tight, incorrect stitch length, wrong needle for fabric. | Loosen tension, adjust stitch length, use appropriate needle. |
| Jamio Peiriant | Thread tangled in bobbin area, lint buildup, incorrect bobbin insertion. | Remove bobbin and clean bobbin case, re-insert bobbin correctly. |
| Pwythau Anwastad | Incorrect thread tension, improper threading, worn needle. | Adjust tension, re-thread machine, replace needle. |
Manylebau
Technical specifications for the SINGER M1005 Electric Sewing Machine.
- Brand: CANWR
- Rhif Model: M1005 (Part Number: 230246102)
- Lliw: Gwyn
- Deunydd: Plastig
- Pwysau Eitem: 3 Cilogram
- Ffynhonnell Pwer: Trydan Corded
- Stitch Options: 4 built-in stitches with 11 options
- Max Stitch Width: 4 mm
- Math Bobbin: Class 15 (Transparent, Top Drop-in)
- Nodweddion arbennig: Adjustable Thread Tension, Free-Arm Design, Reverse Lever, Extra High-Presser Foot Lifter
Gwarant a Chefnogaeth
For warranty information, service, or technical support, please refer to the warranty card included with your product or contact SINGER customer service directly. Keep your purchase receipt as proof of purchase.
You can typically find contact information for SINGER support on their official websafle neu o fewn pecynnu'r cynnyrch.