1. Rhagymadrodd
This manual provides essential information for the safe and efficient operation of your AMPINVT AP40C MPPT Solar Charge Controller. Please read this manual thoroughly before installation and use to ensure optimal performance and longevity of the product. This controller is designed to manage power flow from solar panels to batteries, ensuring efficient charging and protection for various battery types and system voltages.
2. Cynnyrch Drosview
Mae'r AMPINVT AP40C MPPT Solar Charge Controller is a high-efficiency device designed for solar power systems. It features Maximum Power Point Tracking (MPPT) technology to optimize solar energy harvesting.
Nodweddion Allweddol:
- 12V/24V/36V/48V Auto identifying system voltage.
- Automatic control system to limit charging power and current.
- mewnbwn Max Voltage: 150V PV.
- MPPT best working voltage range: DC18V-DC80V (12V); DC30V-DC100V (24V); DC65V-DC150V (48V).
- Supports 4 battery types: Lead-acid (Sealed, AGM, Gel, Flooded) and User-defined (Lithium Battery).
- Displays daily power generation and current curves.
- Multiple protections: overcharge, over discharge, overload, short circuit, reverse polarity, over heat, and battery undervoltage.
- Tracking rate of maximum power: ≥99%.
- Maximum conversion rate: >98%.
- RS485 communication: Capable of Wi-Fi remote monitoring (additional purchase required) for real-time wireless monitoring via APP (Android & iOS).

Ffigur 2.1: Blaen view o'r AMPINVT MPPT Solar Charge Controller AP40C.
Adnabod Cydran:

Figure 2.2: Labeled components of the controller. 1. Cooling Fan, 2. Hang Bracket, 3. LCD Display, 4. Menu Button, 5. Down Button, 6. Up Button, 7. Enter Button, 8. Temperature Interface, 9. Solar Panel Terminals, 10. Battery Terminals, 11. DC Load Terminals, 12. RS485 Port.
3. Cyfarwyddiadau Diogelwch
WARNING: Failure to follow these safety instructions may result in serious injury or damage to the product.
- Always connect the battery first. Ensure sufficient battery voltage for the controller to recognize the correct system voltage.
- NEVER connect the solar panel array to the controller without a battery connected.
- The disassembly sequence is contrary to the wiring order (disconnect solar, then battery, then load).
- DO NOT connect any inverter, wind turbine, alternator, or charger directly to the charge controller. Connect inverters directly to the battery.
- Sicrhau cyfaint mewnbwn solartage is at least 3V higher than the battery voltage and total input power is within the specified range.
- The charging indicator may turn on and off, and charging current may fluctuate on cloudy days or in low light conditions. This is normal operation.
- If the controller is buzzing, the fan is operating to dissipate heat. This is normal.
- DO NOT install the charging controller in direct sunlight to avoid power loss due to overheating.
- Ensure adequate ventilation around the controller (approx. 20cm space) for heat dissipation.
- Ensure all connections to and from the controller are tight.
- DO NOT allow the positive (+) and negative (-) terminals of the battery to touch each other.
4. Gosod a Gosod
Follow these steps for proper installation of your MPPT solar charge controller.
Dilyniant gwifrau:
- Cysylltwch y Batri: Connect the battery to the controller's battery terminals. Ensure correct polarity. The controller will automatically detect the system voltage (12V/24V/36V/48V).
- Cysylltu'r Paneli Solar: Connect the solar panel array to the controller's solar panel terminals. Ensure correct polarity and that the PV input voltage and power are within the controller's specifications.
- Cysylltwch y Llwyth DC (Dewisol): Connect your DC load to the controller's DC load terminals. Ensure correct polarity.

Figure 4.1: Connection diagram showing solar panels, battery, DC load, and optional WiFi module connected to the controller.
Mowntio:
Mount the controller vertically on a wall or suitable surface, ensuring adequate clearance for ventilation, especially around the cooling fan. Avoid direct sunlight and areas with high humidity or dust.
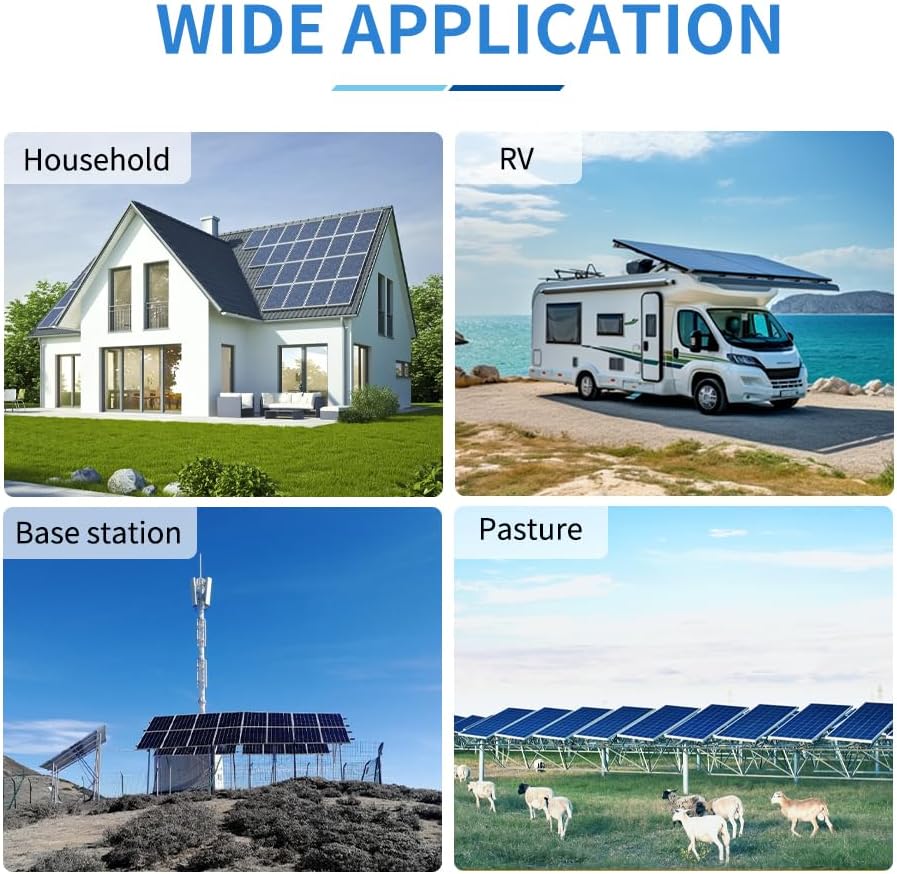
Figure 4.2: Product dimensions for mounting reference: 160mm (width), 250mm (depth), 290mm (height).
5. Cyfarwyddiadau Gweithredu
The controller features an LCD display and four buttons for navigation and settings adjustment: Menu, Down, Up, and Enter.
Arddangosfa LCD:
The LCD displays real-time system information including solar panel voltage, batri voltage, charging current, power generation, and load status.

Ffigur 5.1: Llun agos o'r arddangosfa LCD a'r botymau rheoli.
Llywio a Gosodiadau:
Use the Menu button to cycle through different display screens or enter the settings menu. Use the Up and Down buttons to navigate options or adjust values. Press Enter to confirm selections or changes.
Video 5.1: Demonstration of navigating the AMPINVT MPPT Solar Charge Controller's menu and adjusting settings. This video shows how to access and modify various parameters, including battery type and charge current limits.
6. Battery Type Settings
The controller supports various battery types. It is crucial to select the correct battery type for optimal charging and battery longevity.
Mathau o Batri â Chymorth:
- Lead-acid: Sealed, AGM, Gel, Flooded
- Wedi'i ddiffinio gan y defnyddiwr: For Lithium batteries or custom settings.
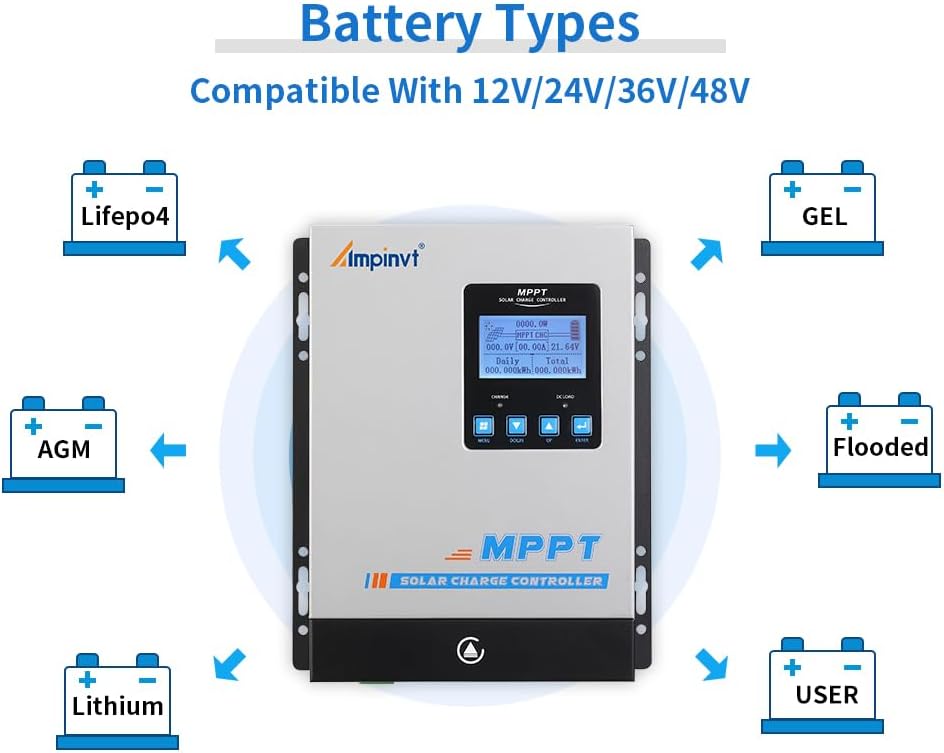
Figure 6.1: Visual representation of compatible battery types including LifePO4, AGM, Lithium, GEL, Flooded, and User-defined.
To change battery type settings, navigate to the 'Battery Type Setting' option in the menu. Use the Up/Down buttons to select your battery type and press Enter to confirm. For user-defined settings, you can adjust specific voltage paramedrau.
7. cynnal
Regular maintenance ensures the long-term reliability and performance of your solar charge controller.
- Gwirio Cysylltiadau: Periodically inspect all wiring connections to ensure they are tight and free from corrosion. Loose connections can cause overheating and damage.
- Glanhau'r Rheolydd: Keep the controller clean and free from dust and debris. Pay particular attention to the cooling fan and ventilation openings to ensure proper airflow.
- Monitro Perfformiad: Regularly check the LCD display for normal operation and any error messages. Monitor charging and load parameters to ensure the system is functioning as expected.
- Archwiliad batri: Inspect batteries for any signs of damage, swelling, or leakage. Ensure battery terminals are clean.

Figure 7.1: Close-up of the cooling fan, which should be kept clear of obstructions for optimal performance.
8. Datrys Problemau
This section provides guidance on common issues you might encounter with your solar charge controller.
Problemau ac Atebion Cyffredin:
- Dim Arddangosfa/Dim Pŵer: Check battery connections and ensure the battery voltage is above the minimum operating voltage. Verify all fuses and circuit breakers.
- Dim Tâl: Ensure solar panels are connected correctly and receiving sufficient sunlight. Check PV input voltage on the display. Verify battery type settings are correct.
- Gorboethi: Ensure the controller is installed in a well-ventilated area, away from direct sunlight. Clean the cooling fan and vents. Reduce load if consistently overheating.
- Llwyth Ddim yn Gweithio: Check DC load connections and ensure the load is within the controller's specifications. Verify load control settings (e.g., always on, timer).
- Darlleniadau Anghywir: Ensure all connections are secure. If issues persist, contact support.
For more detailed troubleshooting or issues not covered here, please refer to the comprehensive manual provided with the product or contact AMPINVT customer support.
9. manylebau
| Nodwedd | Manyleb |
|---|---|
| Brand | AMPINVT |
| Rhif Model | AP40C |
| Graddfa Gyfredol | 40A |
| Systemtage | 12V/24V/36V/48V Auto |
| Max Mewnbwn PV Voltage | 150V |
| Max PV Input Power (12V) | 570W |
| Max PV Input Power (24V) | 1130W |
| Max PV Input Power (36V) | 1710W |
| Max PV Input Power (48V) | 2270W |
| MPPT Working Voltage Range (12V) | DC18V-DC80V |
| MPPT Working Voltage Range (24V) | DC30V-DC100V |
| MPPT Working Voltage Range (48V) | DC65V-DC150V |
| Mathau Batri wedi'u Cefnogi | Lead-acid (Sealed, AGM, Gel, Flooded), User-defined (Lithium) |
| Effeithlonrwydd Olrhain | ≥99% |
| Cyfradd Trosi | >98% |
| Cyfathrebu | RS485 (Wi-Fi remote monitoring optional) |
| Dimensiynau Cynnyrch | 6.3 x 3.1 x 8.7 modfedd (160 x 79 x 221 mm) |
| Pwysau Eitem | 5.79 pwys (2.63 kg) |
| Math Arddangos | LED |
10. Gwarant a Chefnogaeth
For warranty information, technical support, or service inquiries, please contact AMPINVT-US directly through their official channels or the retailer where the product was purchased. Keep your purchase receipt as proof of purchase for warranty claims.