
1. Rhagymadrodd
Welcome to the user manual for your Modecom Oberon Pro Glass USB 3.0 White PC Case. This manual provides essential information for the proper installation, operation, and maintenance of your computer chassis. Please read this manual thoroughly before beginning assembly to ensure correct setup and to prevent damage to your components or the case itself.
Rhagofalon Diogelwch:
- Datgysylltwch y cyflenwad pŵer o'r soced wal bob amser cyn gosod neu dynnu unrhyw gydrannau.
- Trin cydrannau yn ofalus i osgoi rhyddhau electrostatig (ESD). Ystyriwch ddefnyddio strap arddwrn gwrthstatig.
- Cadwch rannau bach a deunyddiau pecynnu i ffwrdd o blant.
- Sicrhewch awyru digonol o amgylch y cas i atal gorboethi.
2. Cynnyrch Drosview
The Modecom Oberon Pro Glass is a stylish mid-tower PC case designed to house your computer components. It features a tempered glass side panel for showcasing your build and a clean white finish. The front panel includes convenient USB 3.0 ports for high-speed data transfer.
Ffigur 2.1: Blaen-dde view of the Modecom Oberon Pro Glass PC Case. This image displays the white exterior, the front panel with ventilation, and the top-mounted I/O ports including USB 3.0.
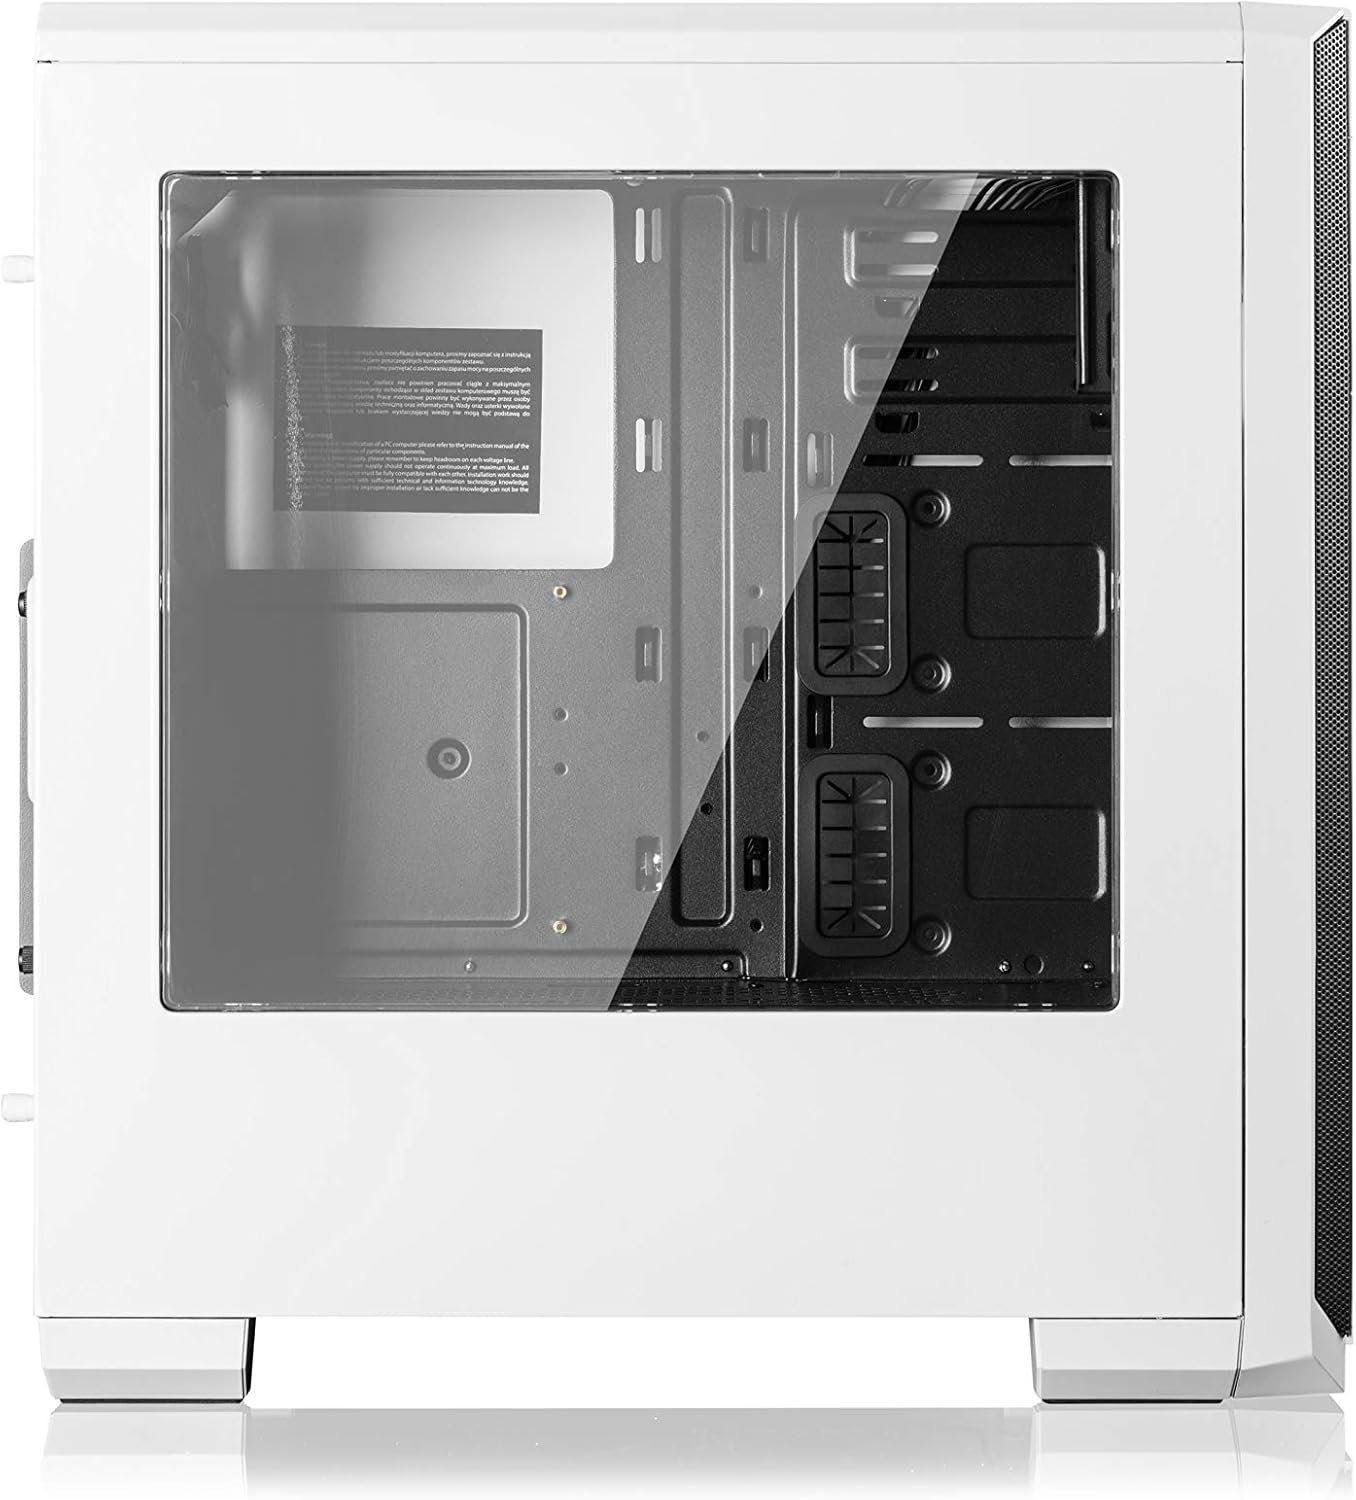
Ffigur 2.2: Ochr view of the Modecom Oberon Pro Glass PC Case, highlighting the tempered glass side panel. This panel allows for a clear view of the internal components when installed.
3. Gosod a Gosod
Follow these steps to install your computer components into the Modecom Oberon Pro Glass PC Case.
3.1. Dadbacio ac Arolygiad Cychwynnol
- Tynnwch gas y cyfrifiadur personol o'i becynnu yn ofalus.
- Archwiliwch y cas am unrhyw arwyddion o ddifrod yn ystod cludiant. Cysylltwch â'ch manwerthwr ar unwaith os canfyddir difrod.
- Remove the tempered glass side panel by unscrewing the thumb screws, typically located at the rear corners of the panel. Set the panel aside on a soft, flat surface to prevent scratches.
3.2. Gosod Motherboard

Ffigur 3.1: Tu mewn view of the Modecom Oberon Pro Glass PC Case, showing the motherboard tray, drive bays, and cable management cutouts.
- Install the I/O shield that came with your motherboard into the designated opening at the rear of the case.
- Ensure the motherboard standoffs are correctly aligned for your motherboard's form factor (ATX, Micro ATX, or ITX). Install additional standoffs if necessary.
- Rhowch eich mamfwrdd yn ofalus ar y standoffs, gan alinio'r tyllau sgriw.
- Secure the motherboard with the provided screws. Do not overtighten.
3.3. Gosod yr Uned Cyflenwad Pŵer (PSU)
- Position your PSU in the dedicated compartment, typically at the bottom rear of the case.
- Align the screw holes on the PSU with those on the case's rear panel.
- Sicrhewch y PSU gyda'r sgriwiau a ddarperir.
3.4. Storage Drive Installation (HDD/SSD)
- Locate the 3.5" HDD bays and 2.5" SSD mounting points within the case.
- For 3.5" HDDs, slide the drive into a bay and secure it with screws or tool-less clips if available.
- For 2.5" SSDs, mount them to the designated trays or screw points, typically behind the motherboard tray or in specific drive cages.
3.5. Expansion Card Installation (GPU, PCIe cards)

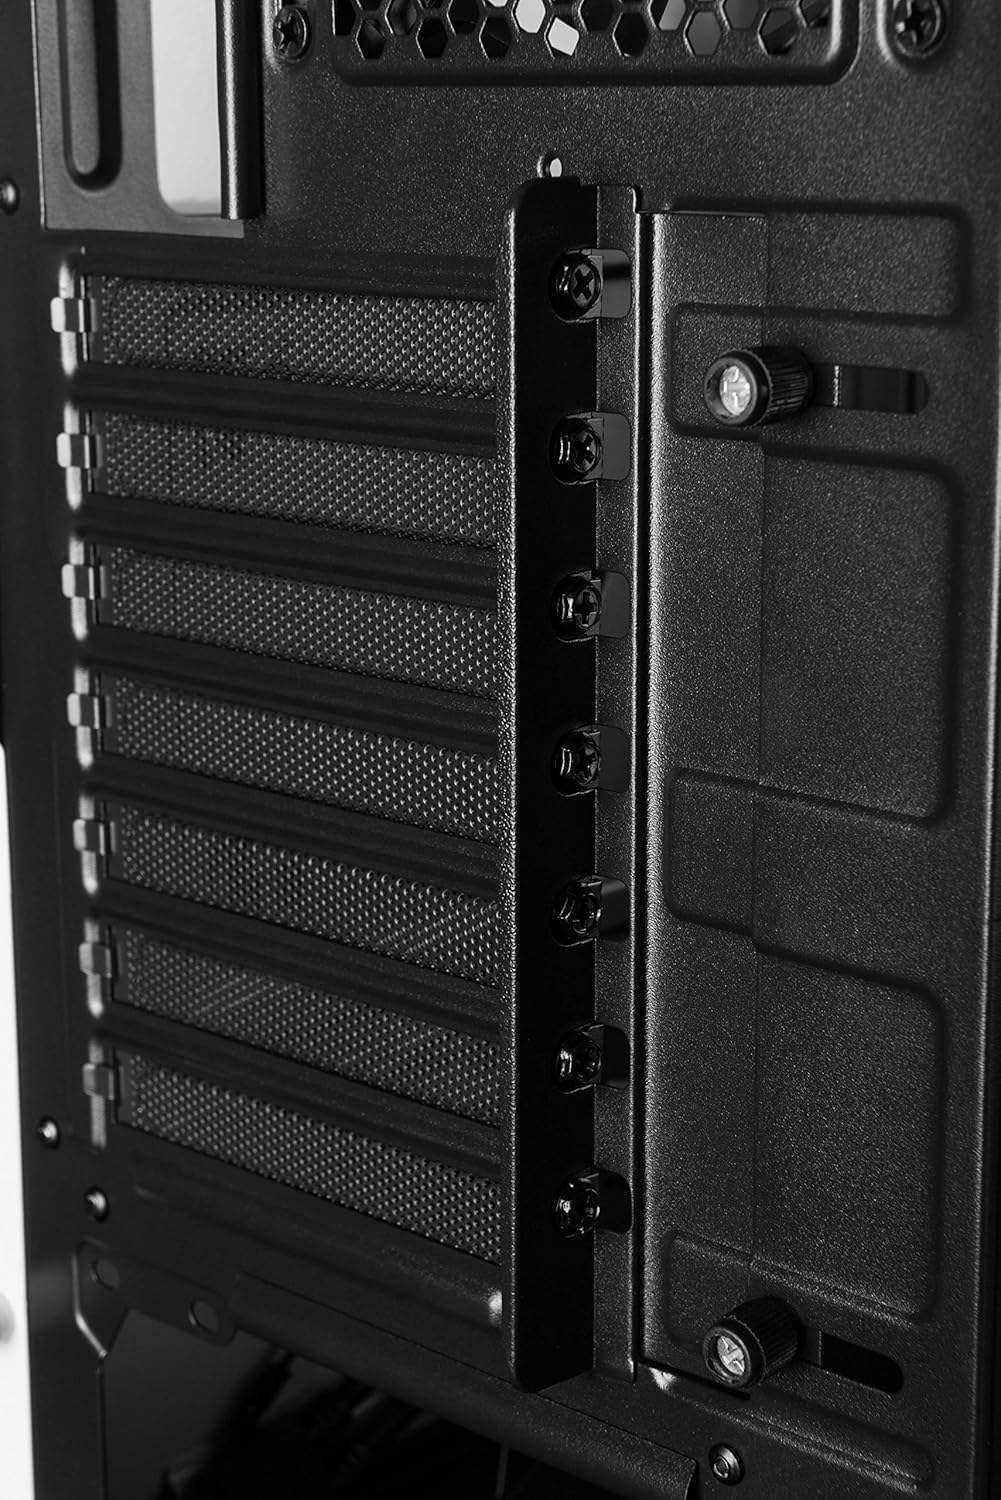
Ffigur 3.2: Tu mewn cefn view of the Modecom Oberon Pro Glass PC Case, illustrating the expansion slot covers and thumb screws for securing PCIe cards.
- Remove the necessary expansion slot covers from the rear of the case, corresponding to your card's slot on the motherboard.
- Insert your expansion card (e.g., graphics card) firmly into the PCIe slot on the motherboard.
- Secure the card to the case with the provided screws or retention mechanism.
3.6. Front Panel Connector Installation
- Connect the front panel cables (USB 3.0, HD Audio, Power Switch, Reset Switch, Power LED, HDD LED) to their respective headers on your motherboard. Refer to your motherboard manual for exact pin layouts.
3.7. Rheoli Ceblau
- Defnyddiwch y toriadau llwybro ceblau a'r pwyntiau clymu y tu ôl i hambwrdd y famfwrdd i drefnu ceblau. Mae hyn yn gwella llif aer ac estheteg.
- Once all components are installed and cables managed, reattach the tempered glass side panel and secure it with the thumb screws.
4. Gweithrediad
After successful installation, your PC is ready for operation.
- Pweru Ymlaen: Press the power button located on the top I/O panel of the case.
- Using Front Panel Ports: The front panel includes USB 3.0 ports and audio jacks. Connect your USB devices (e.g., flash drives, external hard drives) to the USB ports for data transfer. Plug your headphones or microphone into the respective audio jacks.
5. cynnal
Mae cynnal a chadw rheolaidd yn helpu i sicrhau perfformiad a hirhoedledd gorau posibl cydrannau eich cyfrifiadur personol.
- Hidlau Llwch: Periodically remove and clean the dust filters (if present) to maintain good airflow and prevent dust buildup inside the case. Use compressed air or a soft brush.
- Glanhau Allanol: Sychwch arwynebau allanol y cas gyda lliain meddal, damp cloth. Avoid abrasive cleaners or solvents that could damage the finish or tempered glass.
- Tempered Glass Panel: Clean the tempered glass with a glass cleaner and a microfiber cloth to avoid streaks and scratches.
6. Datrys Problemau
If you encounter issues, consider the following basic troubleshooting steps:
- System Ddim yn Troi Ymlaen:
- Gwnewch yn siŵr bod y PSU wedi'i droi ymlaen ac wedi'i gysylltu'n iawn â'r soced wal.
- Gwiriwch fod cebl switsh pŵer y panel blaen wedi'i gysylltu'n gywir â phennawd y famfwrdd.
- Gwiriwch yr holl gysylltiadau pŵer â'r famfwrdd a'r cydrannau.
- Porthladdoedd USB Ddim yn Gweithio:
- Confirm that the front panel USB 3.0 cable is securely connected to the corresponding header on the motherboard.
- Test with different USB devices.
- Sŵn Gormodol:
- Identify the source of the noise (e.g., case fans, CPU cooler fan, GPU fan).
- Ensure all fans are free from obstructions and properly secured.
- Clean any dust buildup on fans.
For more complex issues, consult your component manuals or seek professional assistance.
7. manylebau
| Nodwedd | Disgrifiad |
|---|---|
| Brand | Modecom |
| Enw Model | Oberon Pro Glass |
| Rhif Model | AT-OBERON-PG-20-000000-0002 |
| Math o Achos | Tŵr Canol |
| Lliw | Gwyn |
| Deunydd | Pholycarbonad (PC) |
| Motherboards Cydnaws | ATX, Micro ATX, ITX |
| Porthladdoedd I / O Blaen | USB 3.0, Audio In/Out |
| Cyflenwad Pŵer | W/O PSU (Power Supply Unit not included) |
| Pwysau Eitem | 2 Cilogram |
| Cod Erthygl Rhyngwladol | 05901885248370 |
8. Gwarant a Chefnogaeth
Gwybodaeth Gwarant:
Modecom provides a guarantee of spare parts availability for 2 years from the date of purchase. This ensures that essential components for repair or replacement will be accessible within this period.
Cefnogaeth i Gwsmeriaid:
For technical assistance, warranty claims, or further inquiries, please refer to the official Modecom website or contact your local retailer where the product was purchased. Ensure you have your product model number and proof of purchase available when seeking support.