JACK JK 609
Llawlyfr Defnyddiwr Peiriant Gwnïo Cloi Jack JK 609
Model: JK 609
Rhagymadrodd
This manual provides comprehensive instructions for the safe and efficient operation, maintenance, and troubleshooting of your Jack JK 609 Lockstitch Sewing Machine. Please read this manual thoroughly before operating the machine to ensure proper usage and to maximize its lifespan.
Cyfarwyddiadau Diogelwch
- Always disconnect the machine from the power supply before cleaning, servicing, or when not in use.
- Keep fingers away from all moving parts, especially the needle and handwheel, during operation.
- Do not operate the machine with damaged cords or plugs.
- Ensure proper lighting in your work area.
- Use only genuine replacement parts and accessories recommended by the manufacturer.
- Cadwch blant ac anifeiliaid anwes i ffwrdd o'r peiriant yn ystod y llawdriniaeth.
Cynnyrch Drosview
The Jack JK 609 is a high-performance lockstitch sewing machine designed for various sewing applications. Familiarize yourself with its main components:
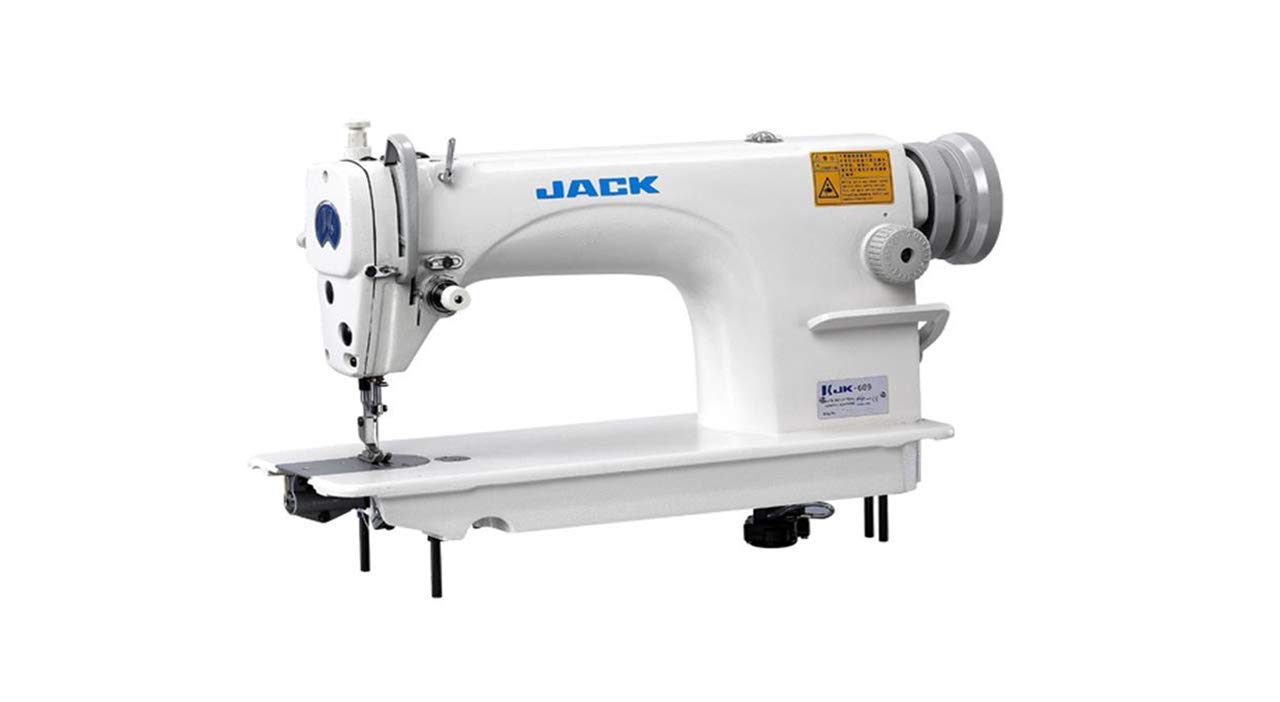
Ffigur 1: Drosoddview of the Jack JK 609 Lockstitch Sewing Machine. This image displays the complete sewing machine unit, highlighting its robust construction and key operational areas such as the needle bar, presser foot, and handwheel.
- Olwyn law: Used to manually raise and lower the needle.
- Thread Stand: Holds the spools of thread.
- Deialu Tensiwn: Adjusts the tension of the upper thread.
- Needle Bar: Holds the needle.
- Presser Foot: Holds the fabric firmly in place while sewing.
- Deial Hyd Pwyth: Controls the length of the stitches.
- Reverse Lever: Used for back-tacking stitches.
- Bobbin Winder: Winds thread onto the bobbin.
Gosod
1. Dadbacio a Lleoli
- Carefully remove the machine from its packaging. Retain all packaging materials for future transport or storage.
- Place the machine on a stable, level surface that can support its weight and vibrations during operation. Ensure adequate space around the machine for fabric handling.
- Cysylltwch y llinyn pŵer â'r peiriant ac yna ag allfa drydanol addas.
2. Threading the Machine
Proper threading is crucial for consistent stitch quality.
- Place a spool of thread on the thread stand.
- Guide the thread through the upper thread guides, following the numbered path indicated on the machine.
- Pass the thread through the tension discs and then through the take-up lever.
- Gwthiwch y nodwydd o'r blaen i'r cefn.
- Wind the bobbin and insert it into the bobbin case according to the machine's specific instructions for bobbin insertion.
- Pull the bobbin thread up through the needle plate opening.
Cyfarwyddiadau Gweithredu
1. Basic Sewing
- Turn on the machine's power switch.
- Rhowch y ffabrig o dan droed y gwasgwr.
- Lower the presser foot using the presser foot lifter.
- Gently press the foot pedal to start sewing. Guide the fabric smoothly.
- To secure the stitch, use the reverse lever at the beginning and end of your seam.
- When finished, raise the needle to its highest position, lift the presser foot, and pull the fabric away. Cut the threads.
2. Adjusting Stitch Length and Tension
- Hyd pwyth: Rotate the stitch length dial to increase or decrease the stitch length. Higher numbers indicate longer stitches.
- Tensiwn Edau: Adjust the upper thread tension dial. A balanced stitch will have both threads meeting evenly between the fabric layers. If the bobbin thread appears on top, increase upper tension. If the upper thread appears on the bottom, decrease upper tension.
Cynnal a chadw
Regular maintenance ensures optimal performance and extends the life of your sewing machine.
- Glanhau: Regularly clean lint and dust from the bobbin area, feed dogs, and tension discs using a small brush or vacuum cleaner. Always disconnect power before cleaning.
- Iro: Refer to the machine's lubrication points diagram and apply a few drops of high-quality sewing machine oil to designated areas periodically, typically after every 8-10 hours of use.
- Amnewid Nodwyddau: Replace the needle frequently, especially when sewing different fabric types or if the needle becomes dull or bent. A dull needle can cause skipped stitches or fabric damage.
- Storio: When not in use, cover the machine to protect it from dust. Store in a dry, temperate environment.
Datrys problemau
Mae'r adran hon yn mynd i'r afael â phroblemau cyffredin y gallech ddod ar eu traws.
| Problem | Achos Posibl | Ateb |
|---|---|---|
| Pwythau Sgipio | Nodwydd anghywir, nodwydd wedi'i phlygu, edafu amhriodol, tensiwn anghywir. | Amnewidiwch nodwydd gyda'r math/maint cywir, ail-edafwch y peiriant, addaswch y tensiwn. |
| Torri Edau | Too much tension, poor quality thread, burrs on needle plate, incorrect needle. | Reduce tension, use quality thread, check for burrs, replace needle. |
| Ffabrig Ddim yn Bwydo | Presser foot not lowered, feed dogs clogged with lint, stitch length set to zero. | Gostyngwch y droed pwyso, glanhewch y cŵn bwydo, addaswch hyd y pwyth. |
| Jamio Peiriant | Thread tangled in bobbin case, needle hitting bobbin case. | Remove bobbin case and clear tangled thread, check needle insertion. |
Manylebau
- Model: Jack JK 609
- Math pwyth: Cloi-bwyth
- Needle System: Standard industrial needle system (e.g., DBx1)
- Max. Hyd pwyth: Typically up to 5mm
- Max. Sewing Speed: Up to 5000 stitches per minute (SPM)
- Iro: Automatic (with oil pan)
- Pwer: Varies by region (e.g., 220V, 50/60Hz)
Note: Specific technical specifications may vary slightly based on manufacturing revisions. Refer to your product's packaging or direct manufacturer documentation for precise details.
Gwarant a Chefnogaeth
For warranty information, technical support, or service inquiries, please contact your authorized Jack dealer or the manufacturer's customer service department. Keep your purchase receipt and product serial number handy for faster assistance.
For general inquiries, you may visit the official JACK website or contact their support channels. Specific warranty terms and conditions apply and are typically provided at the time of purchase.
Ask a question about this manual
Ask about setup, troubleshooting, compatibility, parts, safety, or missing instructions. Manuals+ will review the question and use this page’s manual context to help answer it.