
Rhagymadrodd
This manual provides comprehensive instructions for the installation, operation, and maintenance of your Azza XT1 Full Tower Gaming Case (Model: CSAZ-XT1 W). Please read this manual thoroughly before beginning installation to ensure proper setup and to maximize the performance and longevity of your product.
Gwybodaeth Diogelwch
Observe the following safety precautions to prevent damage to the case or injury to yourself:
- Always disconnect the power supply from the wall outlet before performing any installation or maintenance.
- Trin cydrannau mewnol yn ofalus i osgoi difrod gan ryddhau electrostatig (ESD). Ystyriwch ddefnyddio strap arddwrn gwrthstatig.
- Ensure all cables are routed properly to prevent interference with fans or other moving parts.
- Do not block ventilation openings. Maintain adequate airflow around the case.
- Keep the case away from sources of heat, direct sunlight, and moisture.
Nodweddion Cynnyrch
The Azza XT1 Full Tower Gaming Case is designed with several features to enhance your computing experience:
- VGA Card Support: Accommodates VGA cards up to 340 mm in length.
- Easy Swap Slot: Features a bottom-mounted easy swap slot for tool-less hard drive installation.
- Perfformiad Oeri: Equipped with four pre-installed fans for optimal airflow and supports up to two 120mm water cooling radiators.
- Customizable Grilles: Front and top decorative grilles are removable and exchangeable for aesthetic customization.
- Tool-less Installation: Designed for easy installation of 5.25" devices and HDDs with a tool-less mechanism and a 90-degree rotating HDD holder.
- Rheoli Ceblau: Includes a dedicated compartment for efficient cable routing, improving internal airflow and aesthetics.
Gosod a Gosod
Follow these steps to set up your Azza XT1 case and install components:
1. Prepare the Case
Place the case on a stable, flat surface. Remove the side panels by unscrewing the thumb screws at the rear and sliding the panels backward.
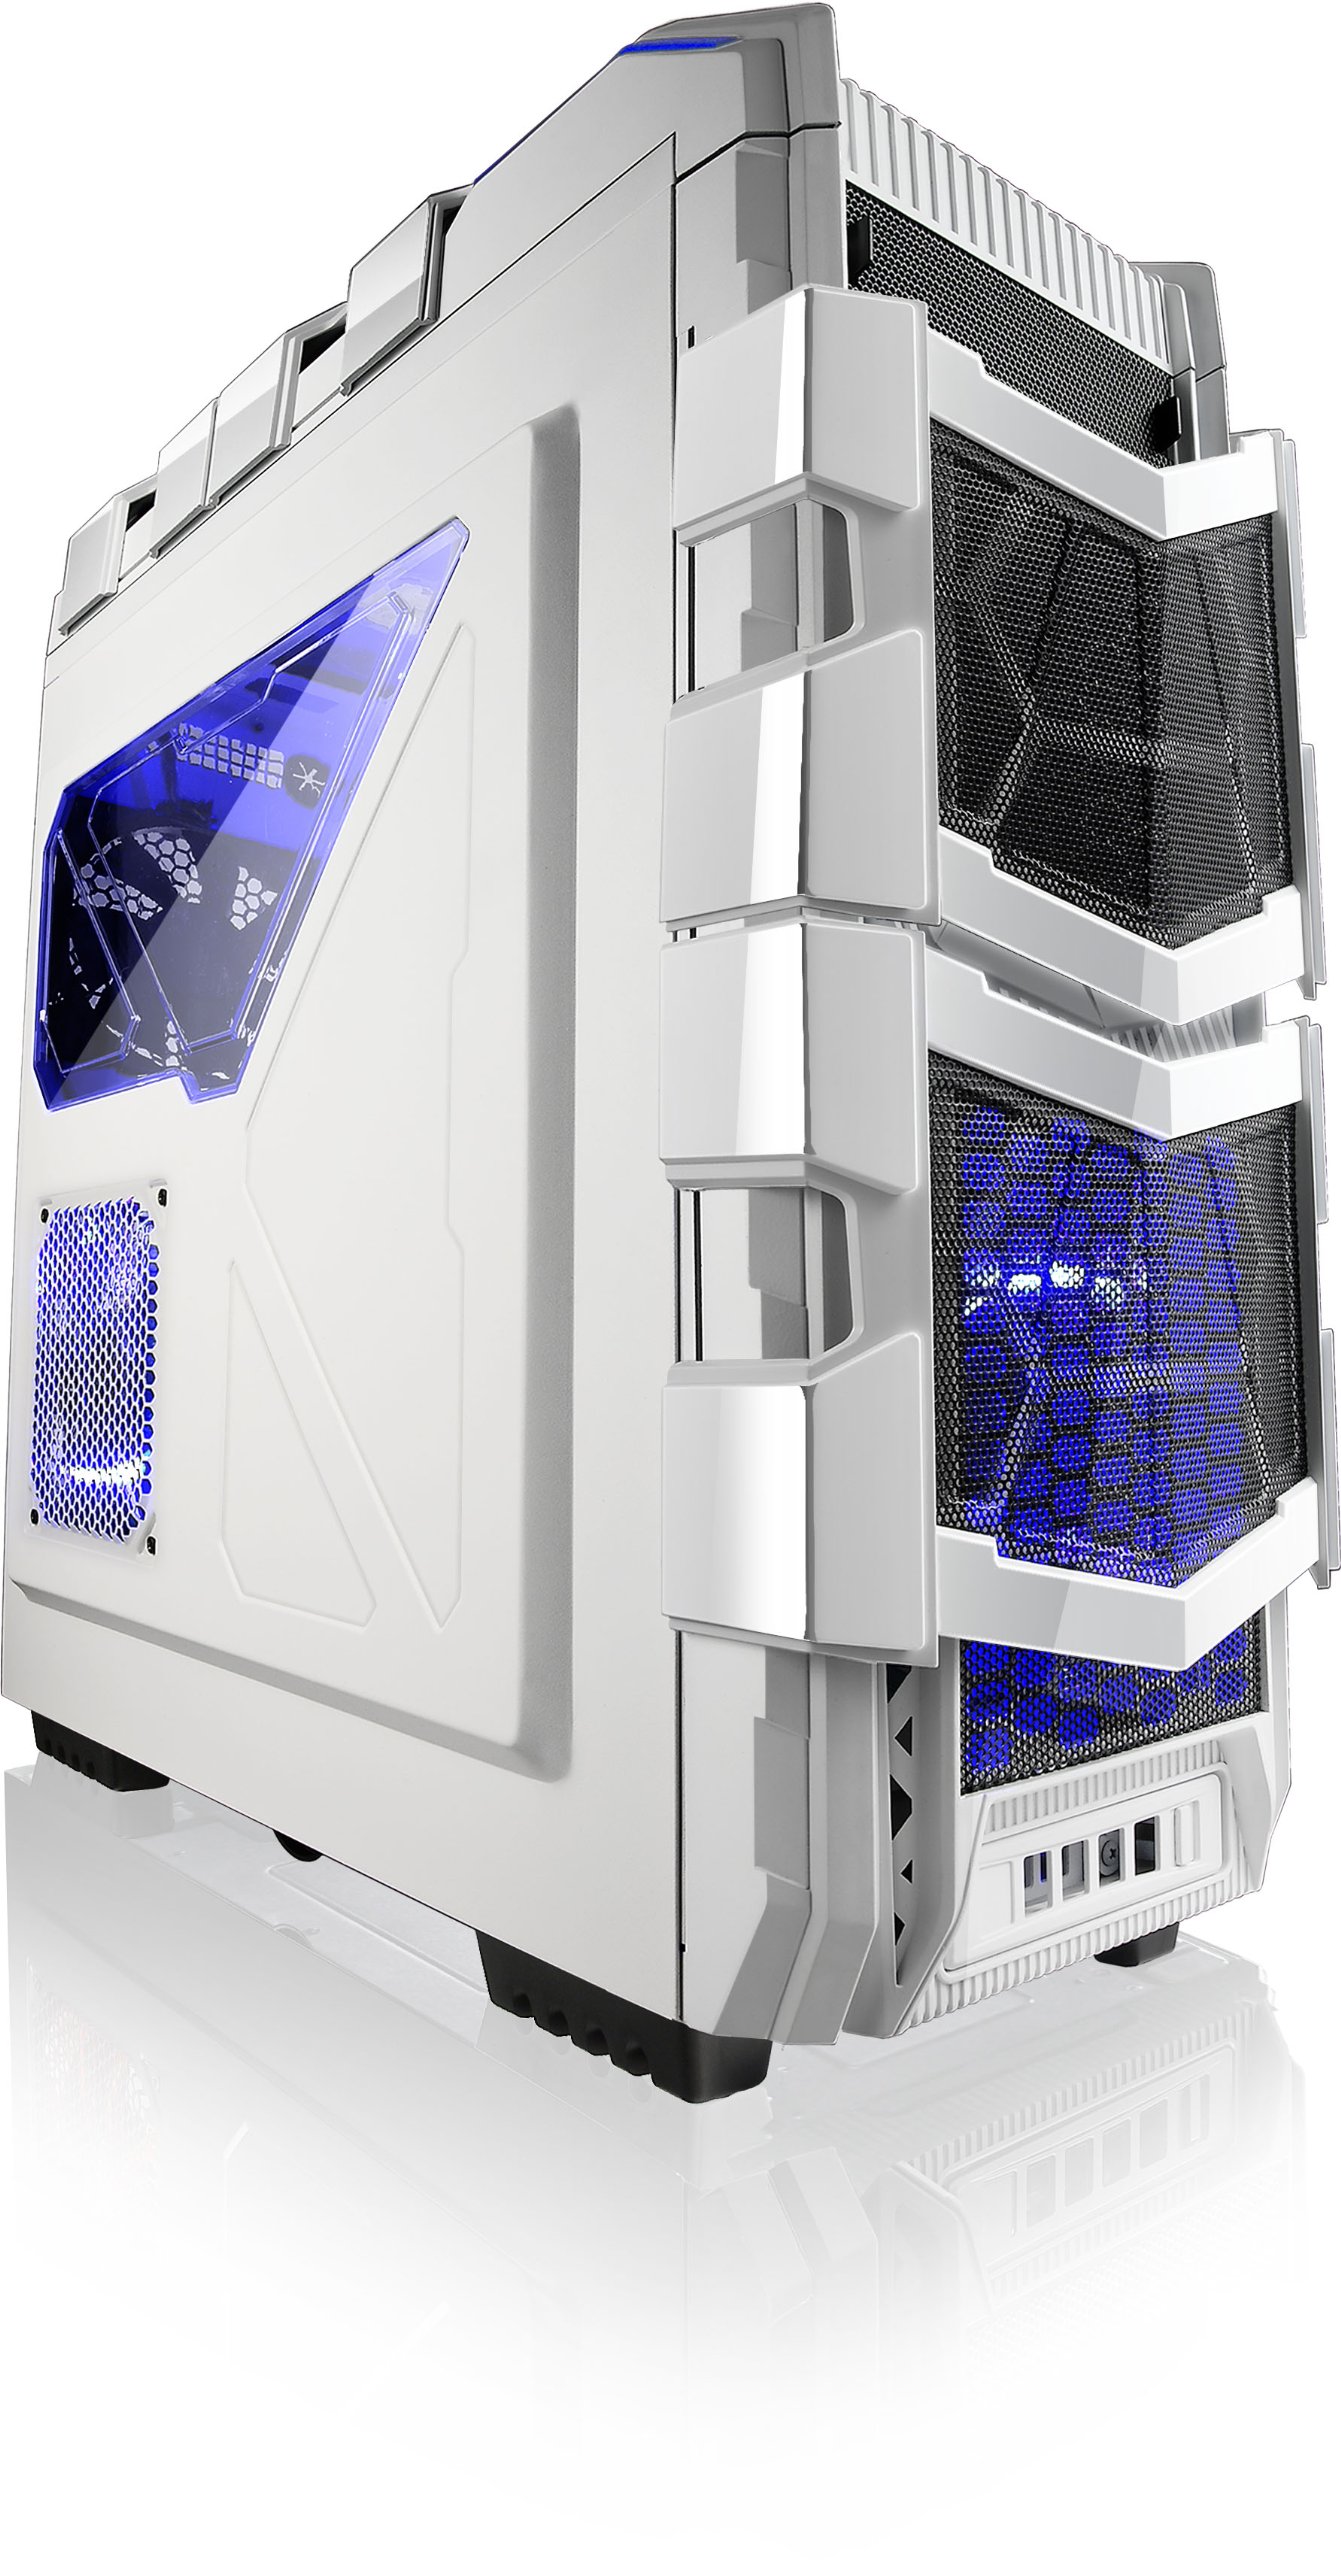
Ffigur 1: Ongl view of the Azza XT1 case, showing its overall design and front mesh panels.
2. Gosod Motherboard
Install the I/O shield into the rear opening of the case. Align your ATX motherboard with the standoffs inside the case. Secure the motherboard using the provided screws.

Figure 2: Internal layout of the Azza XT1 case, highlighting the motherboard tray and drive bay areas.
3. Gosod Pŵer Cyflenwi
Mount your power supply unit (PSU) into the designated area at the bottom rear of the case. Secure it with screws from the outside.
4. Drive Installation (HDD/SSD)
Utilize the tool-less HDD holders. For the easy swap slot, simply slide the hard drive into the bottom slot until it clicks into place. For other bays, secure drives using the provided trays or mounting mechanisms. The HDD holder can rotate 90 degrees for easier access.

Ffigur 3: Mewnol yn y cefn view of the Azza XT1 case, illustrating the drive bays and the space behind the motherboard for cable management.
5. Expansion Card Installation (VGA, etc.)
Remove the necessary expansion slot covers at the rear of the case. Insert your VGA card or other expansion cards into the motherboard's PCIe slots and secure them with screws or the tool-less retention clips.
6. Rheoli Ceblau
Route all power and data cables through the designated cutouts and tie-down points behind the motherboard tray. This improves airflow and maintains a clean internal appearance.
7. Cau'r Achos
Once all components are installed and cables are managed, reattach the side panels and secure them with the thumb screws.
Gweithredu'r Achos
The Azza XT1 case provides the housing and cooling for your PC components. Operation primarily involves using the front panel controls:
- Botwm Pŵer: Located on the top panel, press to power on or off your system.
- Botwm Ailosod: Located on the top panel, press to restart your system.
- Porthladdoedd USB: Connect USB devices to the front panel USB 2.0 and USB 3.0 ports.
- Jaciau Sain: Connect headphones and microphones to the front panel audio jacks.

Ffigur 4: Uchaf view of the Azza XT1 case, detailing the power button, USB ports, and audio jacks.
Cynnal a chadw
Regular maintenance helps ensure optimal performance and longevity of your Azza XT1 case and its components.
- Glanhau Llwch: Periodically clean dust filters and internal components using compressed air. Ensure the system is powered off and unplugged before cleaning.
- Arolygiad Fan: Check fans for dust buildup and ensure they are spinning freely. Clean as necessary.
- Gwiriad cebl: Verify that all internal cables remain securely connected and are not obstructing airflow.
- Glanhau Allanol: Sychwch yr arwynebau allanol gyda meddal, damp brethyn. Osgoi glanhawyr sgraffiniol.
Datrys problemau
This section addresses common issues you might encounter with your PC case.
| Problem | Achos Posibl | Ateb |
|---|---|---|
| Nid yw'r system yn pweru ymlaen. | Power button not connected correctly; PSU issue; motherboard issue. | Verify front panel power button cable is securely connected to the motherboard. Check PSU connections. |
| Nid yw cefnogwyr yn troi. | Fan cables disconnected; fan failure; insufficient power. | Ensure all fan power cables are properly connected to the motherboard or fan controller. |
| Nid yw porthladdoedd USB y panel blaen yn gweithio. | USB header cable disconnected or incorrectly connected. | Check that the USB 2.0 and USB 3.0 header cables from the front panel are correctly plugged into the motherboard. |
| Poor airflow or overheating. | Dust buildup; blocked vents; improper fan configuration. | Clean dust filters and internal components. Ensure case fans are oriented correctly for optimal airflow. |
Manylebau
Detailed specifications for the Azza XT1 Full Tower Gaming Case (CSAZ-XT1 W):
| Nodwedd | Manylyn |
|---|---|
| Brand | Azza |
| Rhif Model | CSAZ-XT1 W |
| Math o Achos | Twr Llawn |
| Lliw | Gwyn |
| Deunydd | SECC Steel |
| Cydnawsedd Motherboard | ATX |
| Dimensiynau Cynnyrch (LxWxH) | 51.56 x 20.57 x 56.64 cm |
| Pwysau Eitem | 9.98 kg |
| Porthladdoedd USB 2.0 | 2 |
| Porthladdoedd USB 3.0 | 1 |
| VGA Card Length Support | Hyd at 340 mm |
| Cefnogaeth Oeri Dŵr | Up to 2x120mm radiators |
Gwarant a Chefnogaeth
For warranty information and technical support, please refer to the official Azza websafle neu cysylltwch â'u hadran gwasanaeth cwsmeriaid. Cadwch eich derbynneb prynu fel prawf o brynu ar gyfer hawliadau gwarant.
Gwneuthurwr: AZZA (USA) Technology Inc