
Rhagymadrodd
This manual provides detailed instructions for the installation, operation, and maintenance of your DB DRIVE A3 2250.5 Okur Series A3 Class AB 1000 Watt 5-Channel AmpDarllenwch y llawlyfr hwn yn drylwyr cyn ceisio ei osod neu ei weithredu er mwyn sicrhau ei fod yn cael ei ddefnyddio'n iawn ac i atal difrod i'r uned neu system sain eich cerbyd.
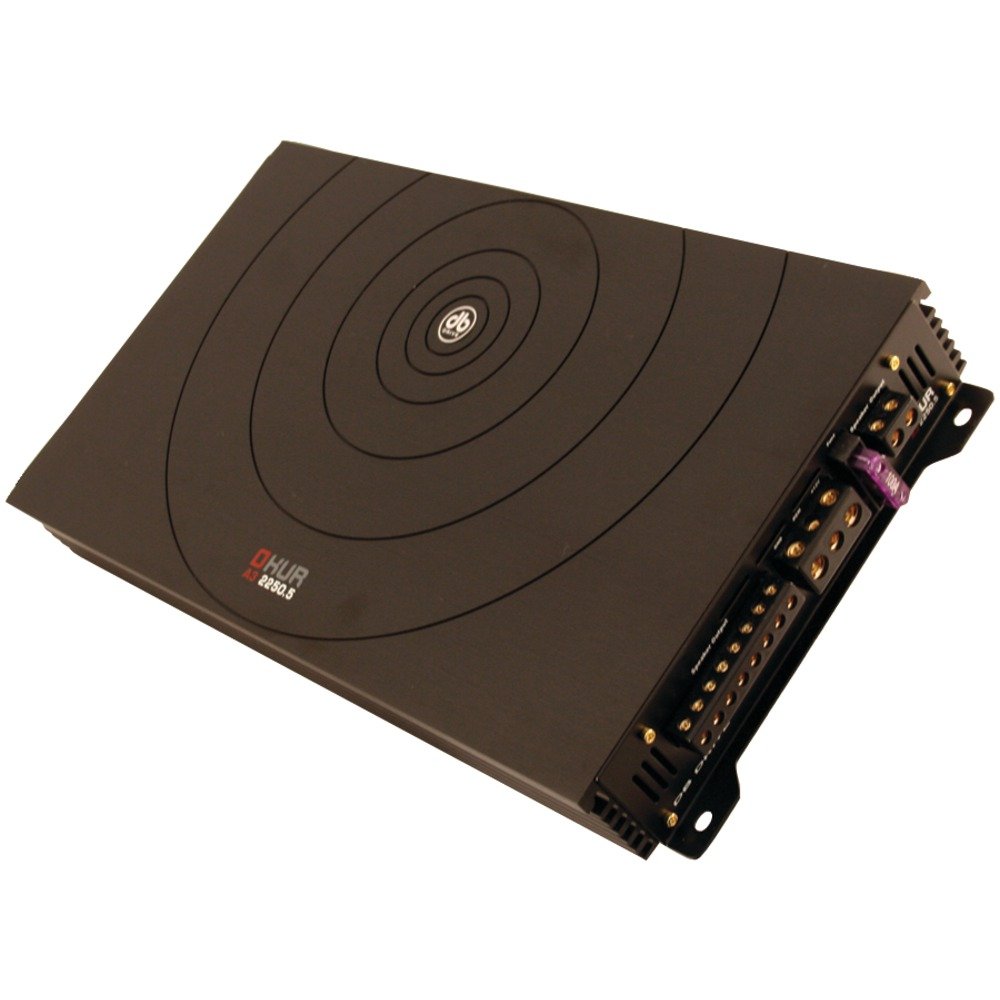
Image: DB DRIVE A3 2250.5 Okur Series A3 Class AB 1000 Watt 5-Channel Amplifer. Mae'r ddelwedd hon yn dangos y amplifier's top view, highlighting its compact design and branding.
Gwybodaeth Diogelwch
Dilynwch y rhagofalon diogelwch canlynol bob amser i atal anaf neu ddifrod:
- Disconnect the vehicle's battery negative terminal before making any power connections.
- Ensure all wiring is properly routed and secured to prevent pinching or short circuits.
- Defnyddiwch wifrau mesurydd priodol ar gyfer cysylltiadau pŵer a daear fel y nodir yn yr adran osod.
- Gosod y amphylifydd mewn lleoliad sy'n caniatáu awyru digonol i atal gorboethi.
- Osgoi gosod y amphylifydd mewn ardaloedd sy'n agored i leithder neu ddirgryniad gormodol.
- Ymgynghorwch â gosodwr sain car proffesiynol os ydych chi'n ansicr ynghylch unrhyw ran o'r broses osod.
Gosod a Gosod
1. Dadbacio ac Arolygu
Tynnwch y amplifier from its packaging. Inspect the unit for any signs of damage that may have occurred during shipping. Contact your dealer immediately if any damage is found.
2. Gosod y Ampllewywr
Choose a mounting location that is dry, well-ventilated, and secure. Common locations include under a seat, in the trunk, or behind a panel. Ensure there is sufficient airflow around the amplifier's heatsink.
- Marciwch y tyllau mowntio gan ddefnyddio'r amplifer fel templed.
- Drill pilot holes if necessary, being careful not to damage any vehicle components.
- Sicrhau y amplifer gan ddefnyddio'r sgriwiau gosod a ddarperir.
3. Gwifrau Cysylltiadau
Proper wiring is crucial for performance and safety. Refer to the following guidelines:
- Power (BATT+): Connect a heavy-gauge wire (e.g., 4 AWG or 8 AWG depending on total power) directly from the positive terminal of the vehicle's battery. Install an inline fuse holder within 18 inches (45 cm) of the battery.
- Tir (GND): Connect a heavy-gauge wire of the same size as the power wire to a clean, unpainted metal surface of the vehicle's chassis. Ensure a solid, low-resistance connection.
- Anghysbell (REM): Connect a smaller gauge wire (e.g., 18 AWG) from the amplifier's remote terminal to the remote output of your head unit. This turns the amplifer ymlaen ac i ffwrdd gyda'r uned ben.
- Mewnbynnau RCA: Connect RCA cables from your head unit's pre-amp allbynnau i'r amplifier's RCA input jacks. Ensure correct channel matching (Front L/R, Rear L/R, Sub).
- Allbynnau Siaradwr: Connect speaker wires from the amplifier's speaker terminals to your speakers. Observe correct polarity (+ to + and - to -). This is a 5-channel amplifier, typically 4 channels for full-range speakers and 1 channel for a subwoofer.
4. Gain, Crossover, and Bass Boost Settings
These settings allow you to fine-tune the amplifier's output to match your audio system and preferences.
- Ennill Rheolaeth: Adjust the gain to match the output voltage of your head unit. Start with the gain at minimum, then slowly increase it until you hear distortion, then back off slightly. This is not a volume control.
- Crossover (LPF/HPF):
- Hidlo Pas Isel (LPF): For the subwoofer channel, set the LPF to allow only low frequencies to pass (e.g., 80-120 Hz).
- Hidlo Pas Uchel (HPF): For the full-range channels, set the HPF to block low frequencies from reaching your main speakers (e.g., 80-100 Hz) to prevent distortion and improve sound clarity.
- Hwb Bass: Use the bass boost sparingly. Excessive bass boost can lead to distortion and speaker damage. Adjust to taste, ensuring sound remains clear.
Cyfarwyddiadau Gweithredu
Once installed and configured, the amplifier will power on automatically with your head unit via the remote turn-on wire. Adjust volume and tone controls primarily from your head unit. The amplifier's settings (gain, crossover) are set during installation and generally do not require frequent adjustment.
Cynnal a chadw
The DB DRIVE A3 2250.5 ampmae angen cynnal a chadw lleiaf posibl ar y lifer.
- Glanhau: Periodically wipe the ampGlanhewch du allan y liferydd gyda lliain meddal, sych i gael gwared â llwch. Peidiwch â defnyddio cemegau llym na glanhawyr sgraffiniol.
- Arolygiad: Occasionally check all wiring connections to ensure they are secure and free from corrosion. Ensure the amplifier's ventilation fins are not obstructed.
Datrys problemau
Os ydych chi'n cael problemau gyda'ch amplifer, cyfeiriwch at y problemau a'r atebion cyffredin canlynol:
| Problem | Achos Posibl | Ateb |
|---|---|---|
| Dim Pŵer / Ampnid yw lififier yn troi ymlaen |
|
|
| Dim Allbwn Sain |
|
|
| Sain ystumiedig |
|
|
| AmpGorboethi'r lifer (Modd Diogelu) |
|
|
Manylebau
| Nodwedd | Manylyn |
|---|---|
| Rhif Model | A3 2250.5 |
| Allbwn Pwer Uchaf | 1000 Wat |
| Sianeli | 5-Channel (4 stereo, 1 mono for subwoofer) |
| AmpDosbarth lifier | Dosbarth AB |
| Cydrannau | Audiophile Grade |
| Dimensiynau (L x W x H) | 53.59 x 30.48 x 10.92 cm |
| Pwysau | 6.53 kg |
| Rheoli Gwres | DRIVESINK (Okur Series A3 feature) |
Gwarant a Chefnogaeth
DB Drive products are designed for reliability and performance. This product is covered by a limited warranty. Please refer to the warranty card included with your product or visit the official DB Drive websafle am delerau ac amodau gwarant manwl.
For technical support, service, or warranty claims, please contact your authorized DB Drive dealer or visit the DB Drive official websafle ar gyfer gwybodaeth gyswllt ac adnoddau cymorth.